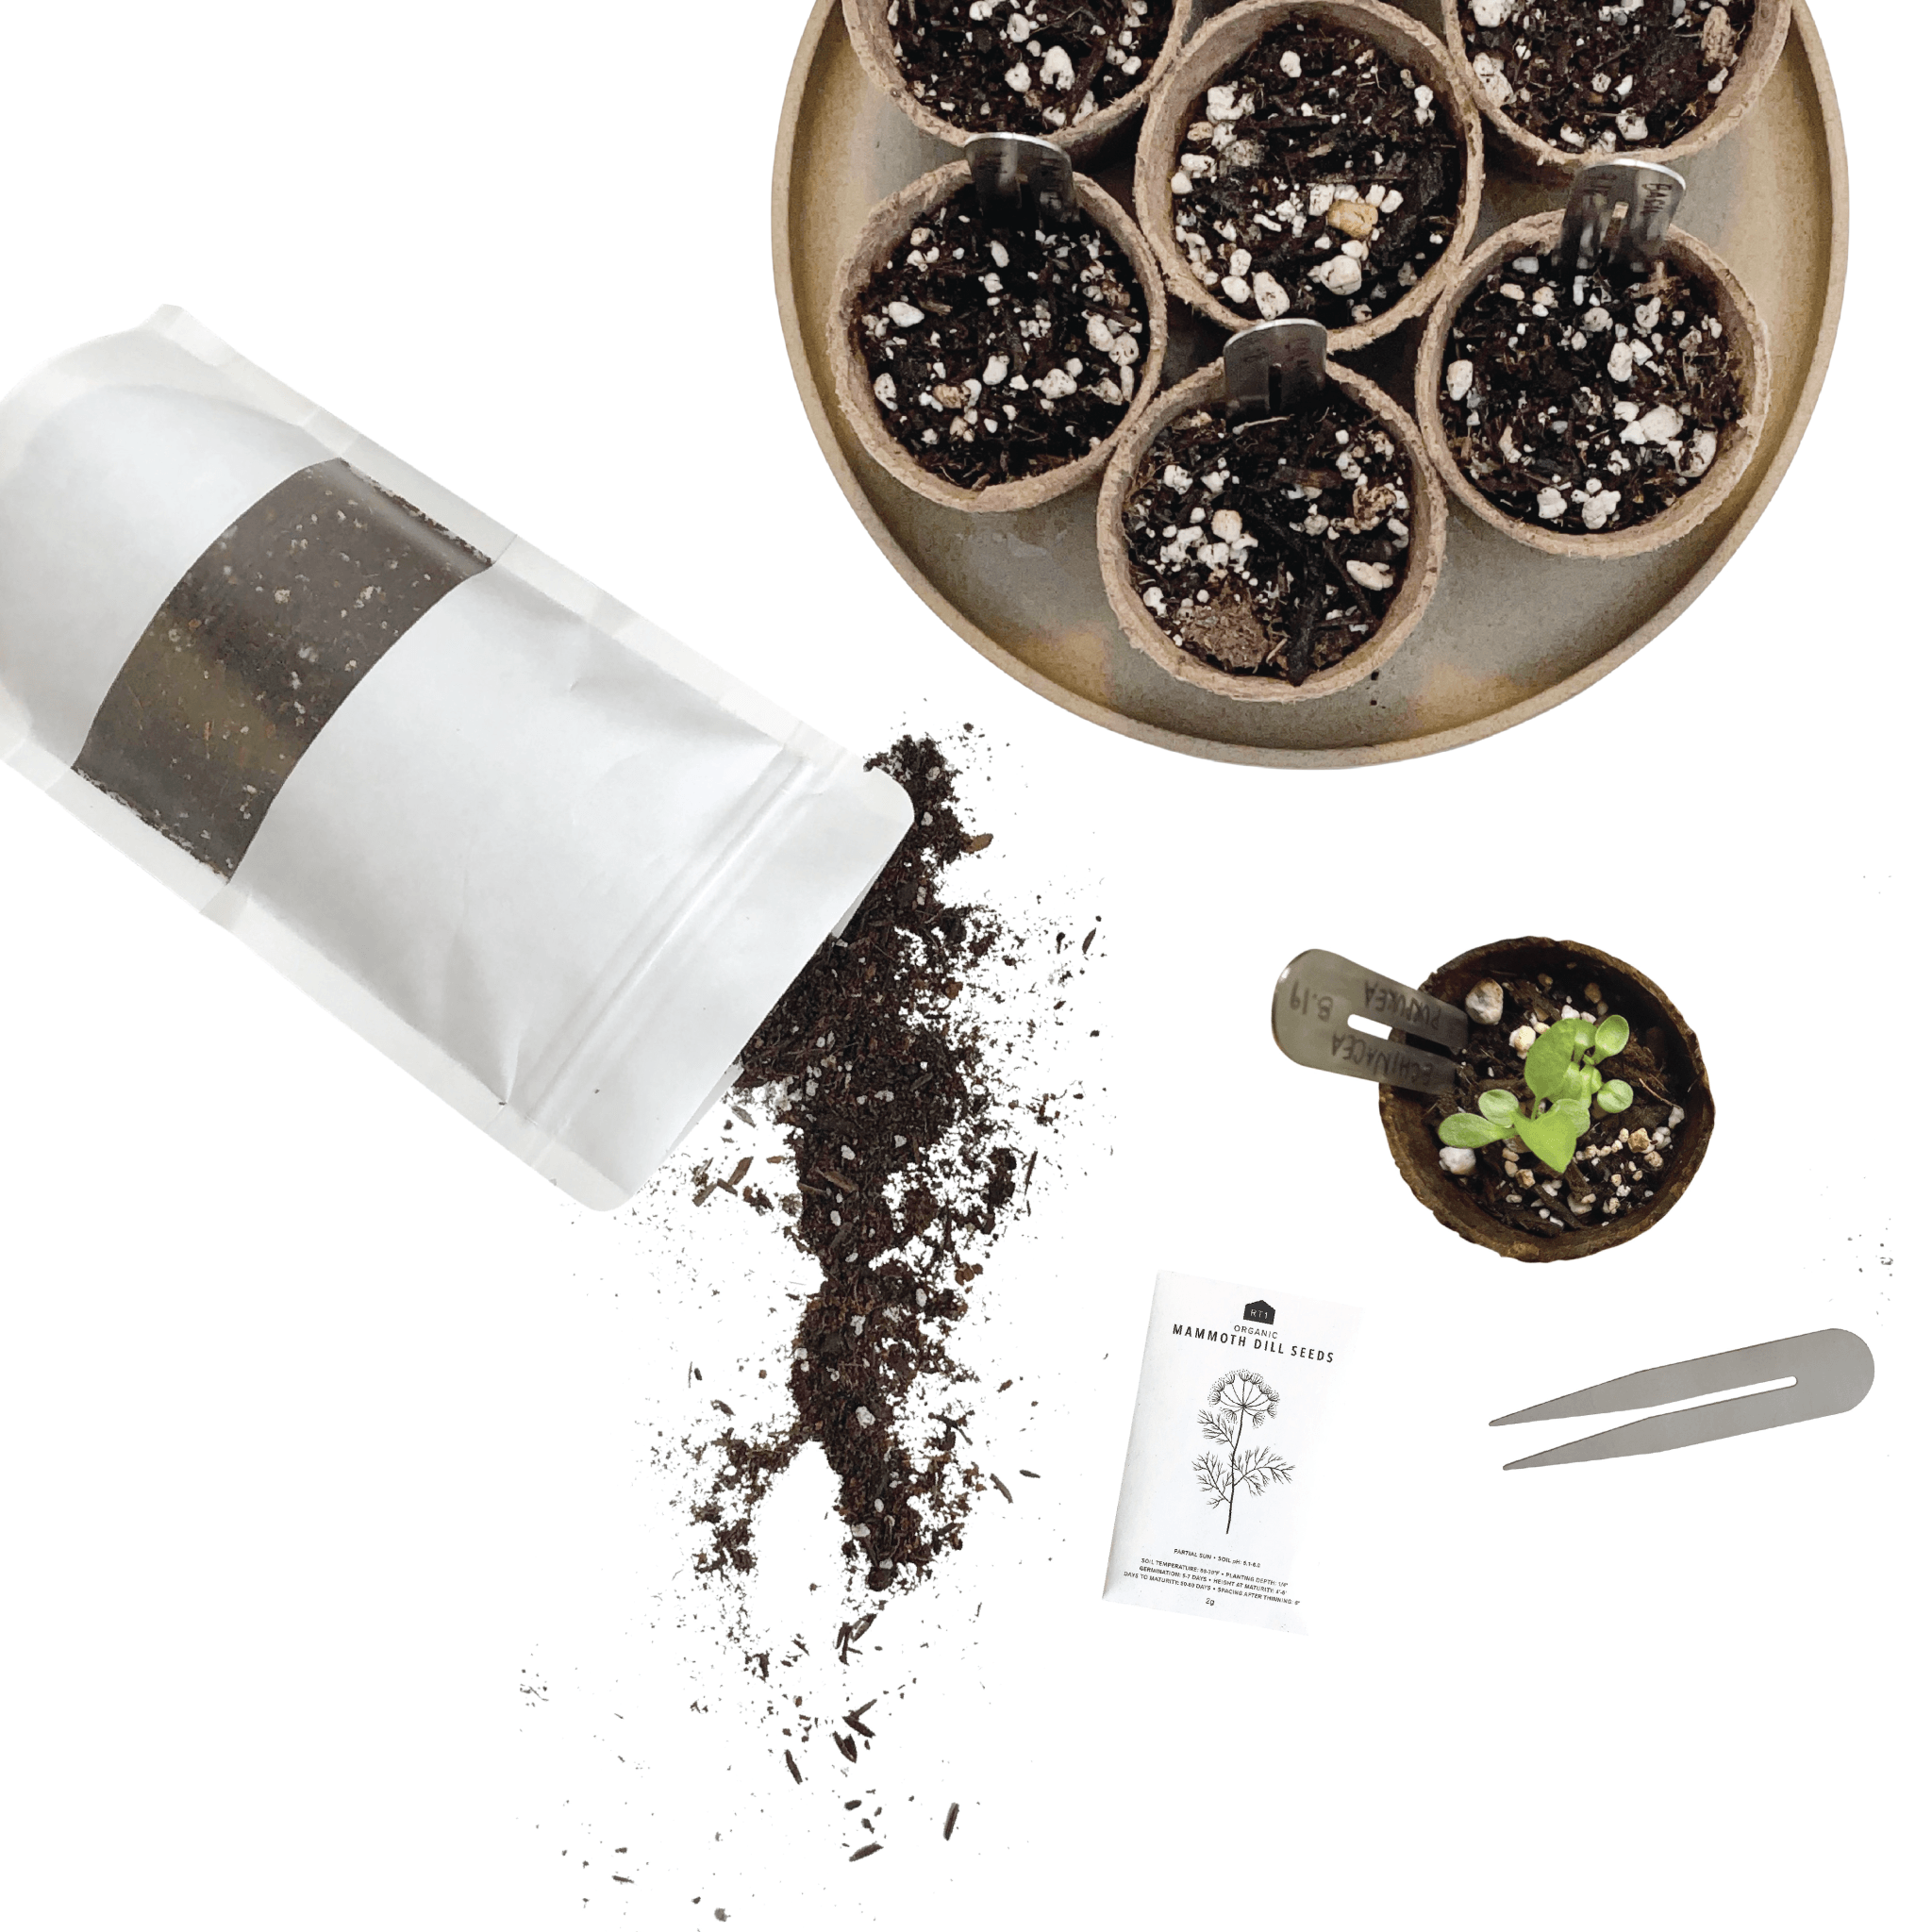
START YOUR SEEDS
OUR TOP 5 SEED STARTING TIPS There are many different methods for seed starting out there, but we wanted to share our top 5 tips for successful seed starting. These tips are steps we've learned over the...
Rest assured! We only send emails once every 1-2 months with product releases, sales or shop updates.
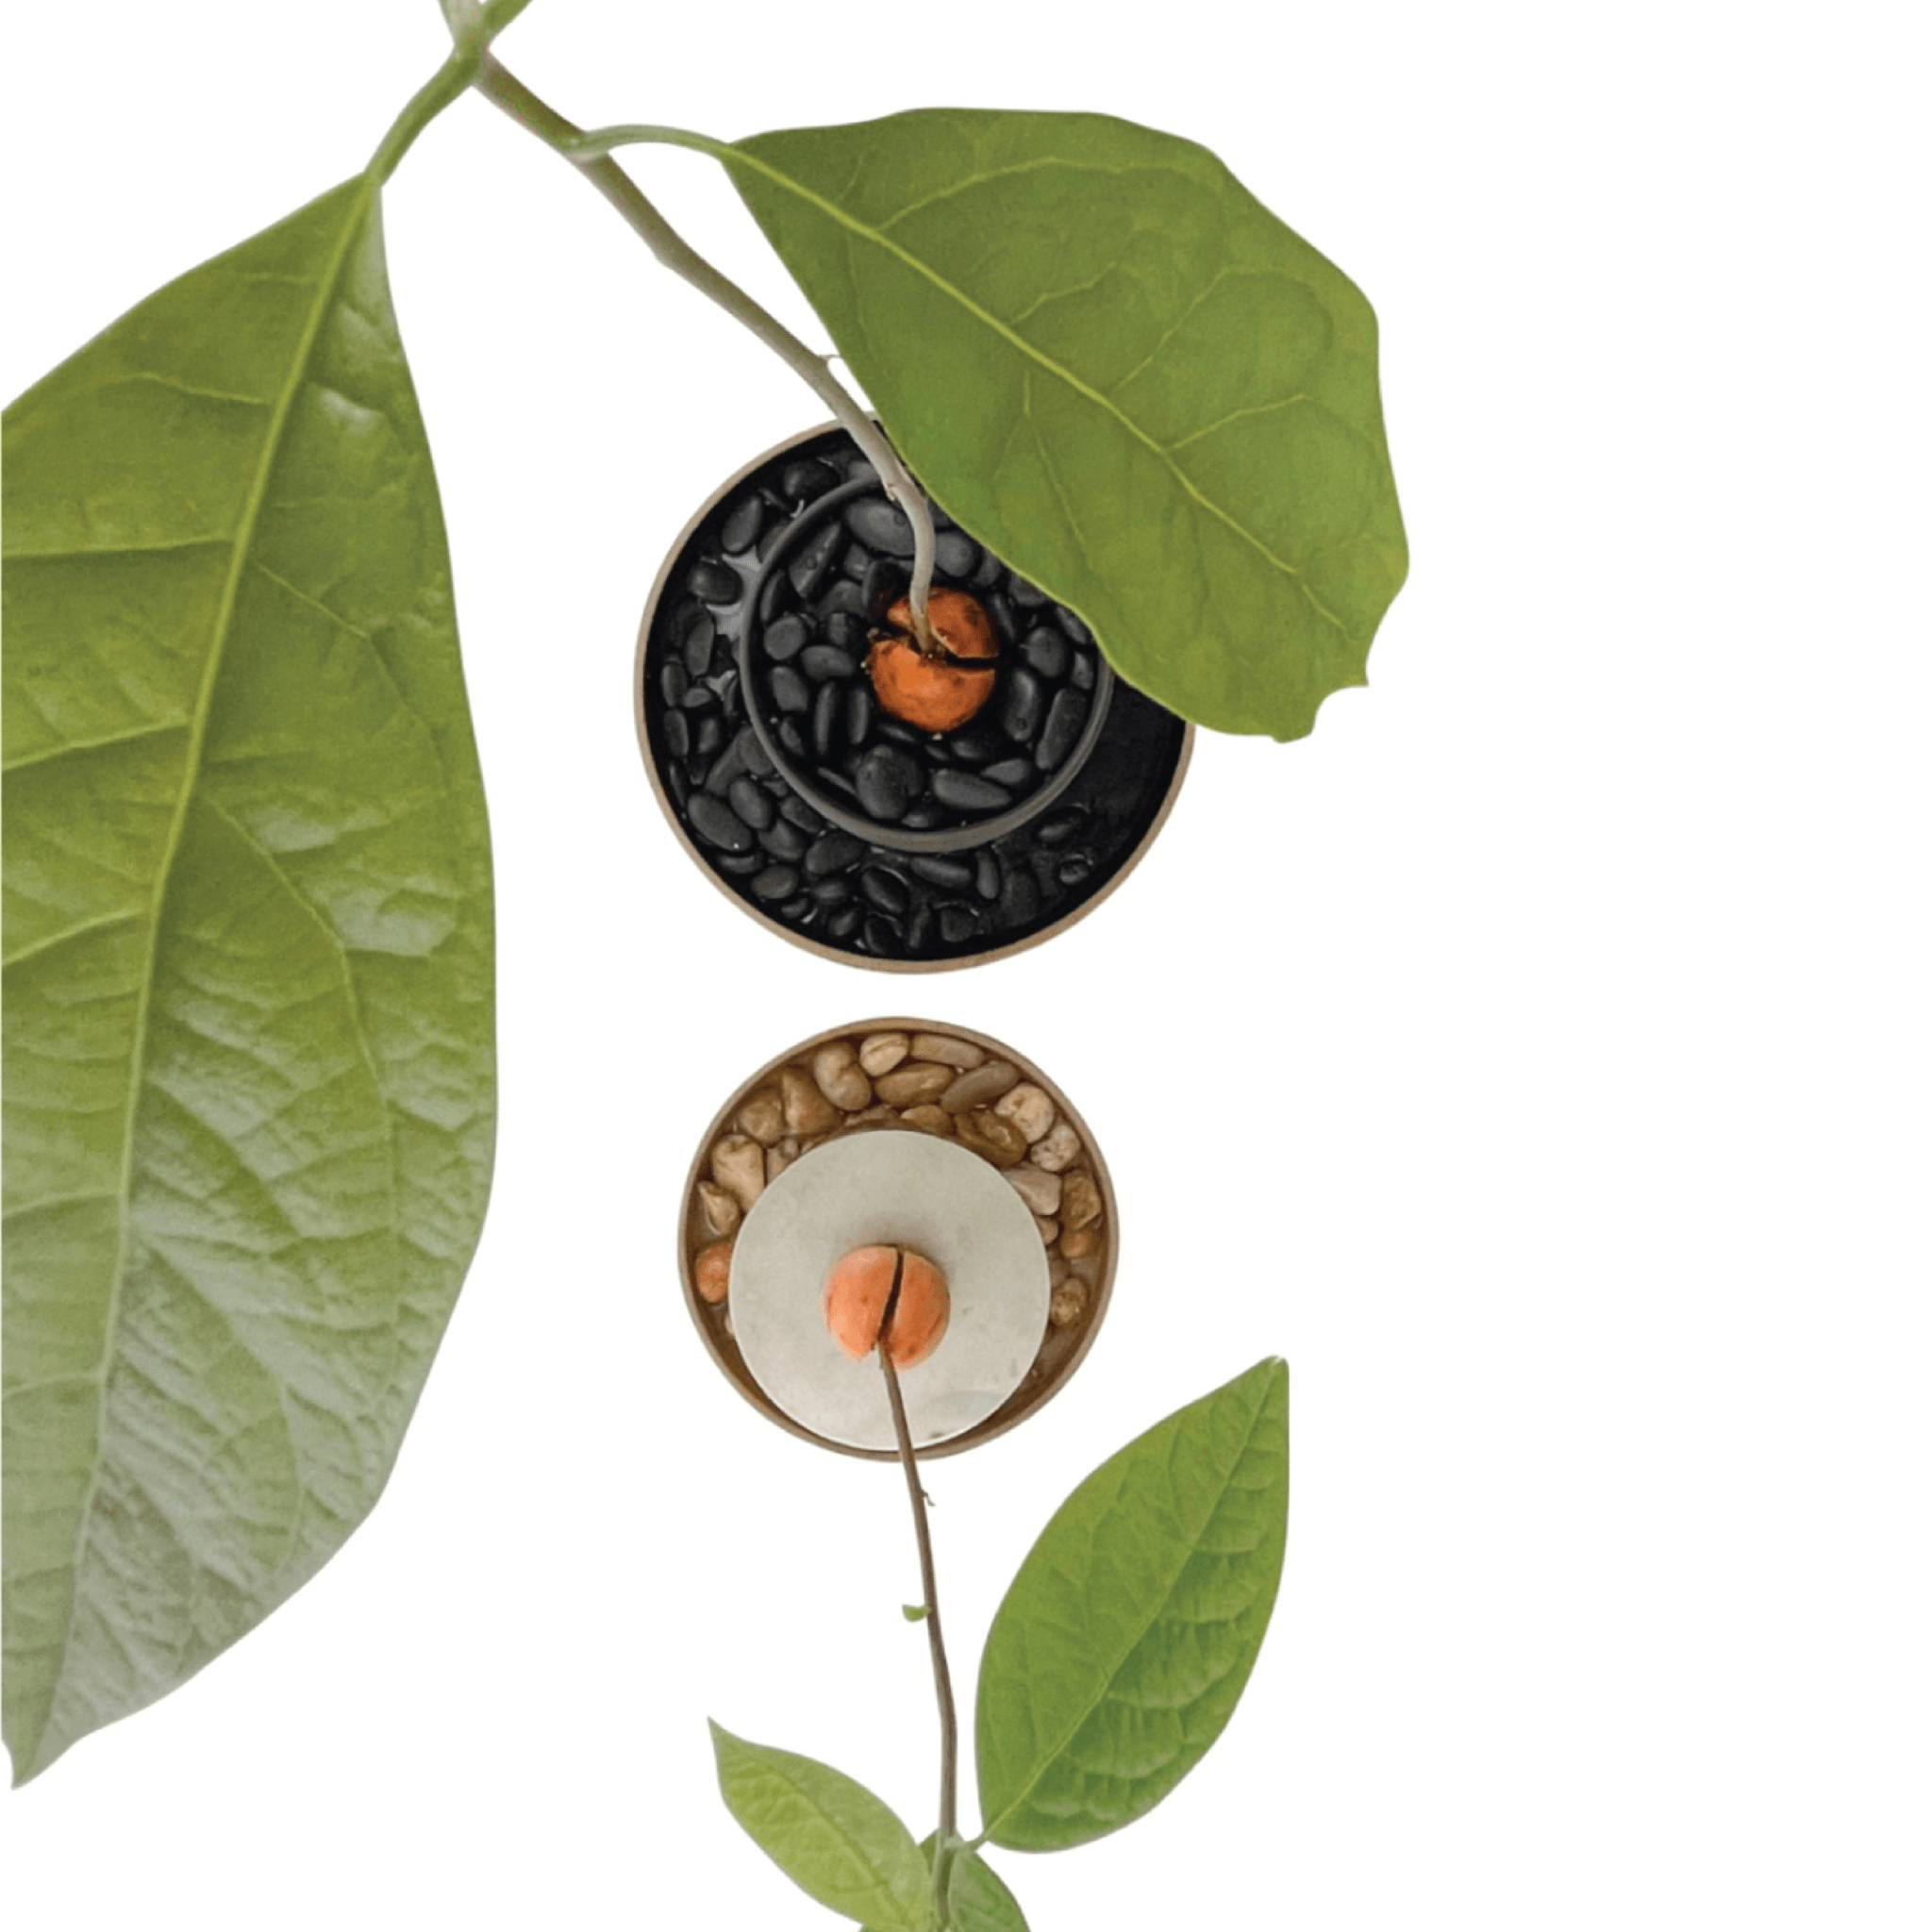
Step by step guide presenting 3 different techniques for incorporating pebbles with your houseplants.


Prep Time: 3 min

Fill GLASS with water about halfway full.
Add PEBBLES *gently* to bottom of GLASS with water. Add enough to atleast cover the bottom of the glass.
Insert roots of PLANT OF CHOICE through your PROP DISC.
Place PLANT with PROP DISC on top of glass with water.
Top off water in glass to fill close to top of edge. Ensure to check water levels and refill as it evaporates over time.
OPTIONAL: Place glass on top of your PLANT COASTER to prevent water rings on your table/countertop.
BENEFITS:

Prep Time: 5 min
Materials

Add a layer of POTTING SOIL into your PLANT POT w/ a SOIL SCOOP.
Place your AVOCADO SEEDLING into Pot w/ soil and fill with Soil about 2" from the top edge.
WATER your plant! Please make sure you have a saucer under your Plant Pot to prevent water from spilling everywhere. NOTE: you want to water BEFORE adding the top dressing because the Soil will sink down a little once wet.
Add a layer of PEBBLES onto the top Soil around your plant. Make sure to add enough so the entire top layer of Soil is covered
BENEFITS:

Prep Time: 5 min per method

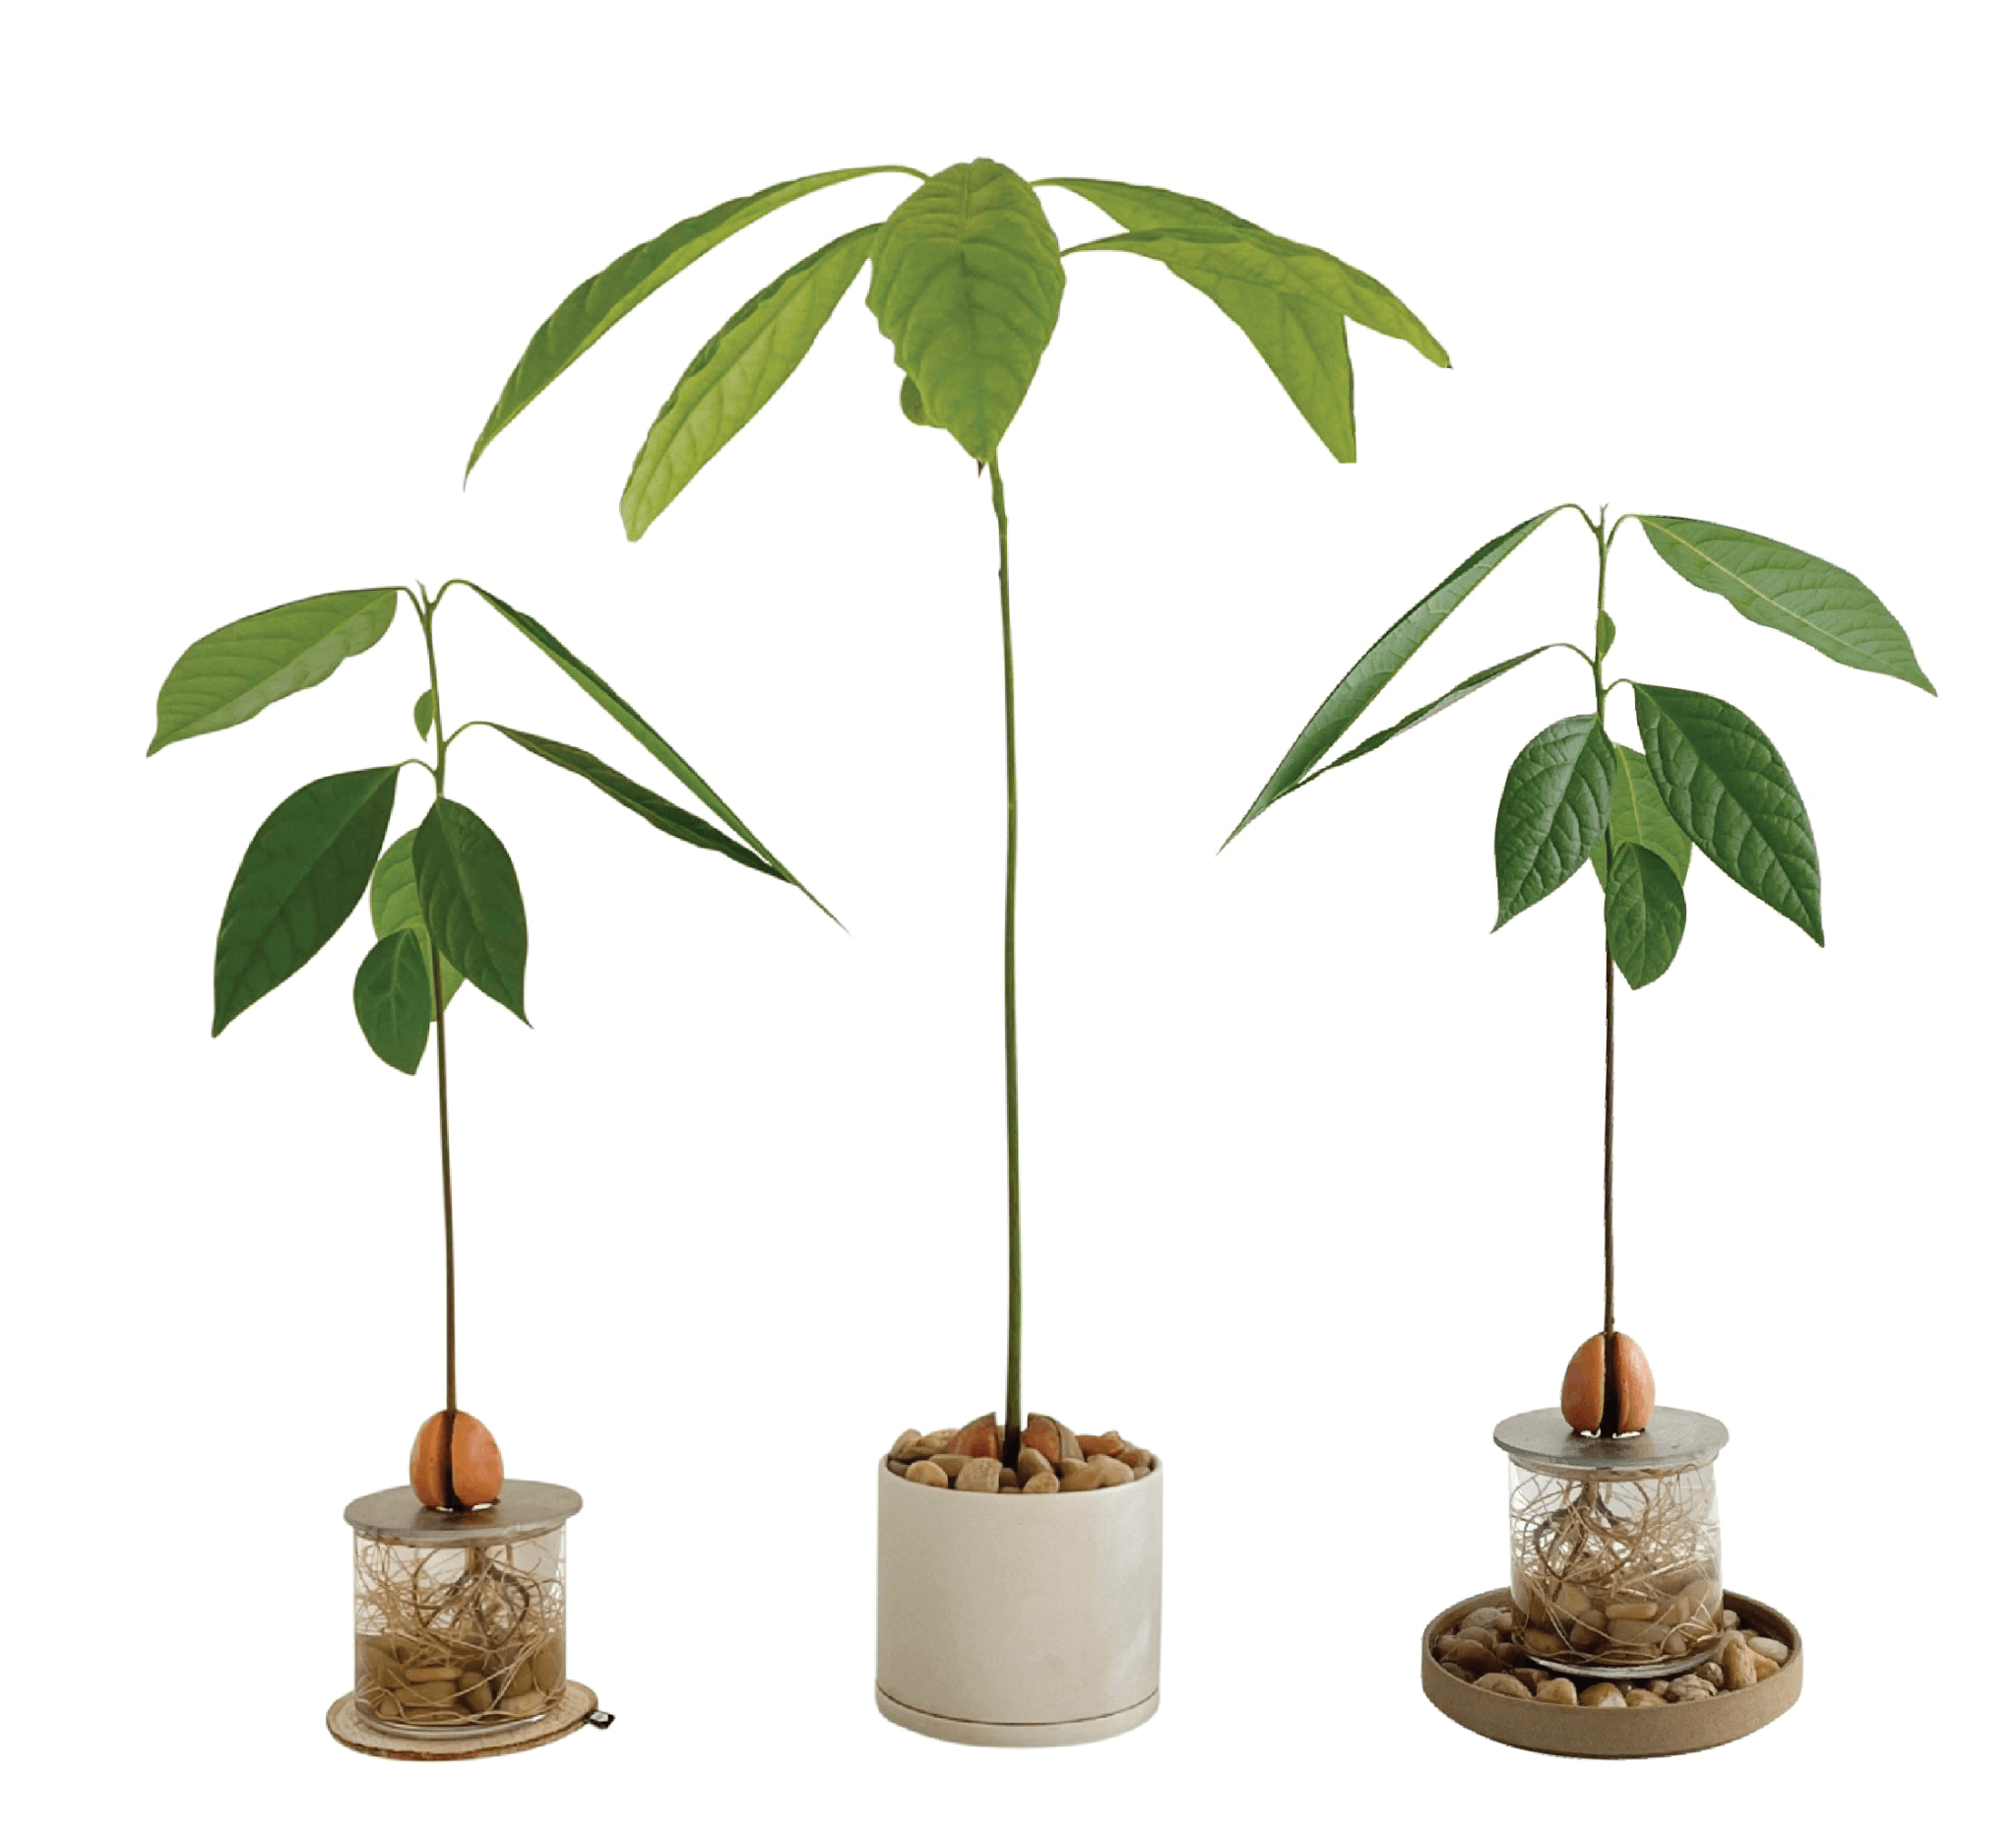
1. Select your HUMIDITY LOVING PLANT OF CHOICE and check the Pot size. We are using our Avocado Seedling propagating in a 3" diameter GLASS.
2. Select your TRAY - tray size should be at least 2" wider in diameter than your selected Plant Pot. We are using our 5 5/8" PORCELAIN TRAY.
PLEASE do not use a TERRACOTTA TRAY as it will absorb the water and leak. It is best to use a non-porous tray material such as Metal (that will not rust), Glass or a Glazed Ceramic/Porcelain.
4. IF NEEDED: Rinse your PEBBLES thoroughly in a STRAINER to remove any dirt from them and until water runs clean.
5. Add your clean PEBBLES in a thin layer covering the bottom of your TRAY - spread out evenly.
6. Add your WATER to your PEBBLES + TRAY. Only add a small amount to cover the bottom of your rocks. Water level should stop before the top of your Rocks.
7. Add your PLANT centered onto your HUMIDITY TRAY!
NOTE: You can use any type of PLANT POT with or without a drainage hole.
BENEFITS:
***Our more detailed instructions and tutorial can be found HOW TO MAKE HUMIDTY TRAY

FURTHER STEPS
Once complete with any of your Pebble methods - keep an eye on water levels. You may need to check every other day or just 1-2 times per week pending how dry and warm your room is. If your environment is more dry, the water will evaporate more quickly and you will need to periodically add more water to your Propagation Glass, Potted Plant or Humidity tray.
Step by step video guide is also available on our YouTube
0 comments