START YOUR SEEDS
OUR TOP 5 SEED STARTING TIPS
There are many different methods for seed starting out there, but we wanted to share our top 5 tips for successful seed starting. These tips are steps we've learned over the years that are most helpful (in our experience)!

Time
Materials
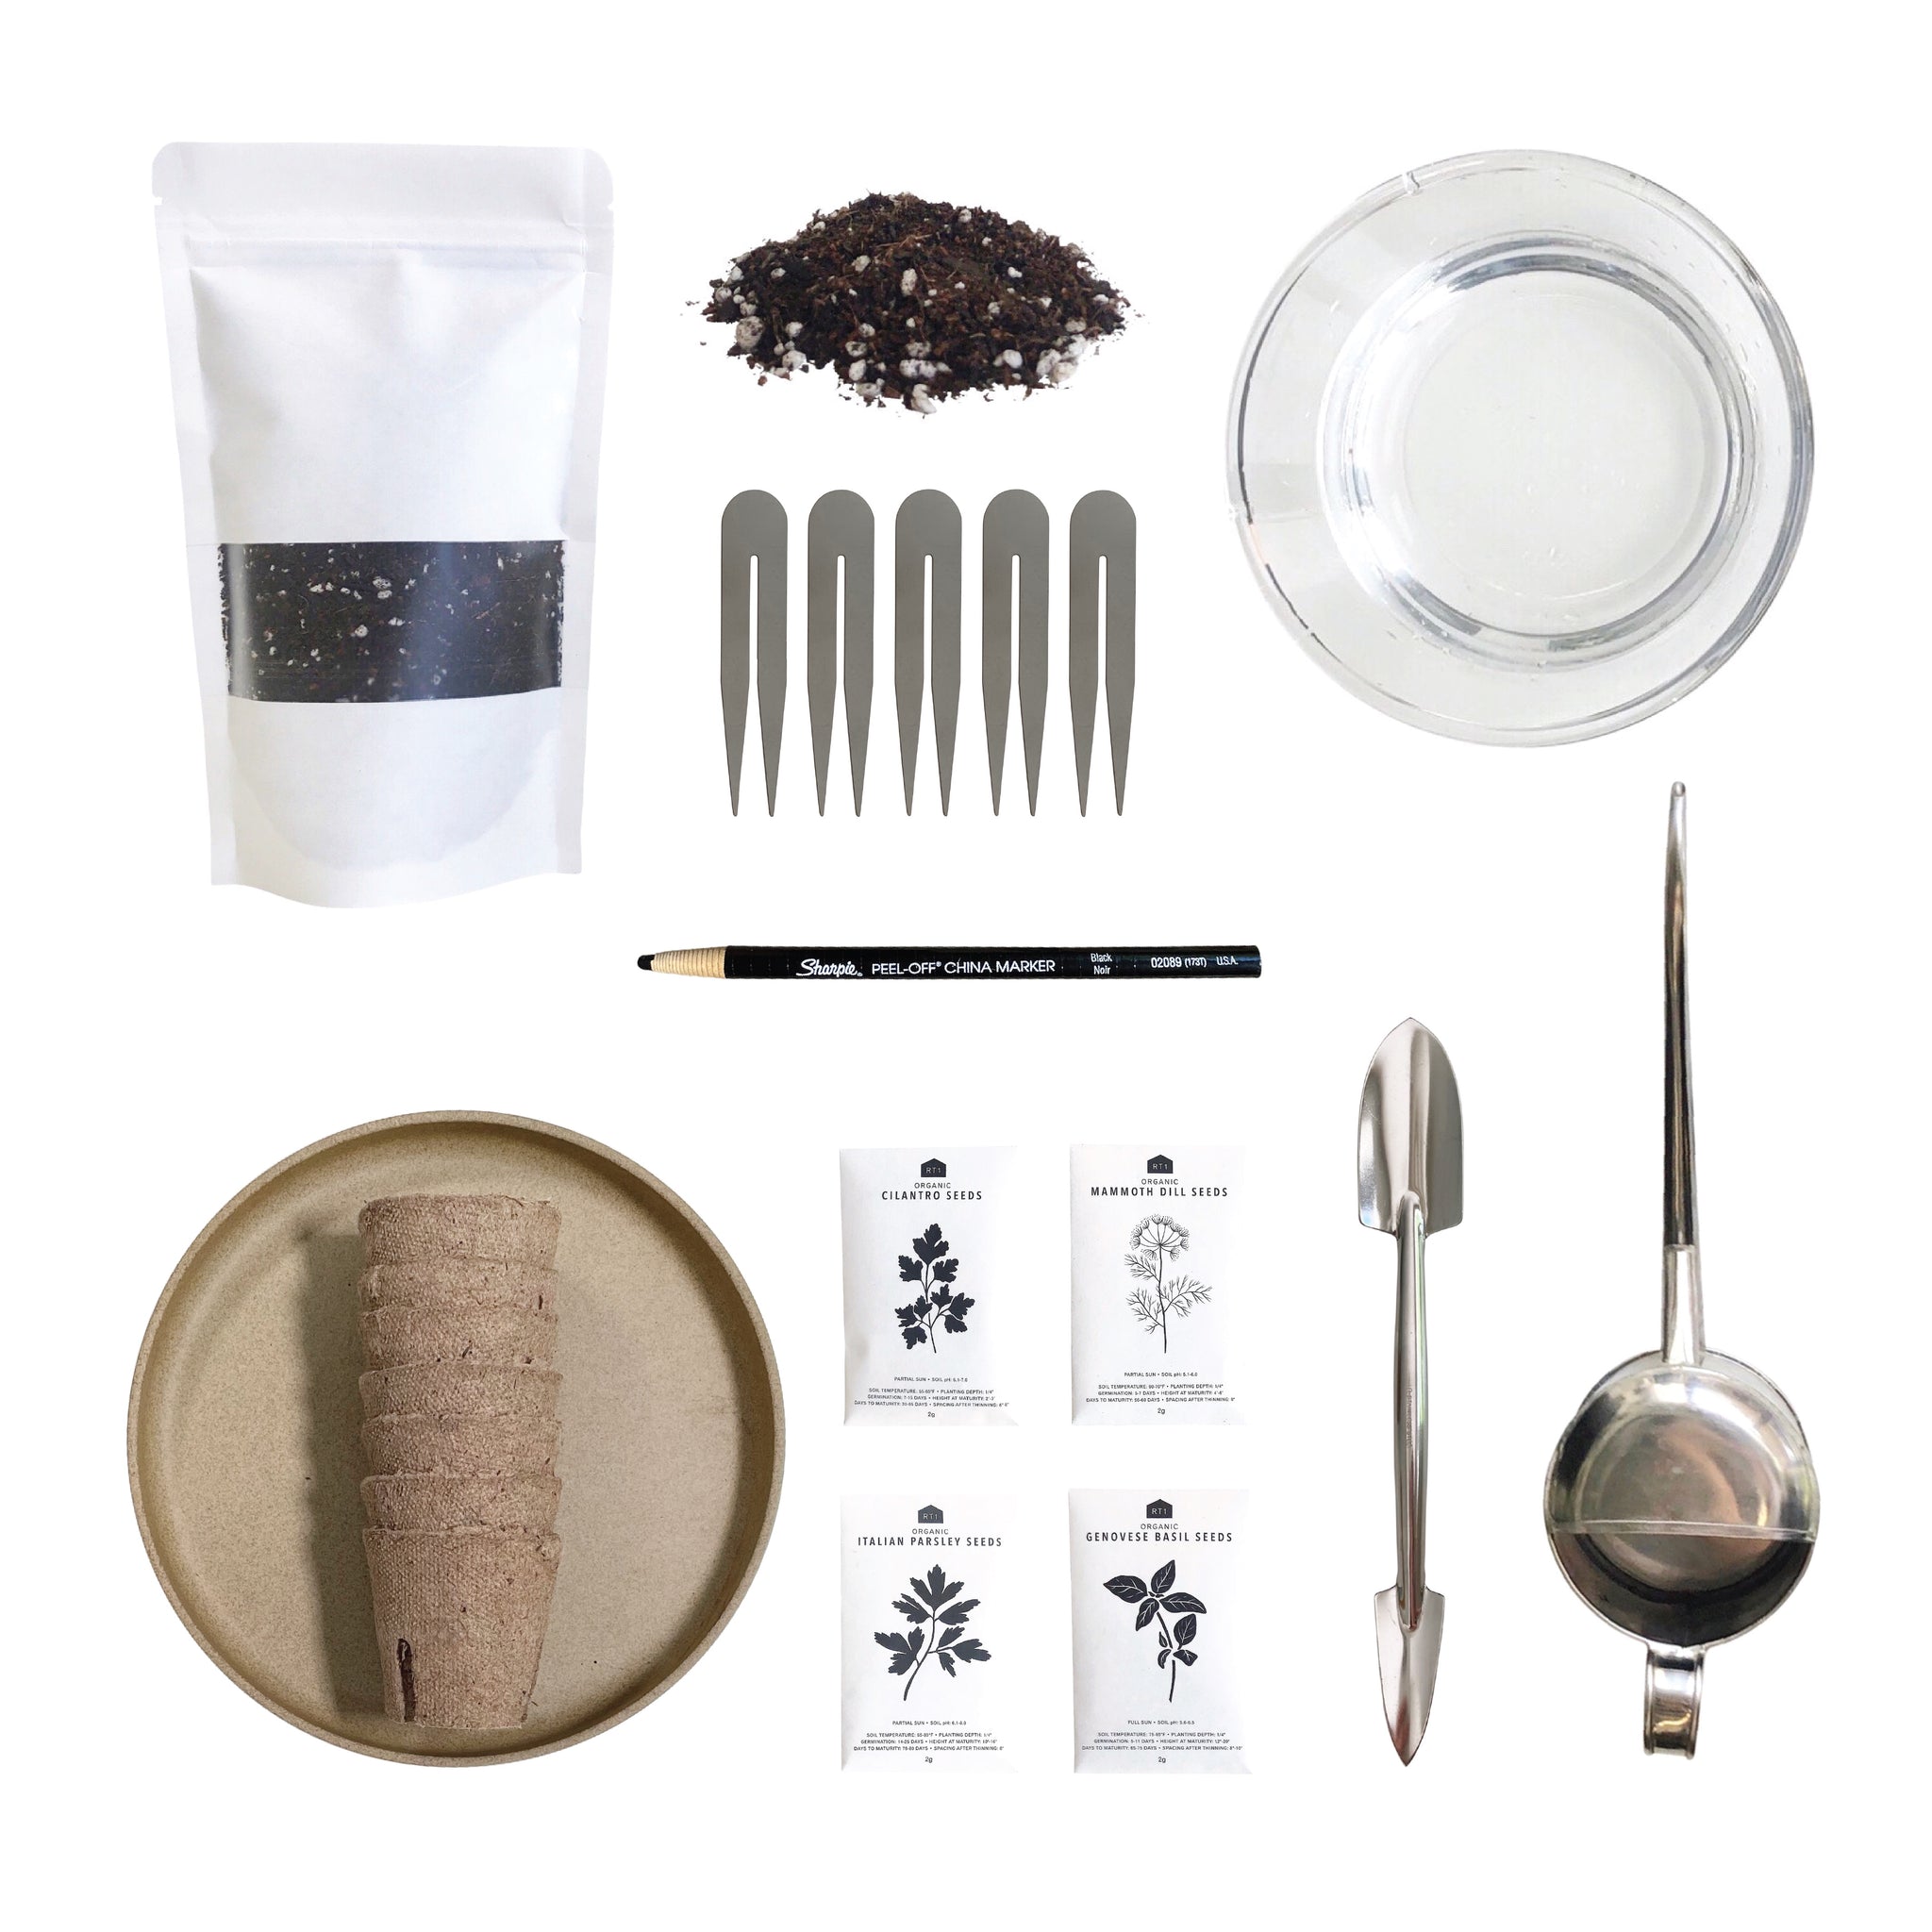
- SEEDS of your choice - we are using our Dill, Basil, Cilantro, & Parsley ORGANIC SEED PACKS
- SEED STARTING MIX of your choice - we are using our KOMBEKURO POTTING SOIL - our house mix of Organic Soil, Coconut Coir, Perlite, & Biochar
- SCOOP - we are using our MINI DOUBLE TROWEL
- CONTAINER - we are using our SEED STARTER POTS
- TRAY - we are using our Size Small (5 5/8" diameter) PORCELAIN TRAY
- LABELS - we are using our reusable Stainless Steel PLANT ARCH TAGS
- PENCIL / PEN / MARKER - we are using our WAX PENCIL
- WATER - any room temperature tap water is ok to use
- WATERING CAN (optional) - we are using a watering can with a narrow sprout to water the seed pots
Tips
TIP 1: START WITH A GOOD SEED STARTING MIX
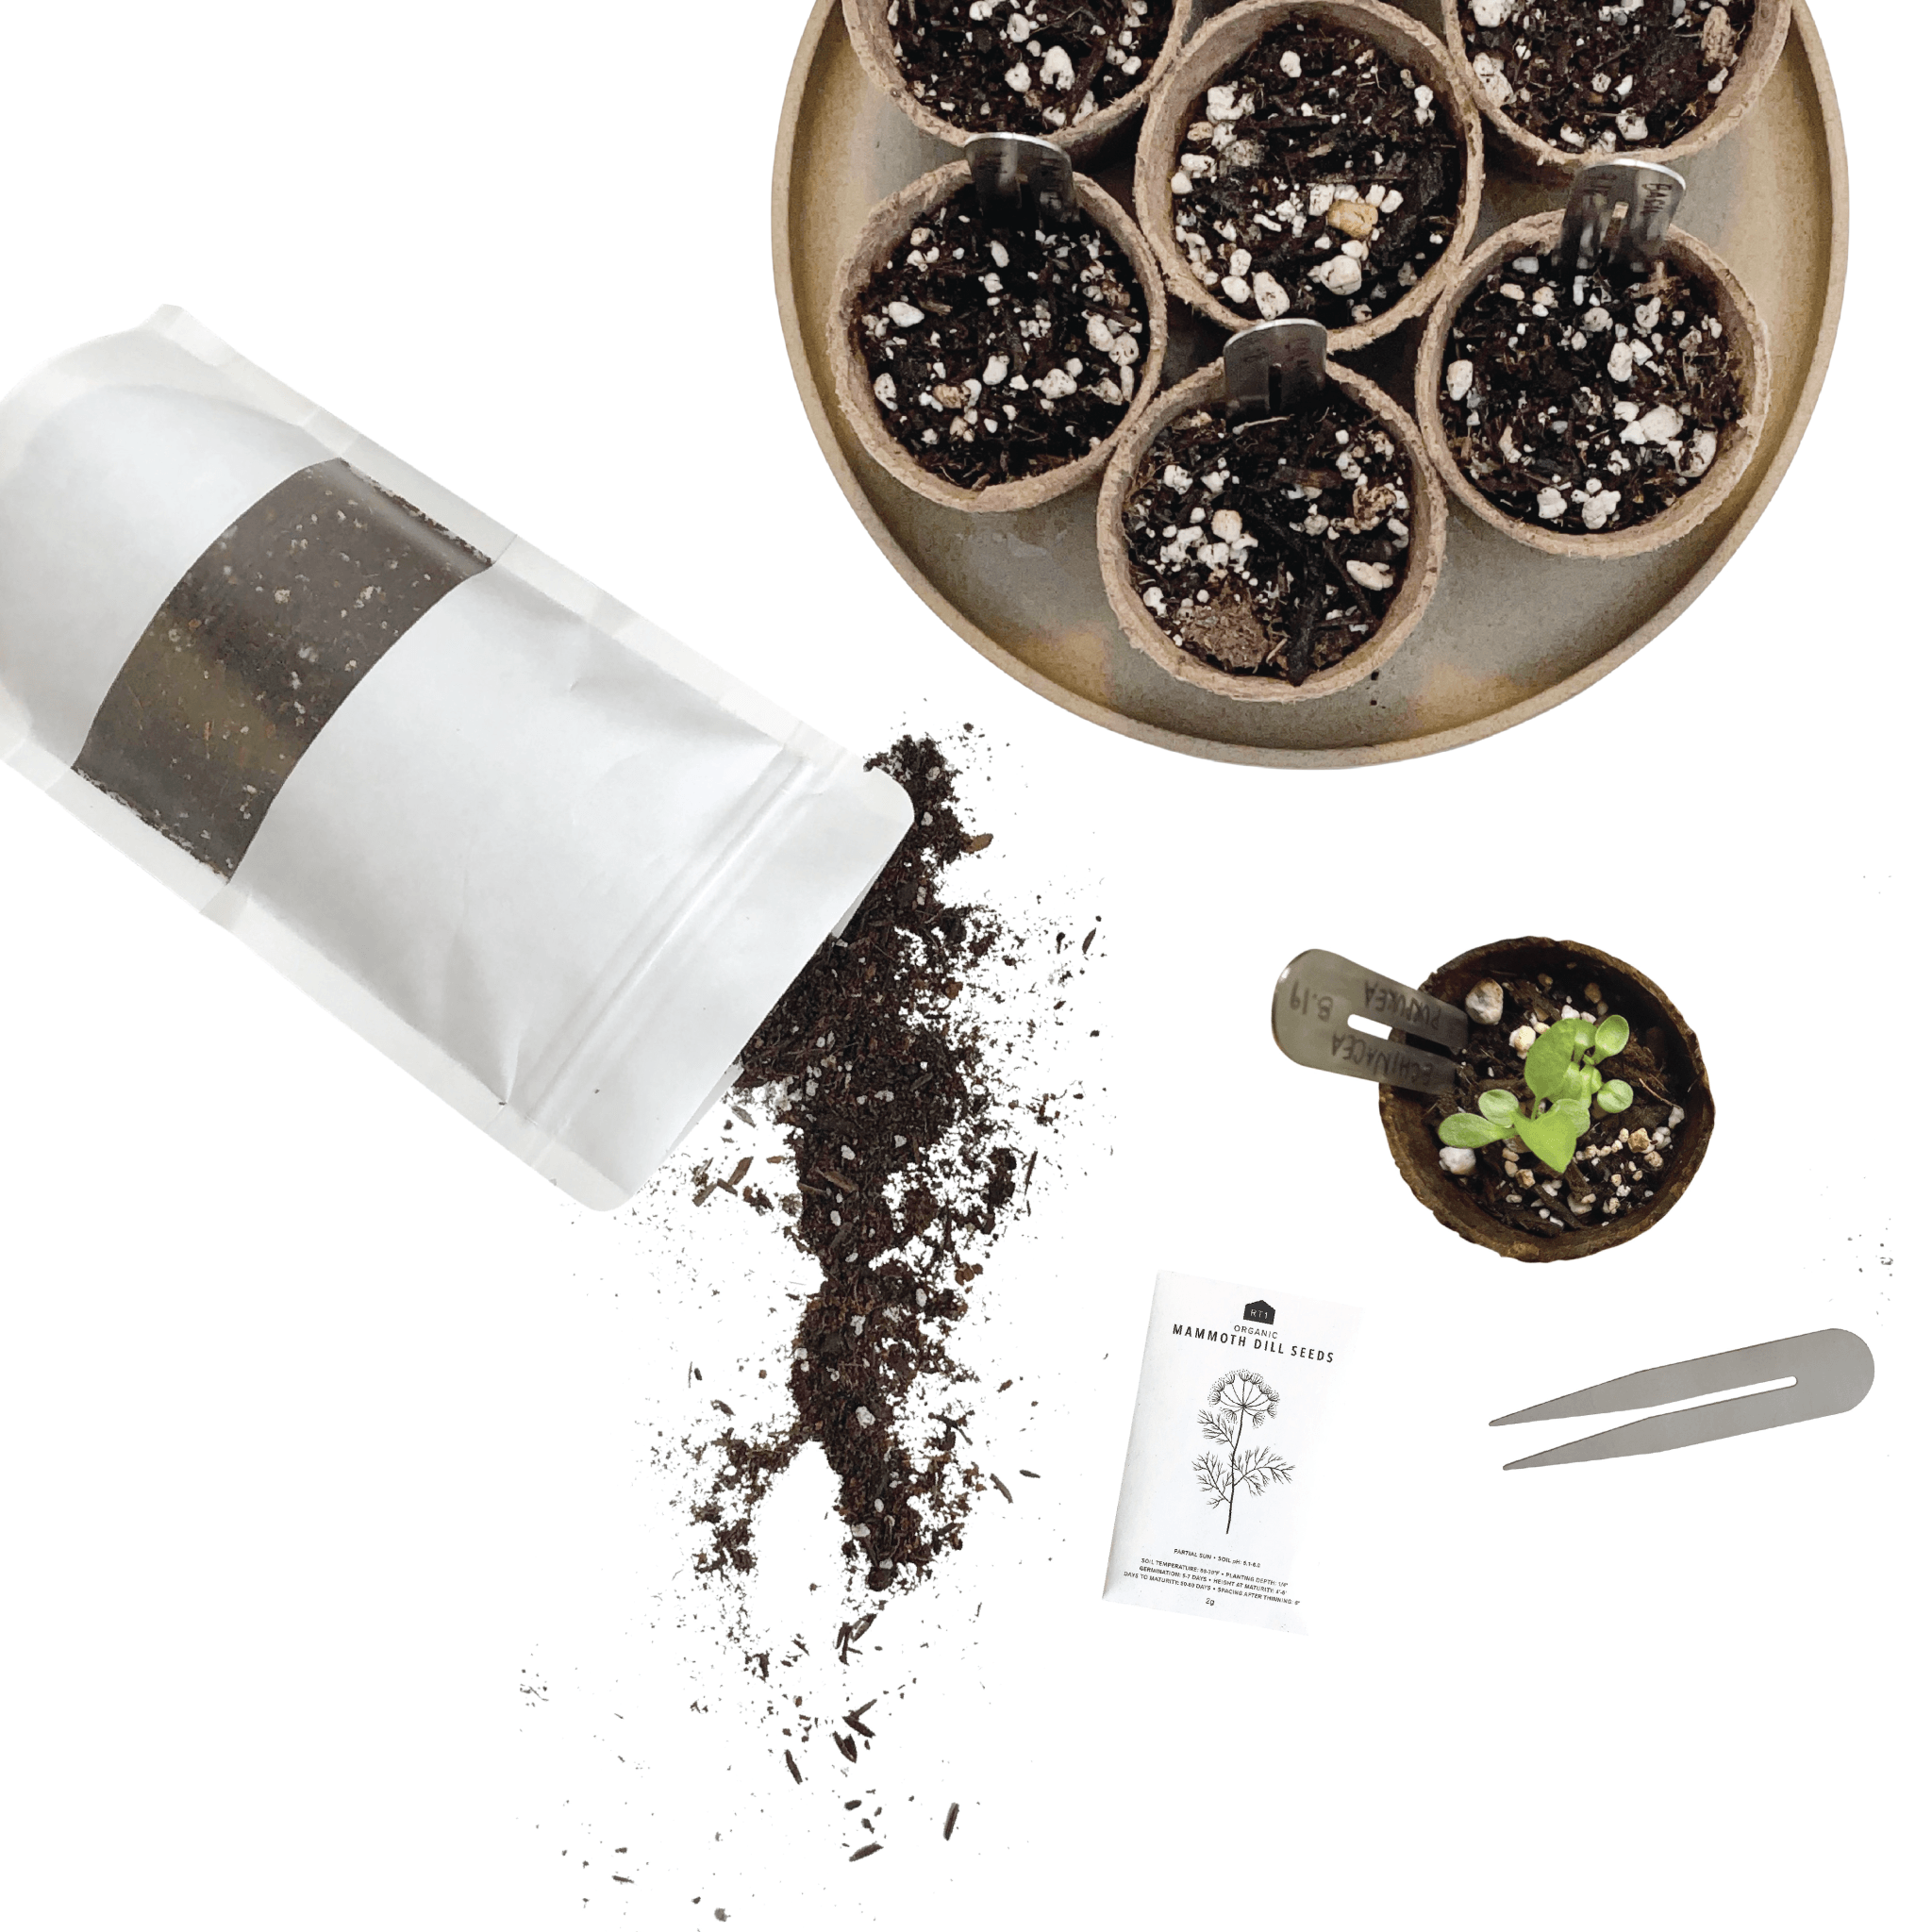
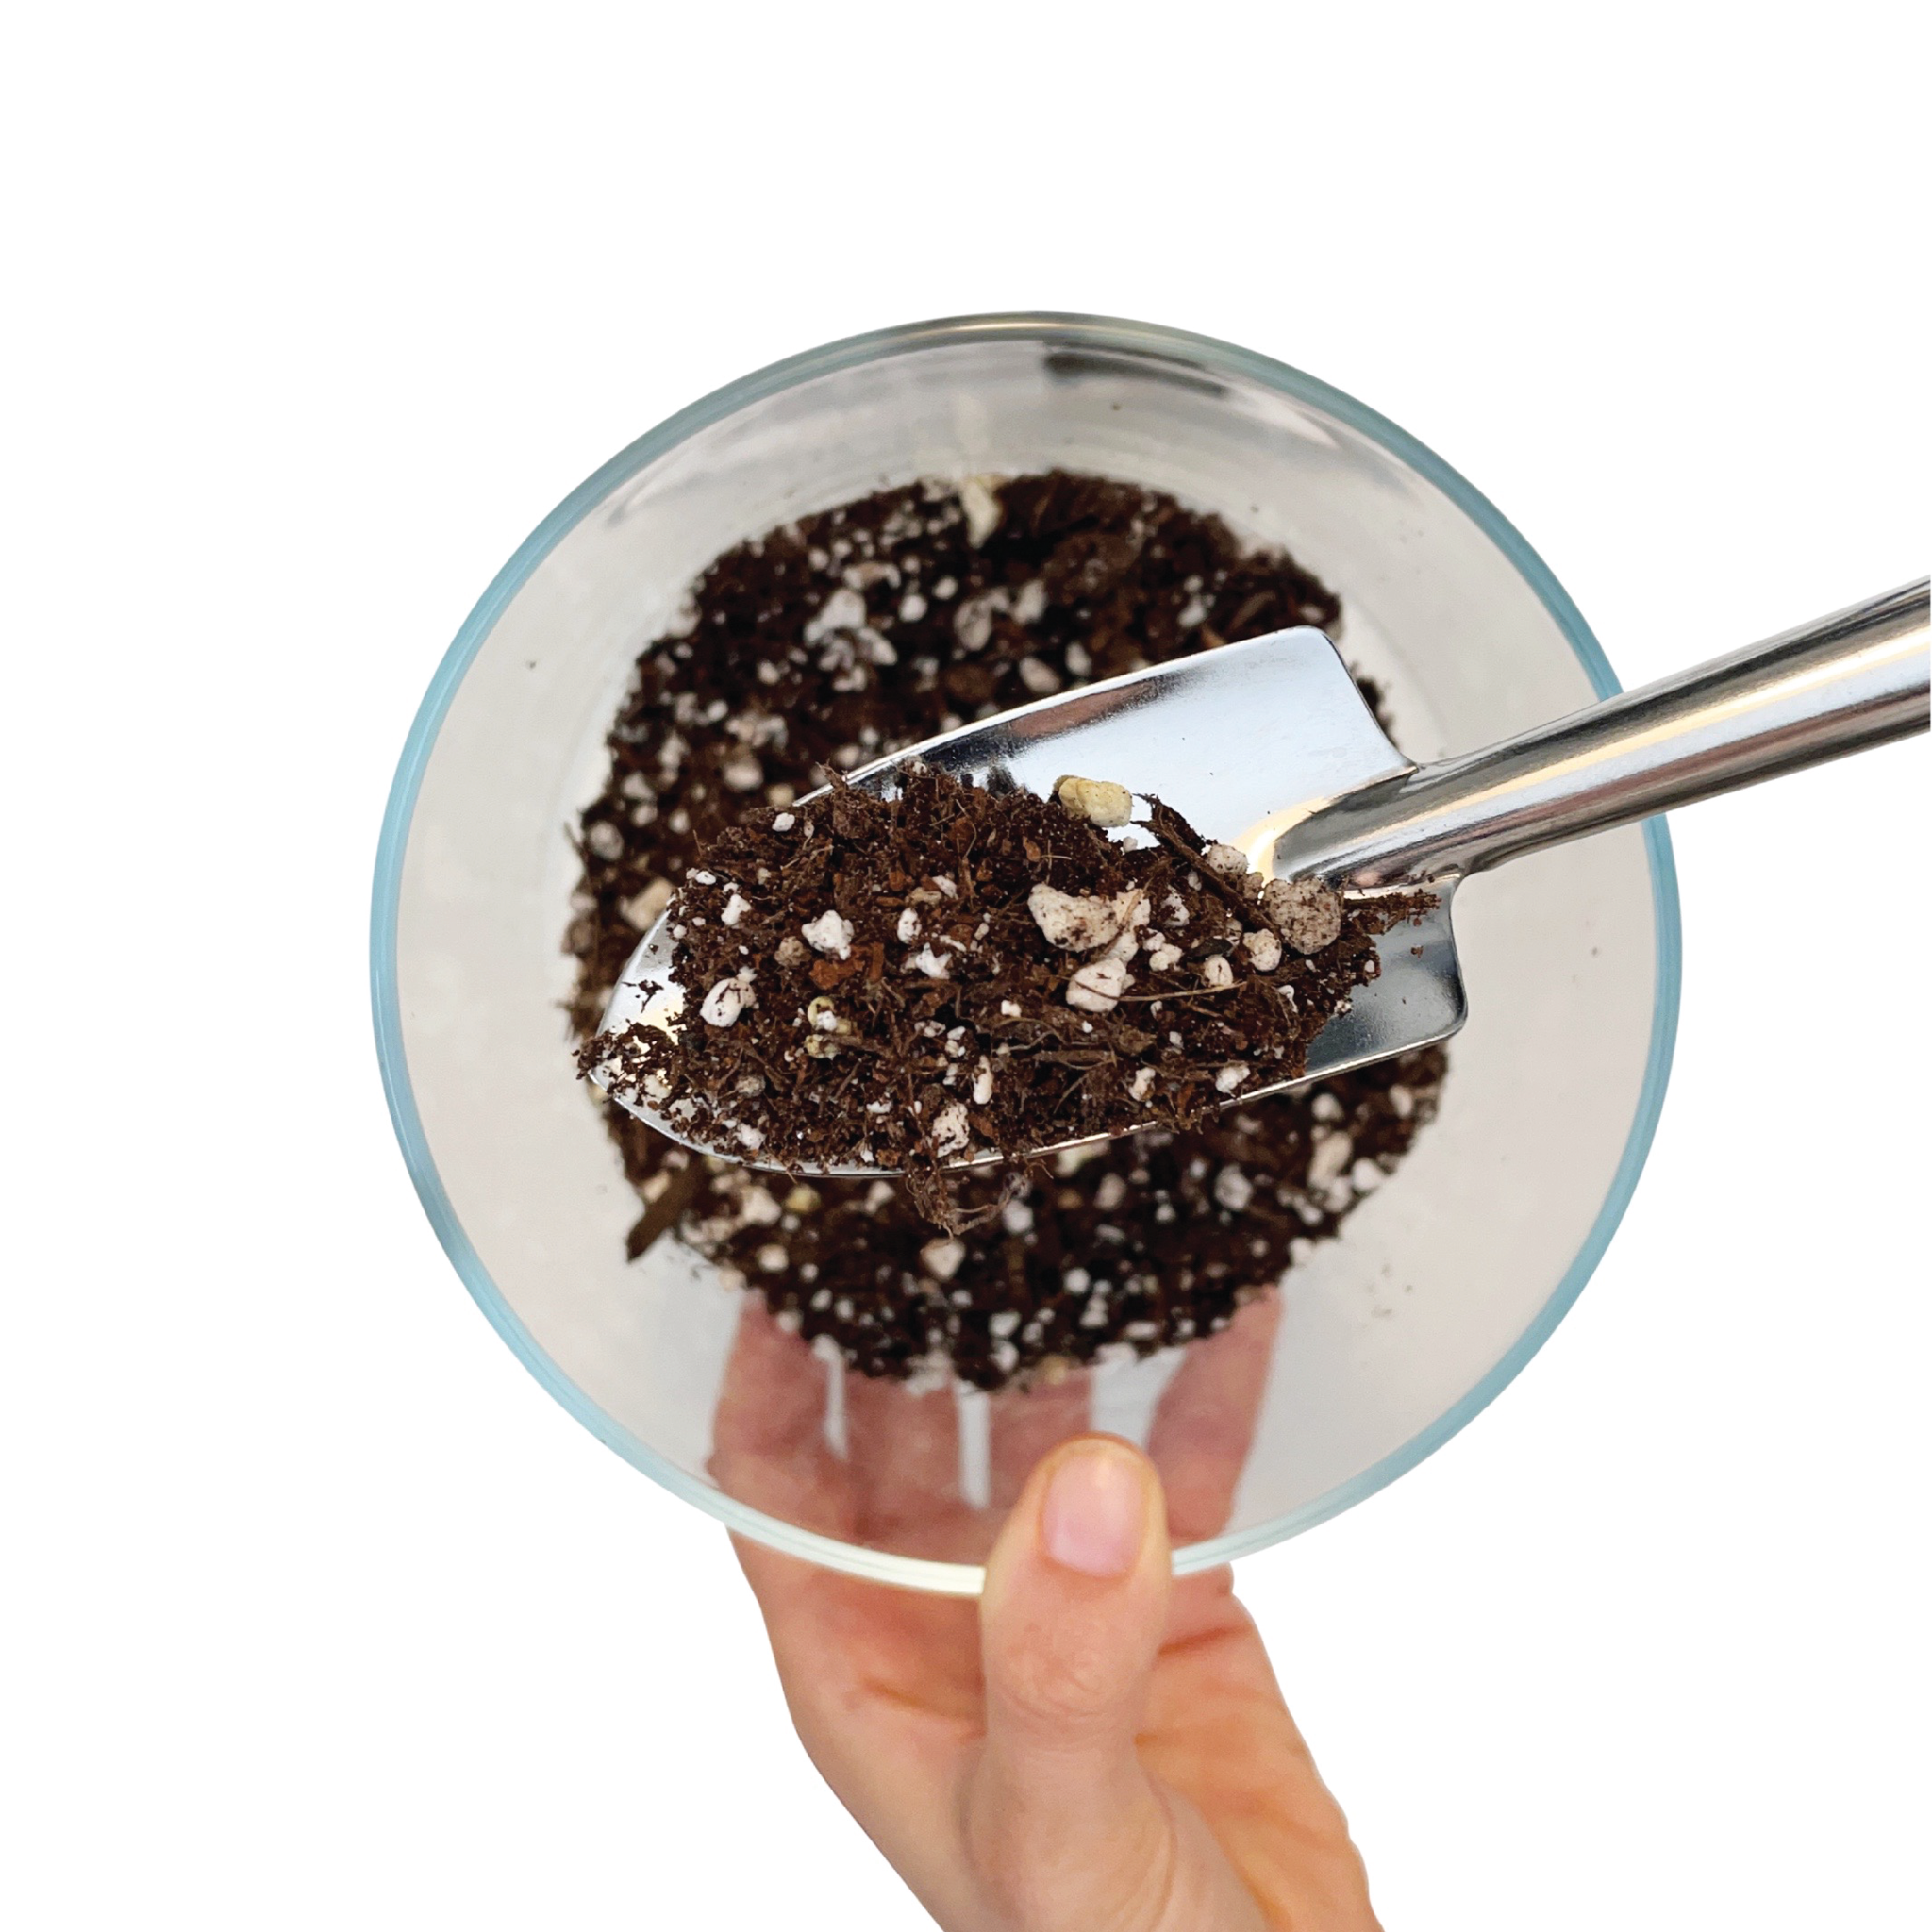
Use a good SEED STARTING MIX for your Seed Starts. Please don't use old soil, and make sure your mix is light and airy - not compacted so it's easy for your seeds to germinate (sprout).
TIP 2: USE A TRAY TO CONTAIN THE MESS
After you have added your SOIL MIX to your CONTAINER(S), you should use a TRAY underneath your Seed Starts to catch all of the excess water. Your seeds & seedlings are going to require a lot of water to grow, so the tray will help contain the mess.

TIP 3: LABEL AND DATE YOUR SEEDS
Label each Seed Start with the Seed name and Today's date. This helps you keep track of what you planted and also track how long it took for each Seed to germinate (sprout).

TIP 4: ONLY ADD 1-3 SEEDS PER POT PENDING SEED SIZE
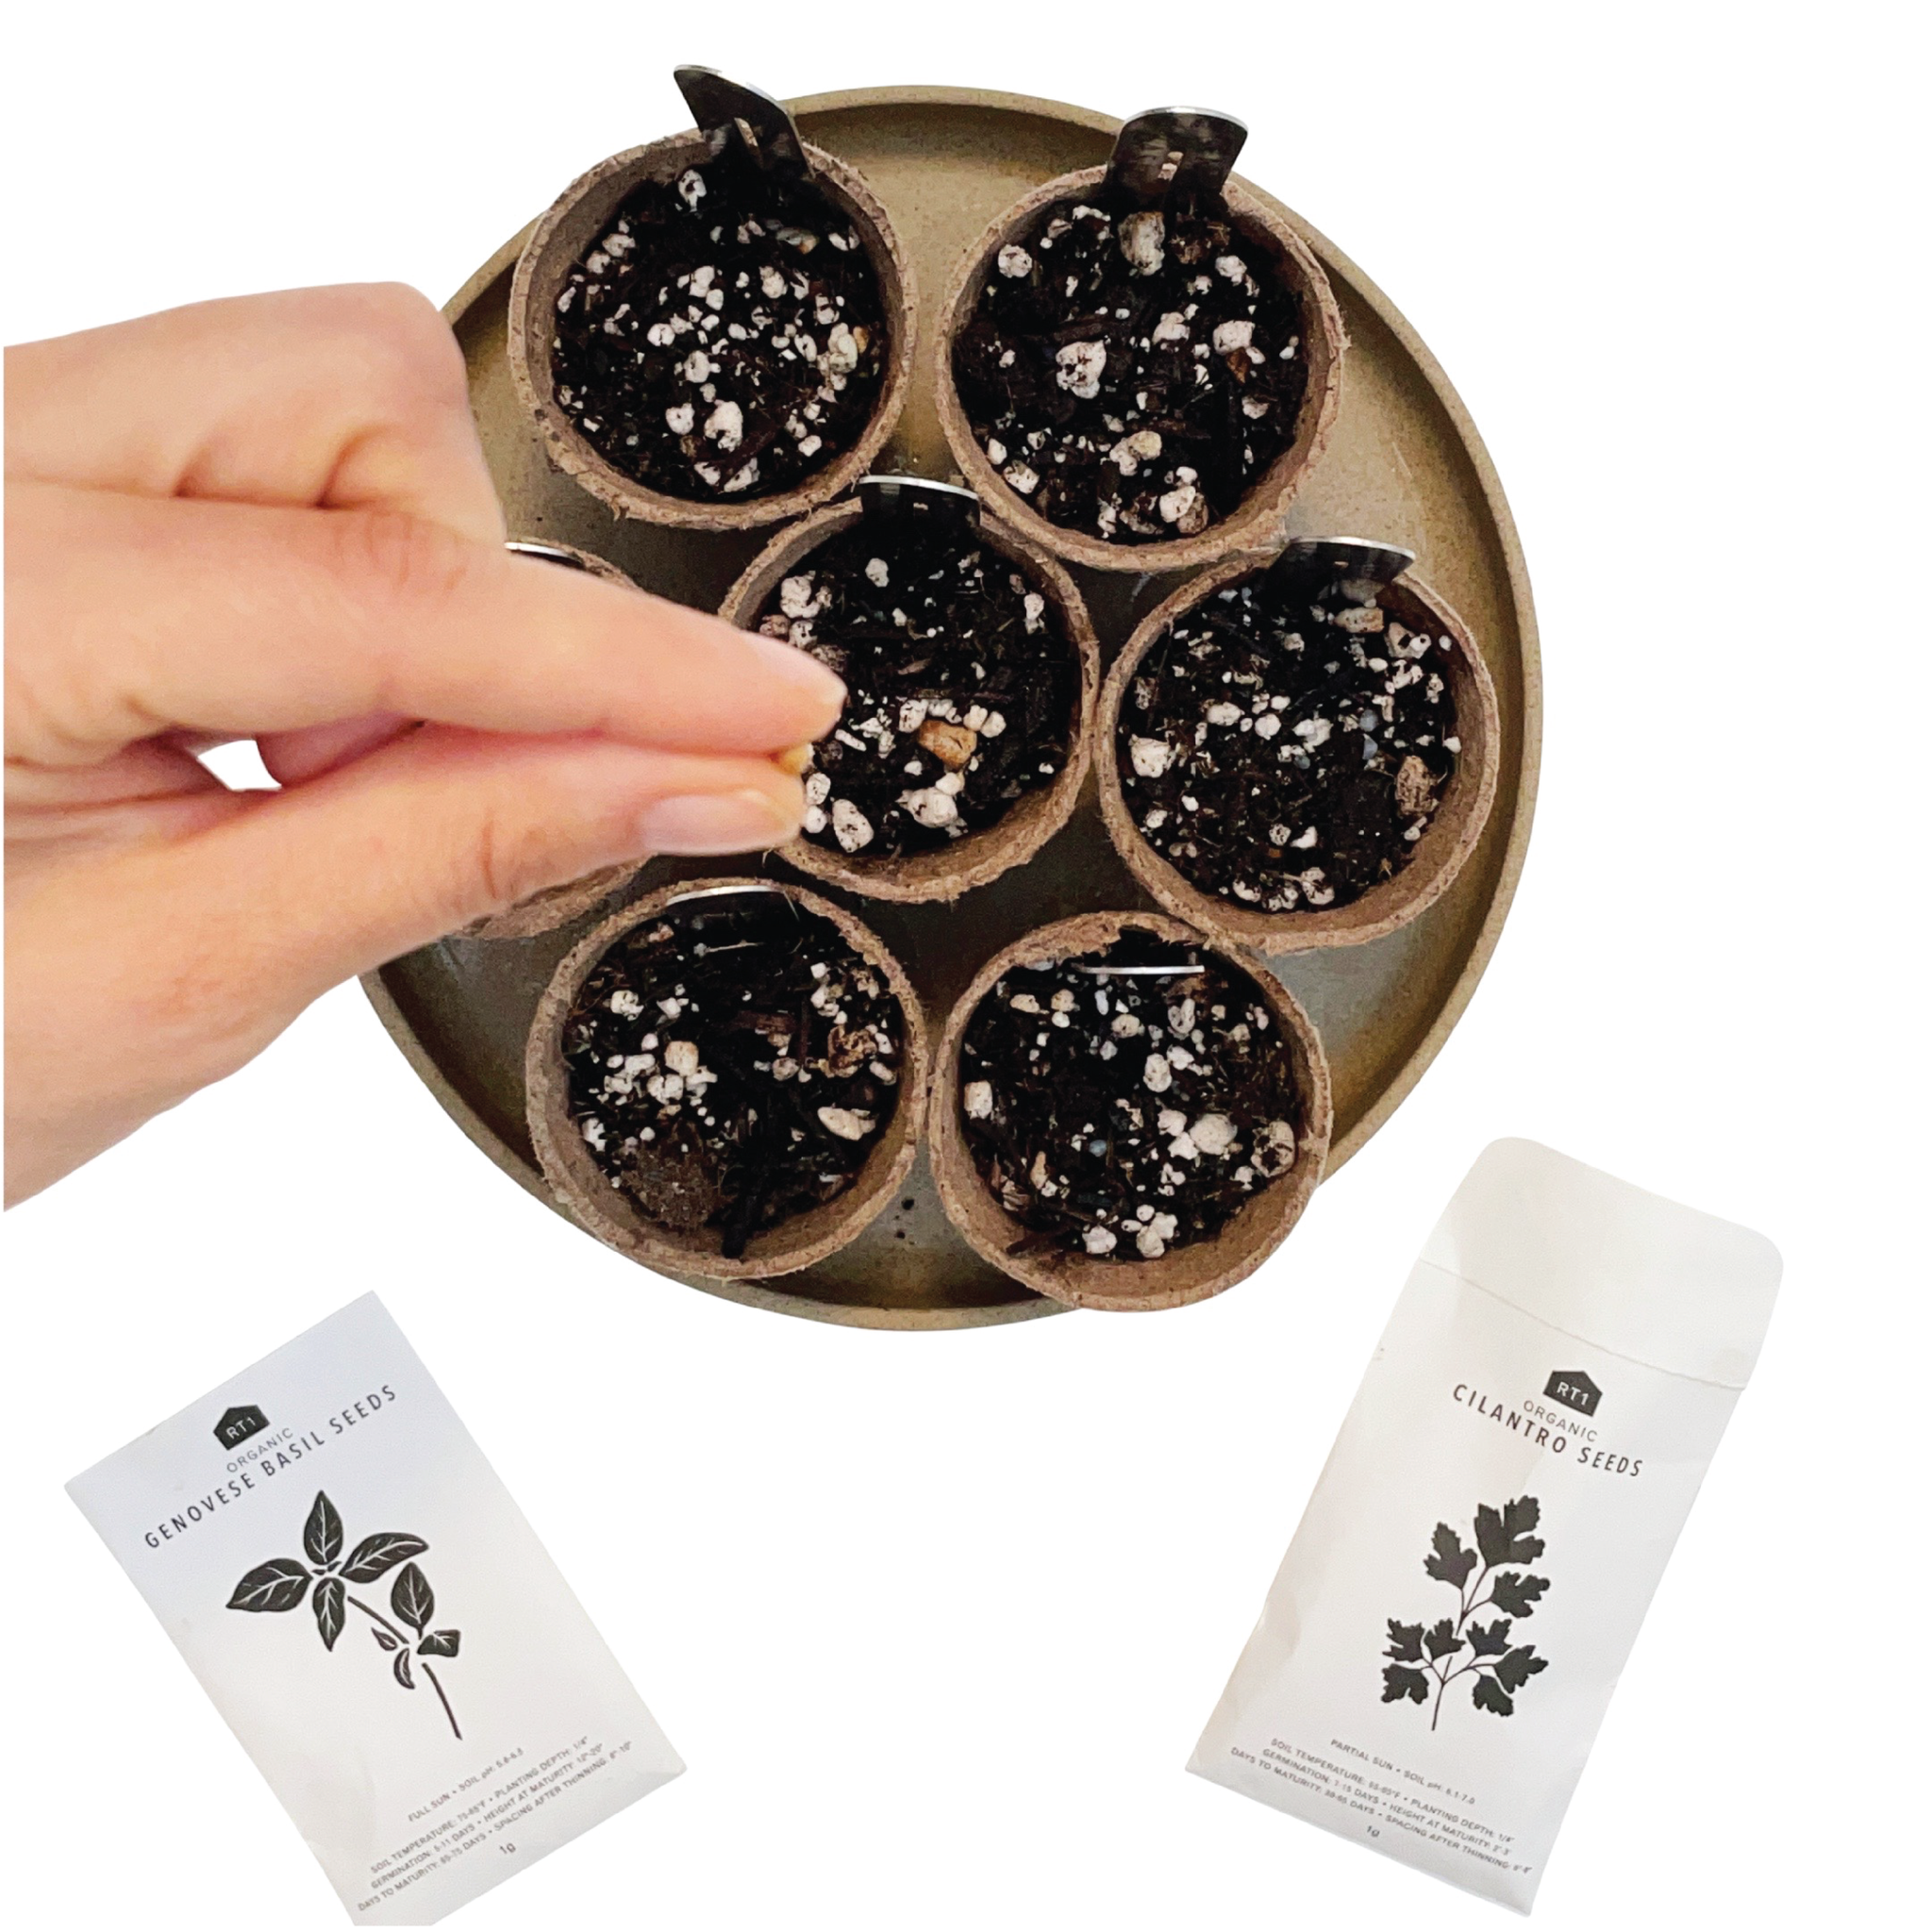
After you have moistened your soil, add 1-3 seeds to each container. For larger seeds such as CILANTRO you can place 1 seed in the container. For smaller seeds such as DILL and BASIL we added 2-3 seeds per container.
Add a thin layer of soil over your seeds - for smaller seeds a thinner layer of soil is needed, larger seeds need more. Top off your Seed Starts with a little more WATER.
For planting depth - general rule of thumb: the seeds should be covered approximately DOUBLE the size of the seed - for these seeds we added about 1/4" of soil.
TIP 5: KEEP SEED STARTS IN BOTH A WARM AND SUNNY LOCATION
Place your Seed Starts in a sunny windowsill that receives at least 6 hours of full sun. Please make sure they are not left under a vent or drafty window. If you do not have a window that is workable, we highly recommend using grow lights!

Step by step video guide is also available on our YouTube
Further Steps
- Check your soil everyday and make sure it stays moist (not drenched) and does not dry out completely.
- Once seeds start to germinate (sprout) write down the "Date of Germination" on your label.
- AFTER SPROUTING (Germination): Once your seedlings get their "true" leaves (2nd set of leaves) you are safe to separate and transplant them to a larger container if needed.
- Tags: Grow
0 comments


