Rest assured! We only send emails once every 1-2 months with product releases, sales or shop updates.
BOTTOM WATER WITH A HUMIDITY TRAY
By Rhiannon Taylor
HOW TO BOTTOM WATER YOUR PLANTS A LA HUMIDITY TRAY
Bottom watering is a method of watering your plants from the bottom up. When you place your plant into a container of water, the water is pulled up through the bottom drainage hole by the plant. This technique is used as an alternative to watering from the top.
This is a step by step guide on bottom watering your houseplants using a humidity tray + the benefits.
Time
Prep Time: 5-10 min
Materials
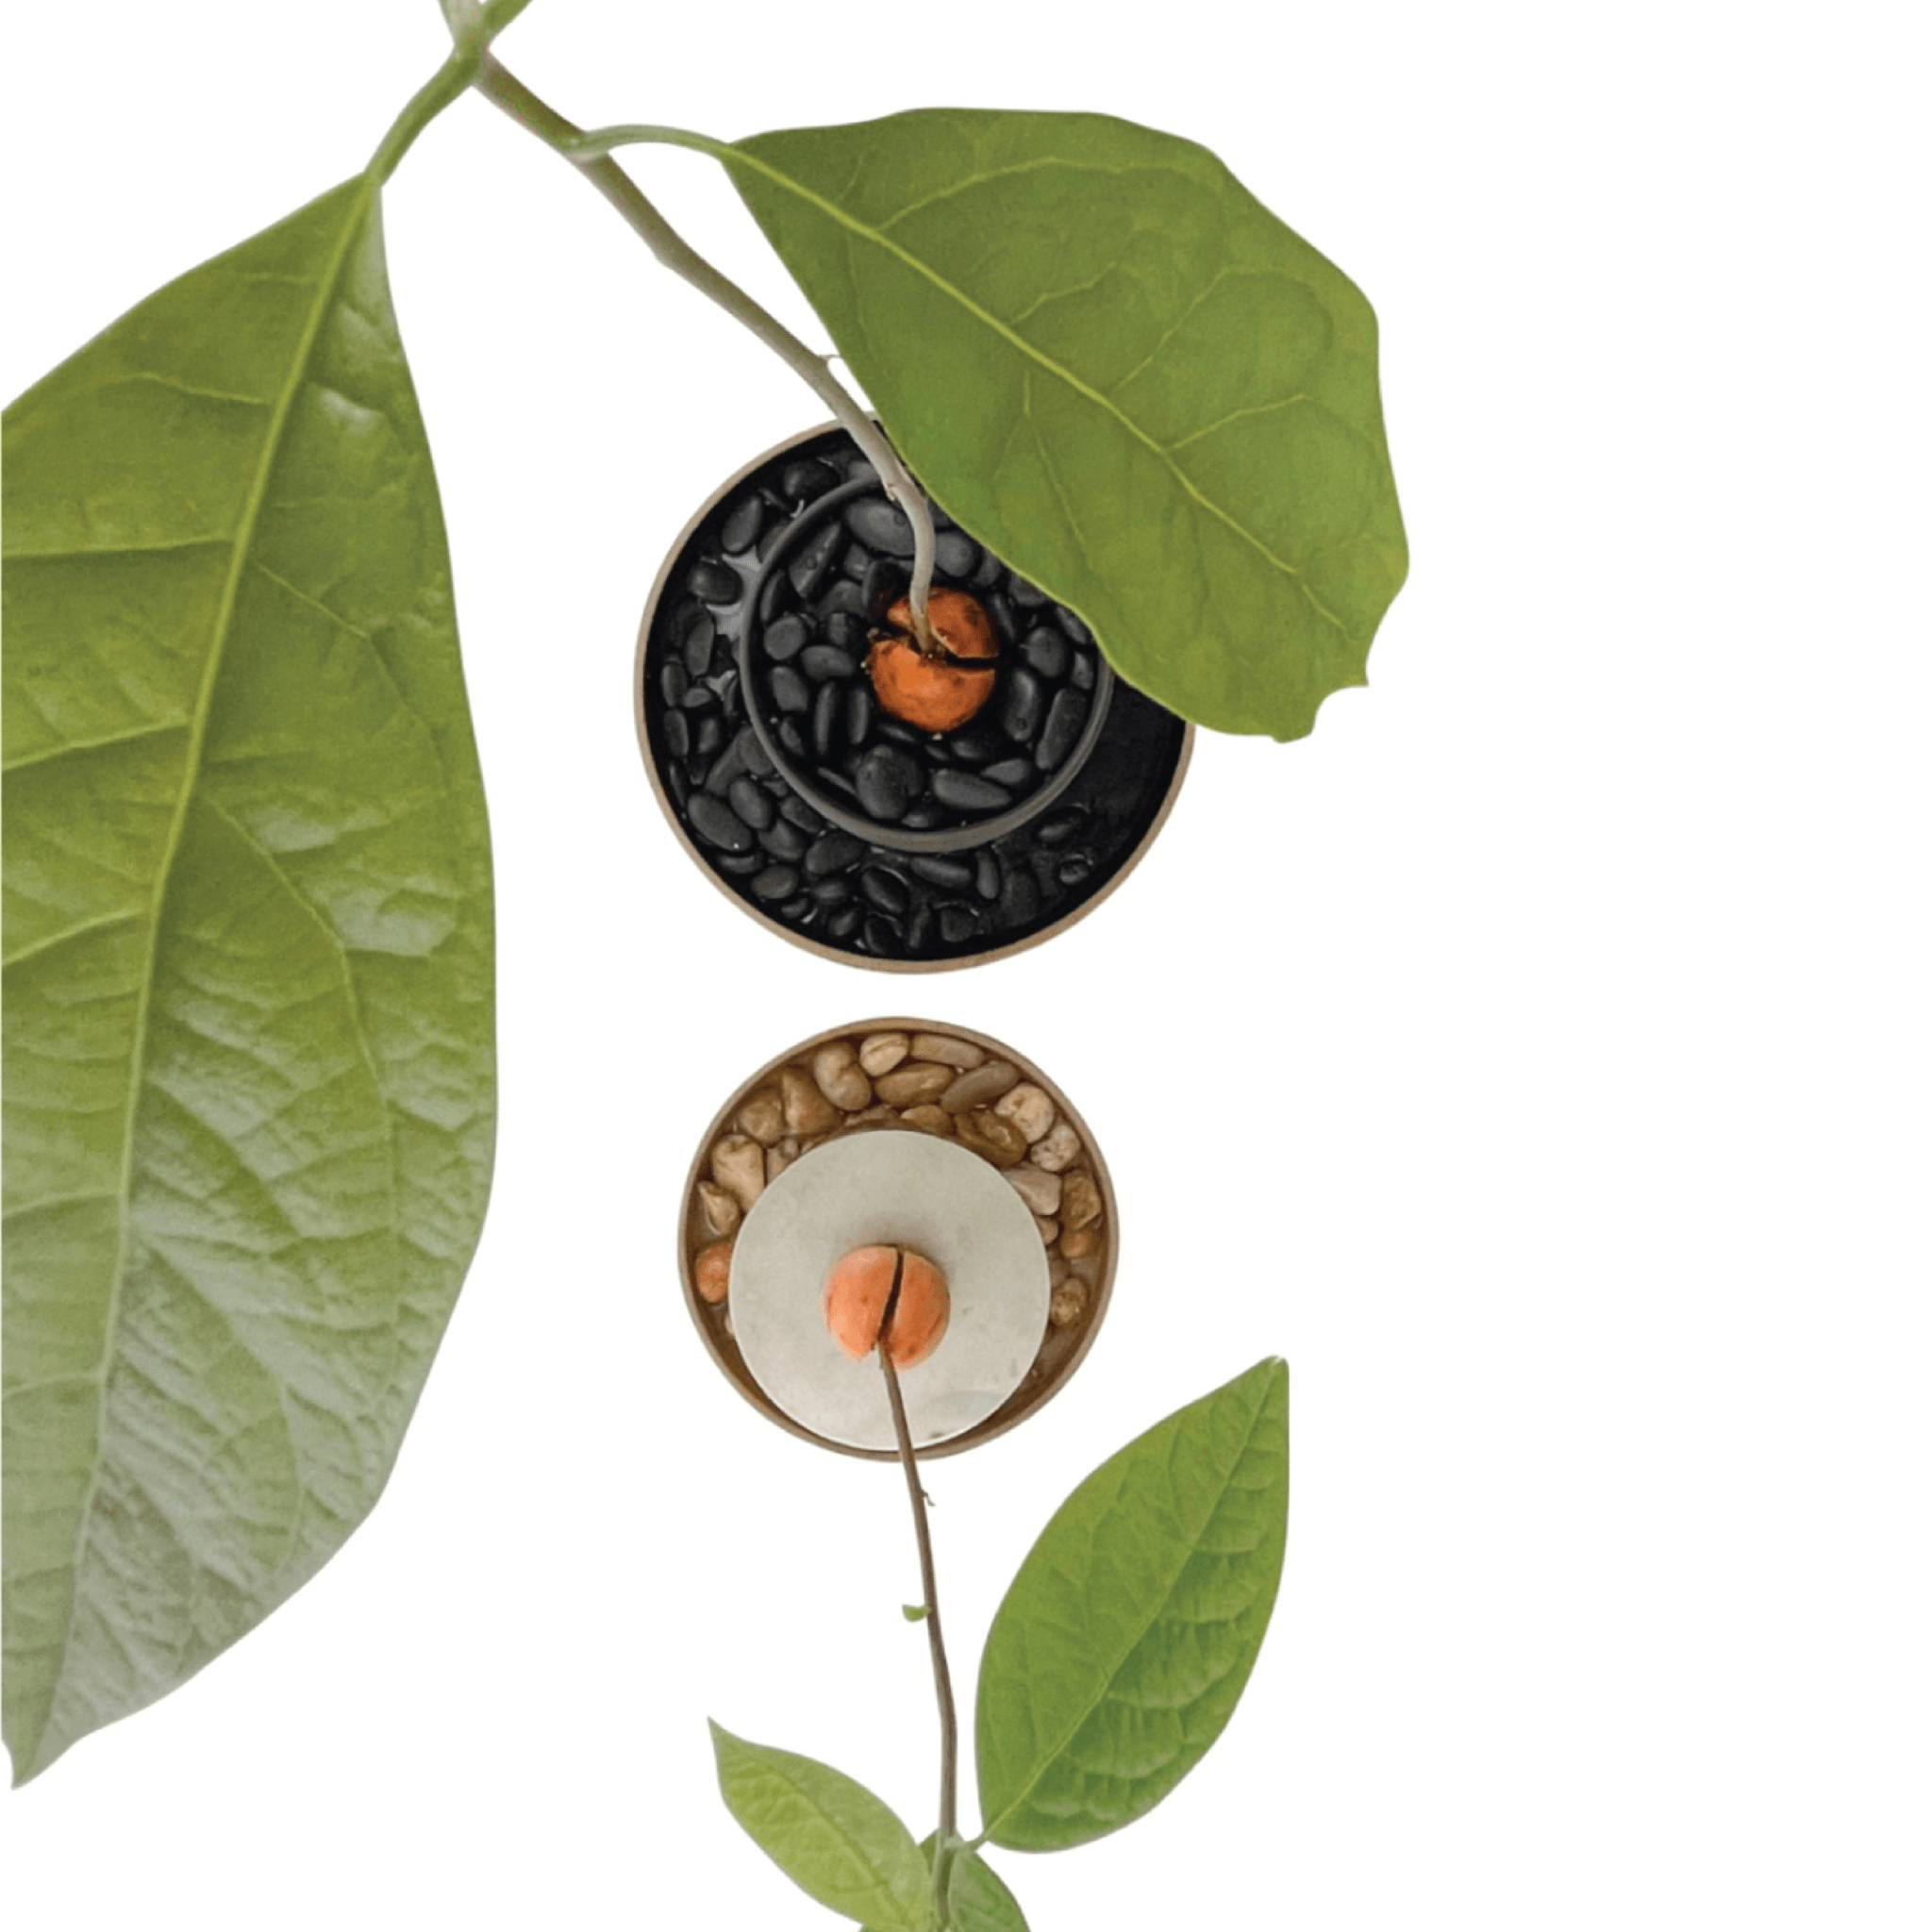
ROCKS / PEBBLES / GRAVEL - We are using our Polished PEBBLES in Natural and Grey
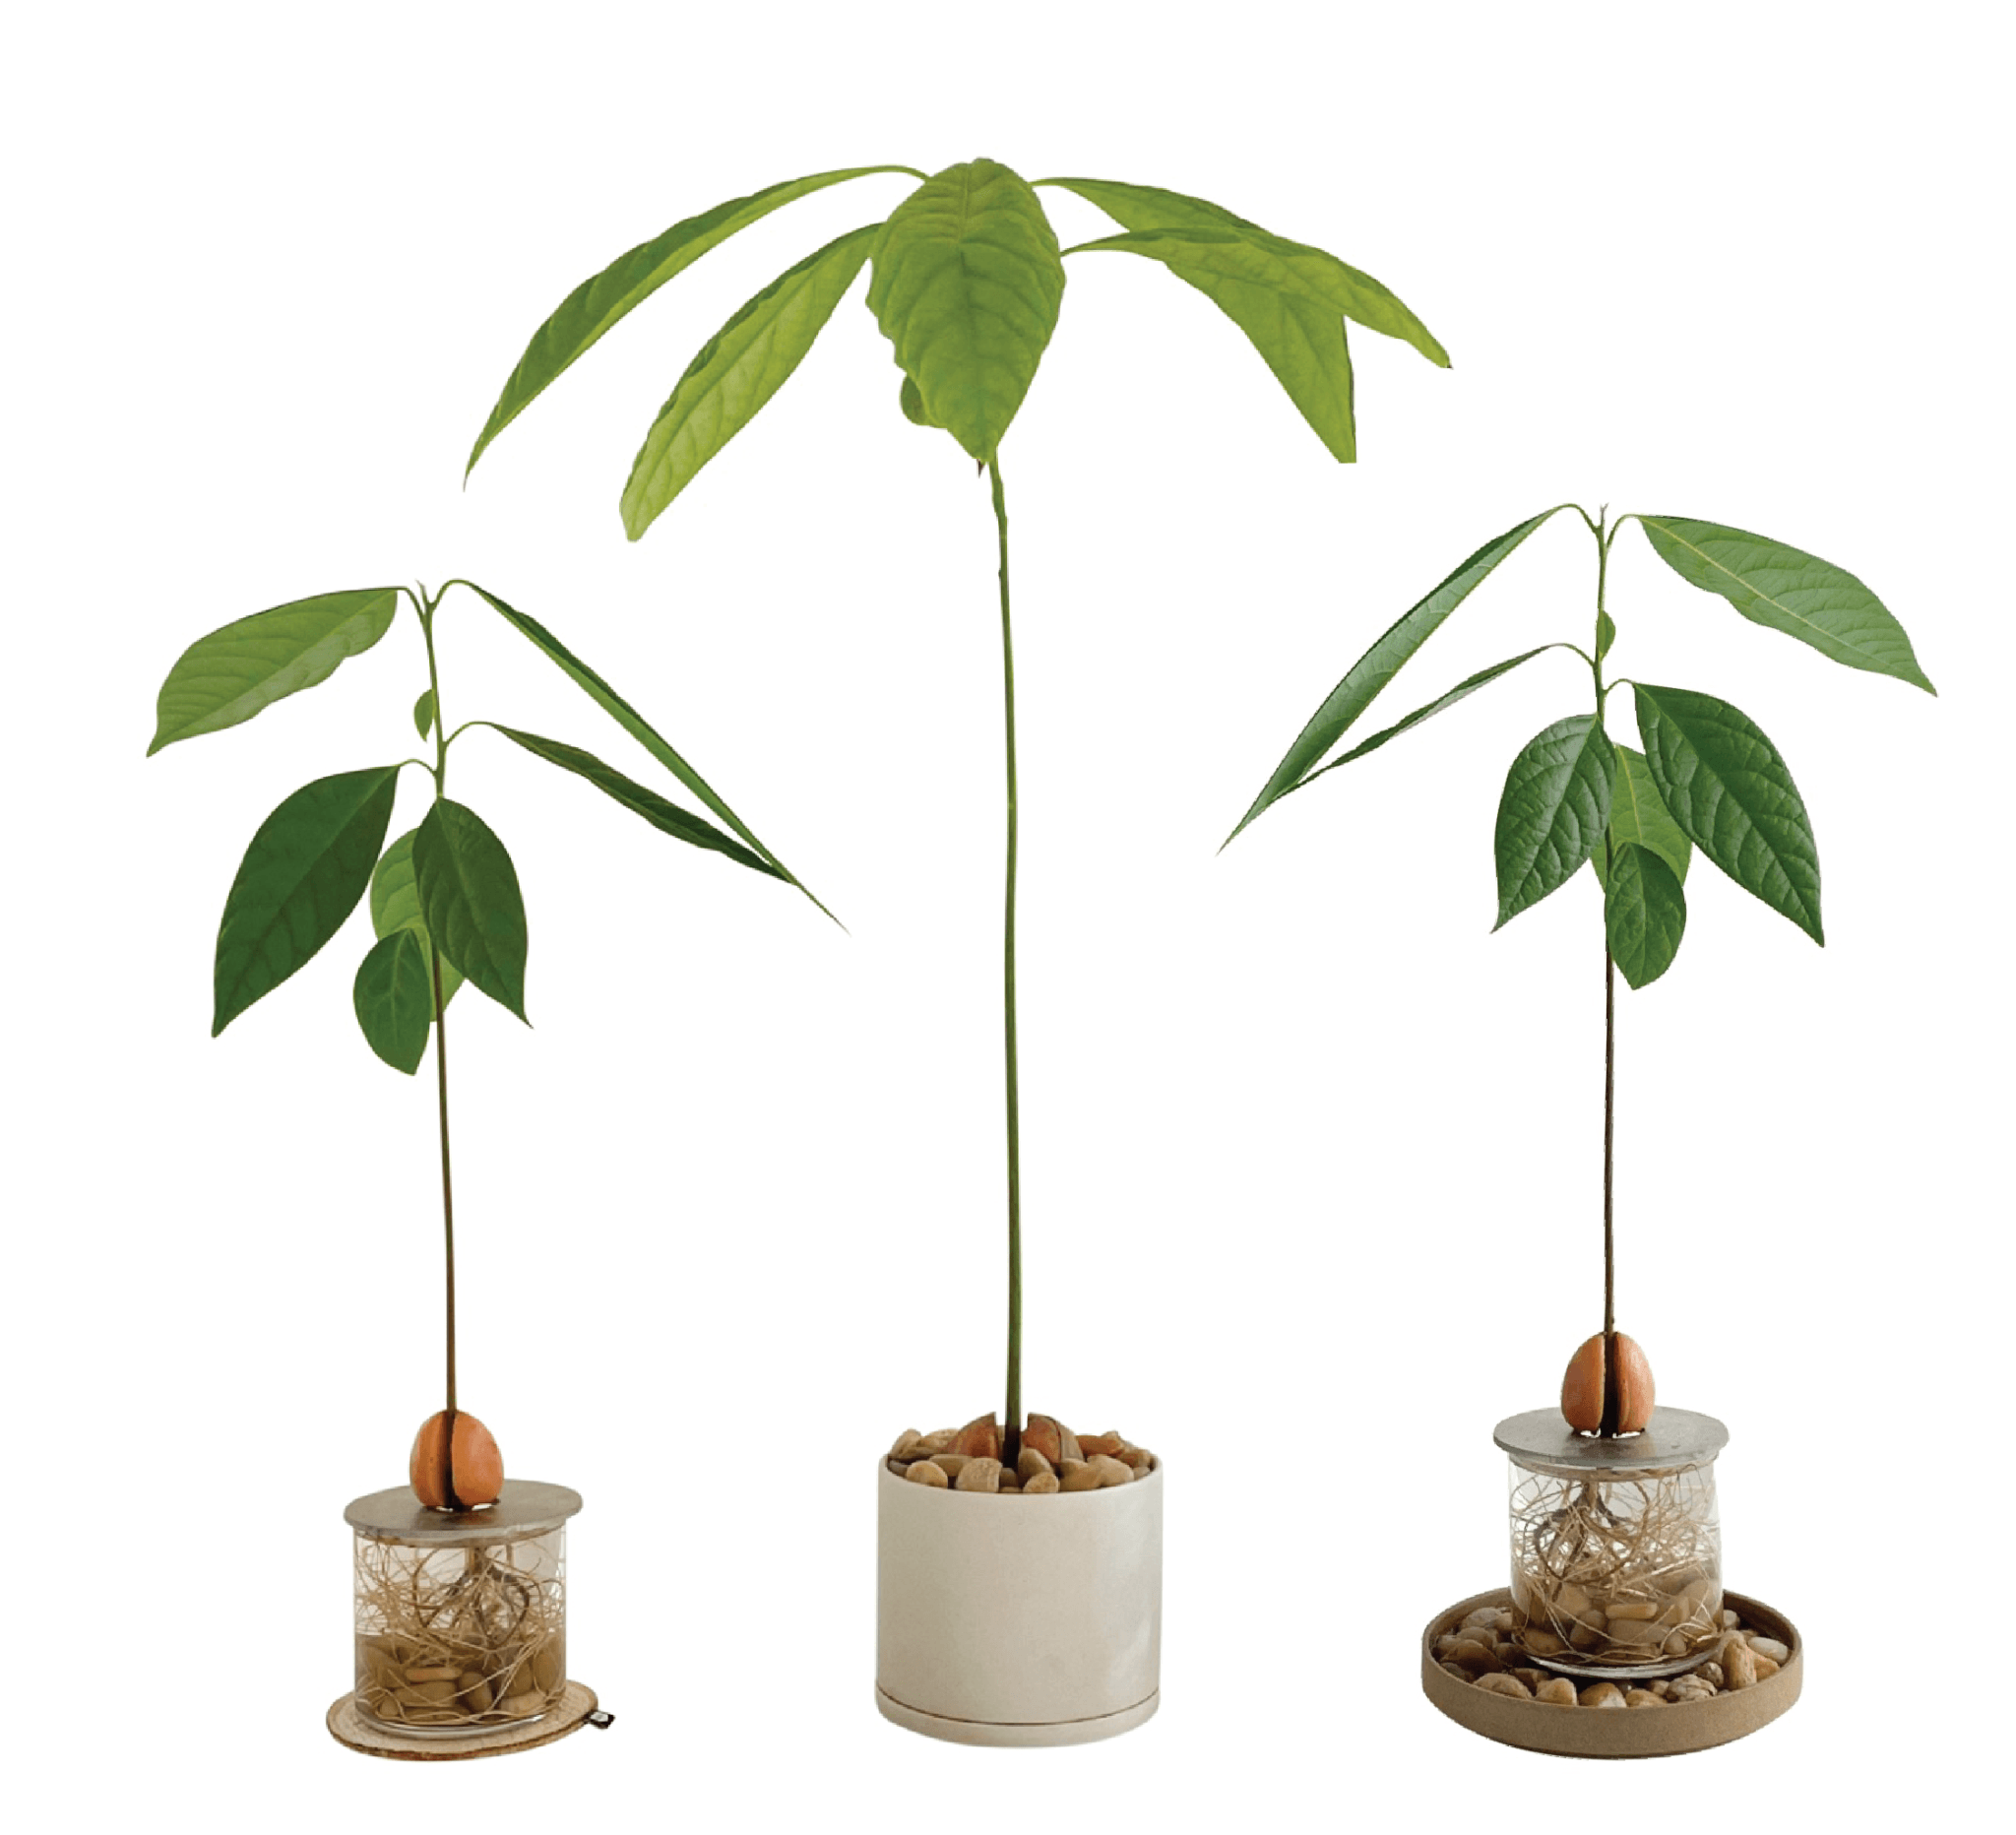
PLANT OF CHOICE - We are using our Avocado Seedling.
PLANT POT(with drainage hole!) - We are using our 4"PLANT POTin Earth Grey
POTTING SOIL - We are using ourPOTTING MIXto pot the Plant
WATER - to rinse Pebbles + add to Humidity Tray. We are using room temperature tap water
STRAINER - to rinse the silt from your rocks / pebbles / gravel
WATERING CAN (optional) - to water your humidity tray
Instructions
1. Select yourPLANT OF CHOICEand check the Pot size. We are using our Avocado Seedling planted in a4" diameter PLANT POT. To bottom water, your plant pot MUST have a drainage hole.
2. Select your TRAY/BOWL to bottom water - size should be wider in diameter than your selected Plant Pot.
PLEASE do not use a TERRACOTTA TRAY as it will absorb the water and leak. It is best to use a non-porous tray material such as Metal (that will not rust), Glass or a Glazed Ceramic/Porcelain.
3. Add clean PEBBLES in a thin layer covering the bottom of yourTRAY- spread out evenly.
4. Add yourPLANT centered onto yourHUMIDITY TRAY. Do not include your PLANT POT saucer if it has one.
5. Check the current moisture of your Plant Soil either with a moisture meter or just your finger or a chopstick works too! If Soil is dry a few inches below the top soil, proceed with BOTTOM WATERING.
6. AddWATERto yourHUMIDITY TRAY so that the water level is ABOVE the top of the rocks and reaching the bottom of your PLANT POT.
7.Let PLANT sit for about 10 minutes. Check the Soil moisture again. It should be moist just below the top of your Soil.
8. If the SOIL is still dry, repeat soaking process. But do NOT let it soak too long or this can cause your plant to soak up too much water and lead to root rot.
9. Once PLANT has received enough water. Just make sure your Humidity Tray water level is BELOW the top of the rocks. This ensures the drainage hole is not absorbing water and that it is now only acting as a humidity tray (adding moisture to the air around your plant).
9. If you are using a BOWL to bottom water - you can return your plant to its Saucer.
BENEFITS:
REHYDRATES - works well for very dehydrated plants
ROOT DIRECTION - helps plant roots grow down towards the water source
MORE CONSISTENT WATERING - soil and and plant roots receive water more evenly
REDUCES RISK OF OVER OR UNDER WATERING - plants control how much water they need to absorb compared to top watering
PREVENTS EXCESS WATER ON PLANT FOLIAGE - helpful for plants that are sensitive to water on their leaves (i.e. Violets or Date Palms)
CAN REDUCE PESTS - if you are ensuring the Soil is just staying moist below the top soil line you are preventing a breeding ground for fungus gnats
LESS MESSY - typically when you top water you have a high chance of water overflowing when the water goes through the drainage hole. Bottom watering should never overflow.
INCREASES HUMIDITY - if you use a humidity tray it will create a humid micro-climate for your plants. Increases humidity levels slightly around plant placed on top of humidity tray
NOTE: if you need to significantly increase the humidity % in your room - please use a Humidifier
BONUS: method works well for seedlings!
FURTHER STEPS
If you continue to bottom water your plants, periodically top water them to flush out any salt and mineral build up, once a month or so. Salt and mineral build up is a problem you need to watch out for with bottom watering.
Step by step video guide is also available on ourYouTube