MAKE FLORAL ICE CUBES
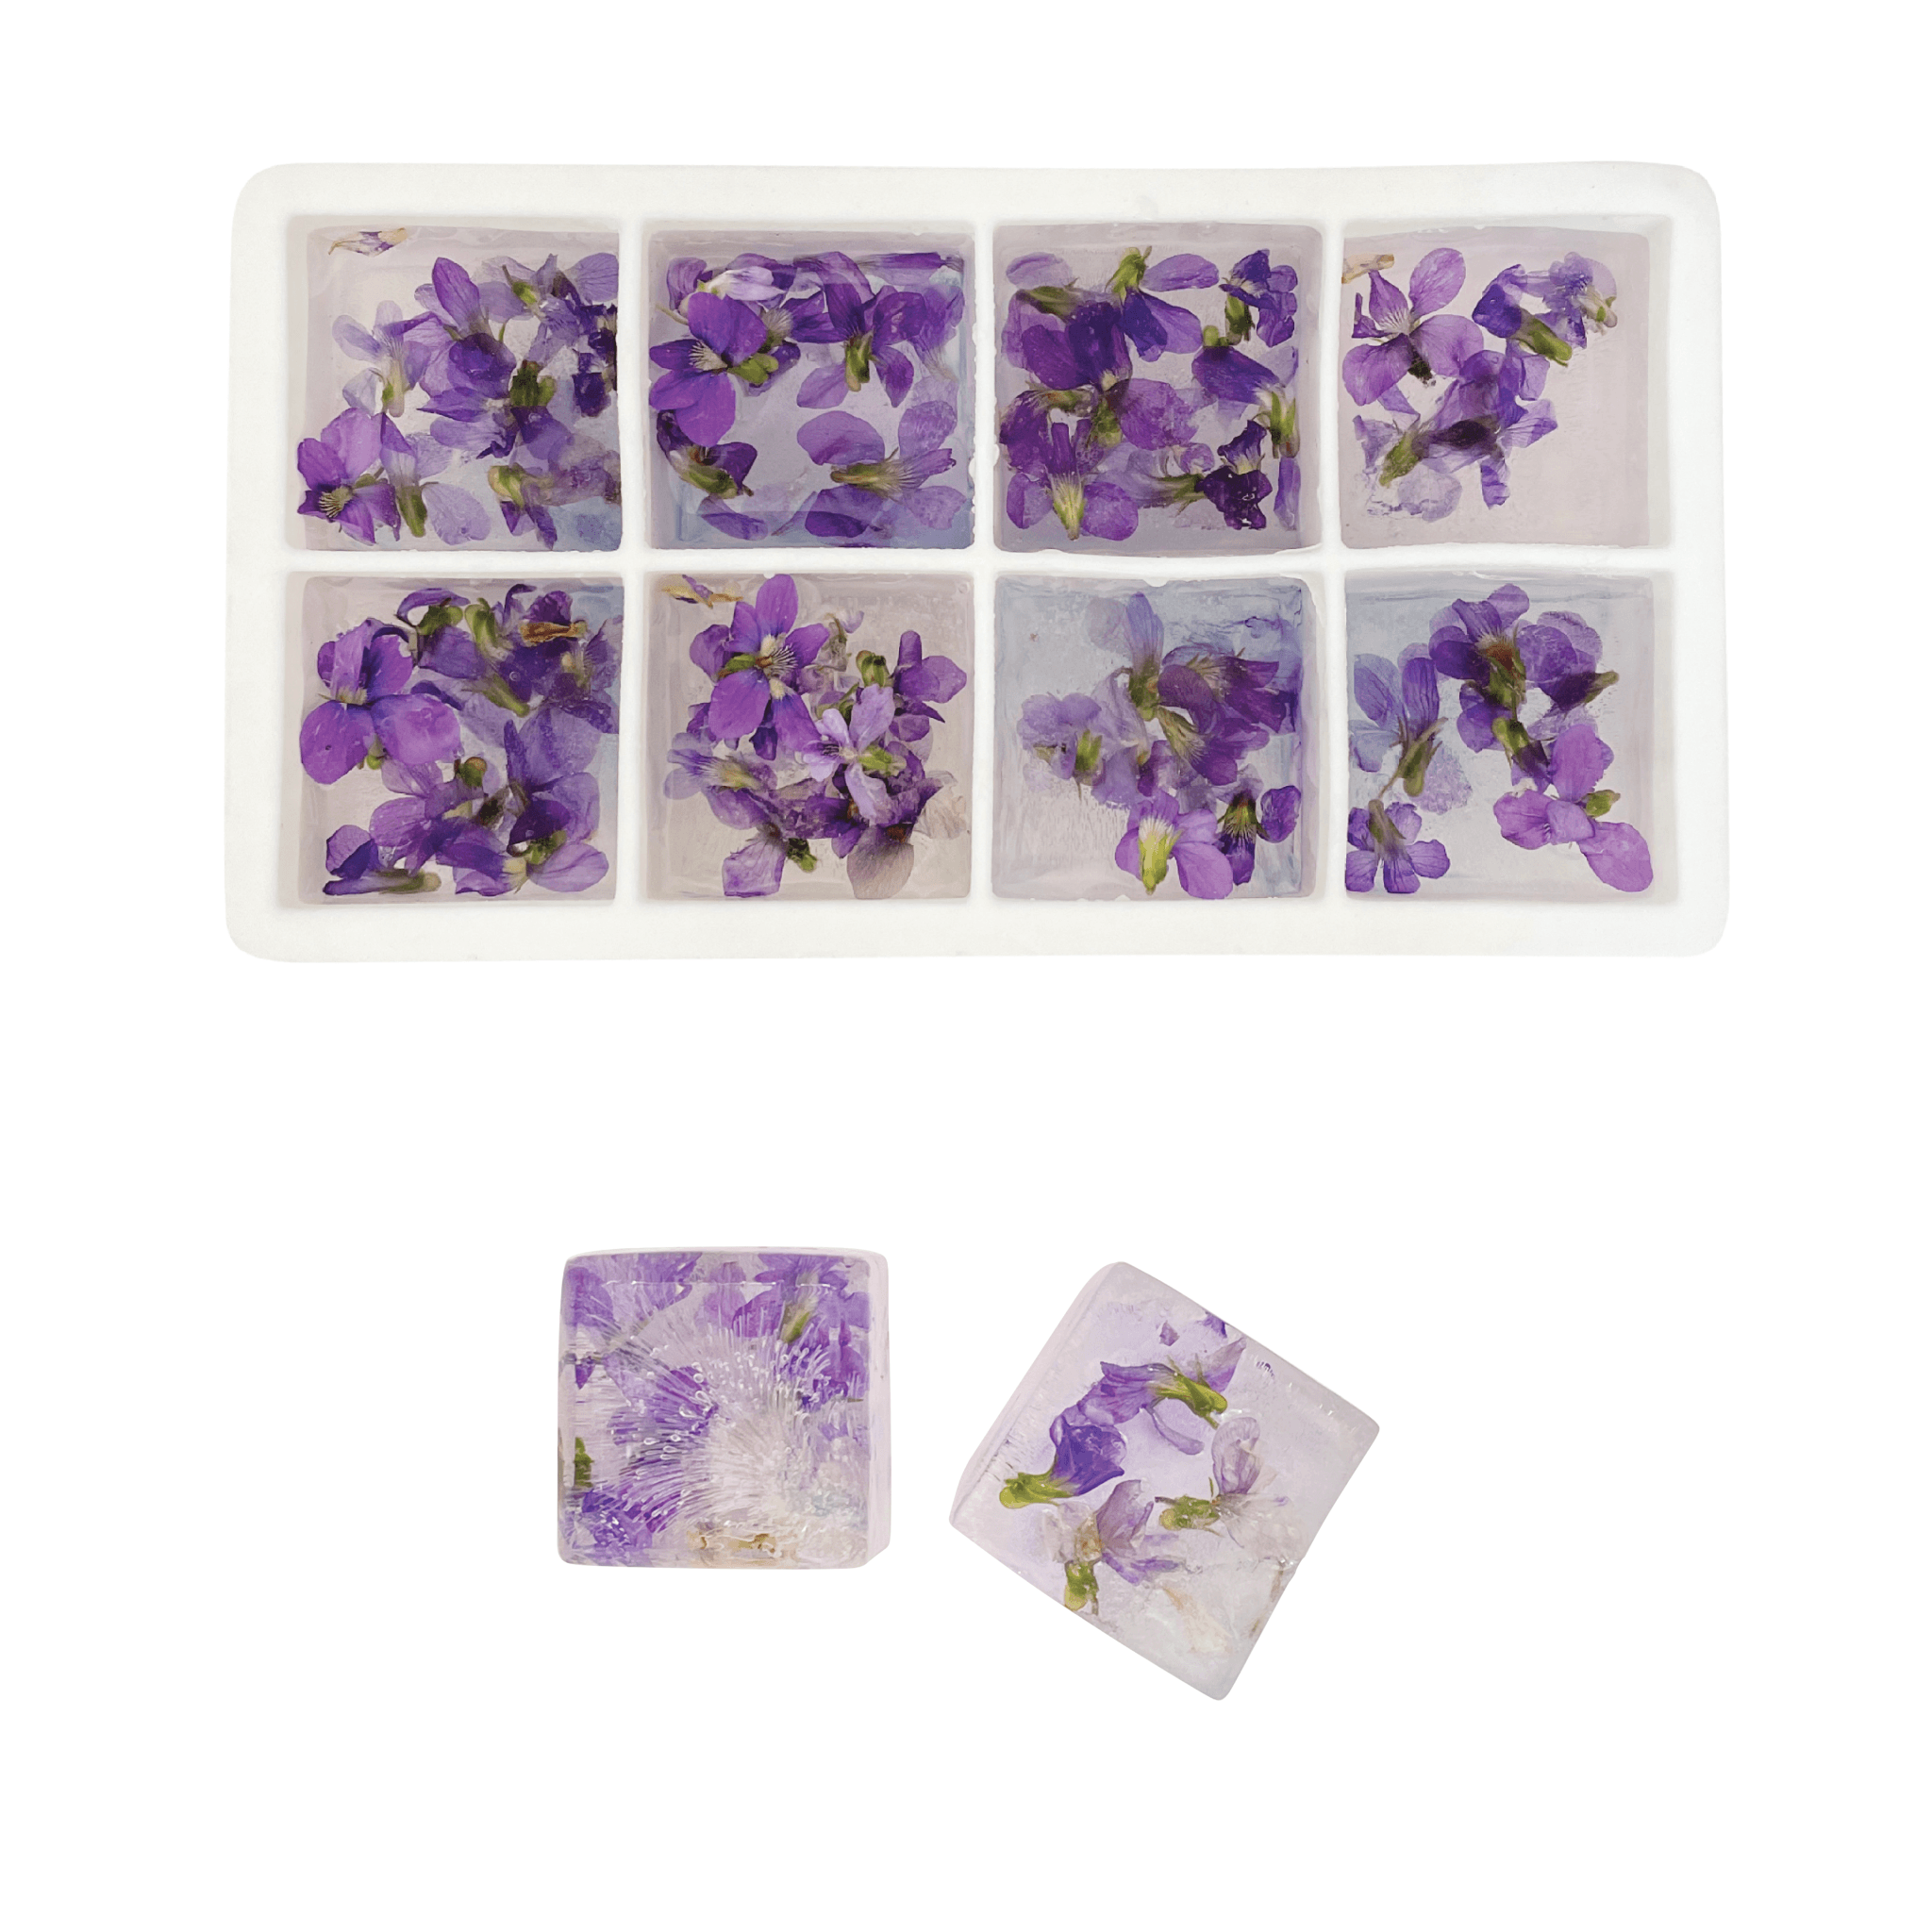
HOW TO MAKE ICE CUBES WITH EDIBLE FLOWERS
A great way to preserve and enjoy your edible flower blooms. You can grow your own flowers or buy fresh from the market.
This is a step by step guide on creating your own Floral Ice Cubes.

Time
Prep Time: 3 min per layer
Freeze time: 6-12 hours per layer
Materials
- EDIBLE FLOWER OF CHOICE - we are using Violas / Wild Violets.
- ICE CUBE TRAY - we are using a 2" square Silicone Cocktail ice cube tray. You can use any shape or size ice cubes.
- DISTILLED WATER - to use for ice cubes *recommended for ice cubes to be more clear.
- TAP WATER - to rinse flowers
- GLASS(ES) OF YOUR CHOICE - to hold your cubes for drinking
- BEVERAGE OF YOUR CHOICE - you can use anything from sparkling water, to your favorite cocktail.

Instructions
1. Select your EDIBLE FLOWER OF CHOICE (grow your own or purchase fresh). Flower blooms should typically be used within 2-3 days. It is ideal to harvest them right before using so they are the most fresh. Below are Wild Violets from our yard that we had readily available.

TIP: If you do buy or harvest your flowers and can't use immediately, the flowers will last longer in your fridge if you store them in an airtight container. I kept some flower blooms in the fridge for almost 2 weeks - they started looking very sad so I just added them to my compost. Ideally, use them as soon as possible.
Other edible flower blooms that can be used:
- Calendula
- Lavender
- Marigold
- Dianthus
- Nasturtium
- Borage
- Hibiscus
- Viola / Violets / Pansy
- Pansies
- Rose
- Squash / Zucchini Blossom
- Chive Bloom
- Honeysuckle
- Lilac
- Chamomile
- Bachelor's button
- Dandelion
- Clover
- Any herbs can be added too for more greenery
- optional add: citrus zest
Please make sure to know what the flower is before using and be sure it is edible and safe to eat!
We also have a seed pack of Edible Flowers if you want to try growing your own from Seed:
For this example, we are using VIOLAS:

2. First and foremost - rinse your FLOWERS. Whether you grew them or bought them from the store - always rinse them in TAP WATER to remove any dirt or potential bugs that may not be easily seen.

3. Select your ICE CUBE TRAY - we are using a Cocktail Tray with 2" ice cubes. Since these are larger cubes we are going to create the floral ice cubes in 3 layers. To start, fill each cube 1/3 full with DISTILLED WATER*
*NOTE: Using distilled water will keep the frozen cubes more clear. You can purchase distilled water or just boil water at home to make it distilled.

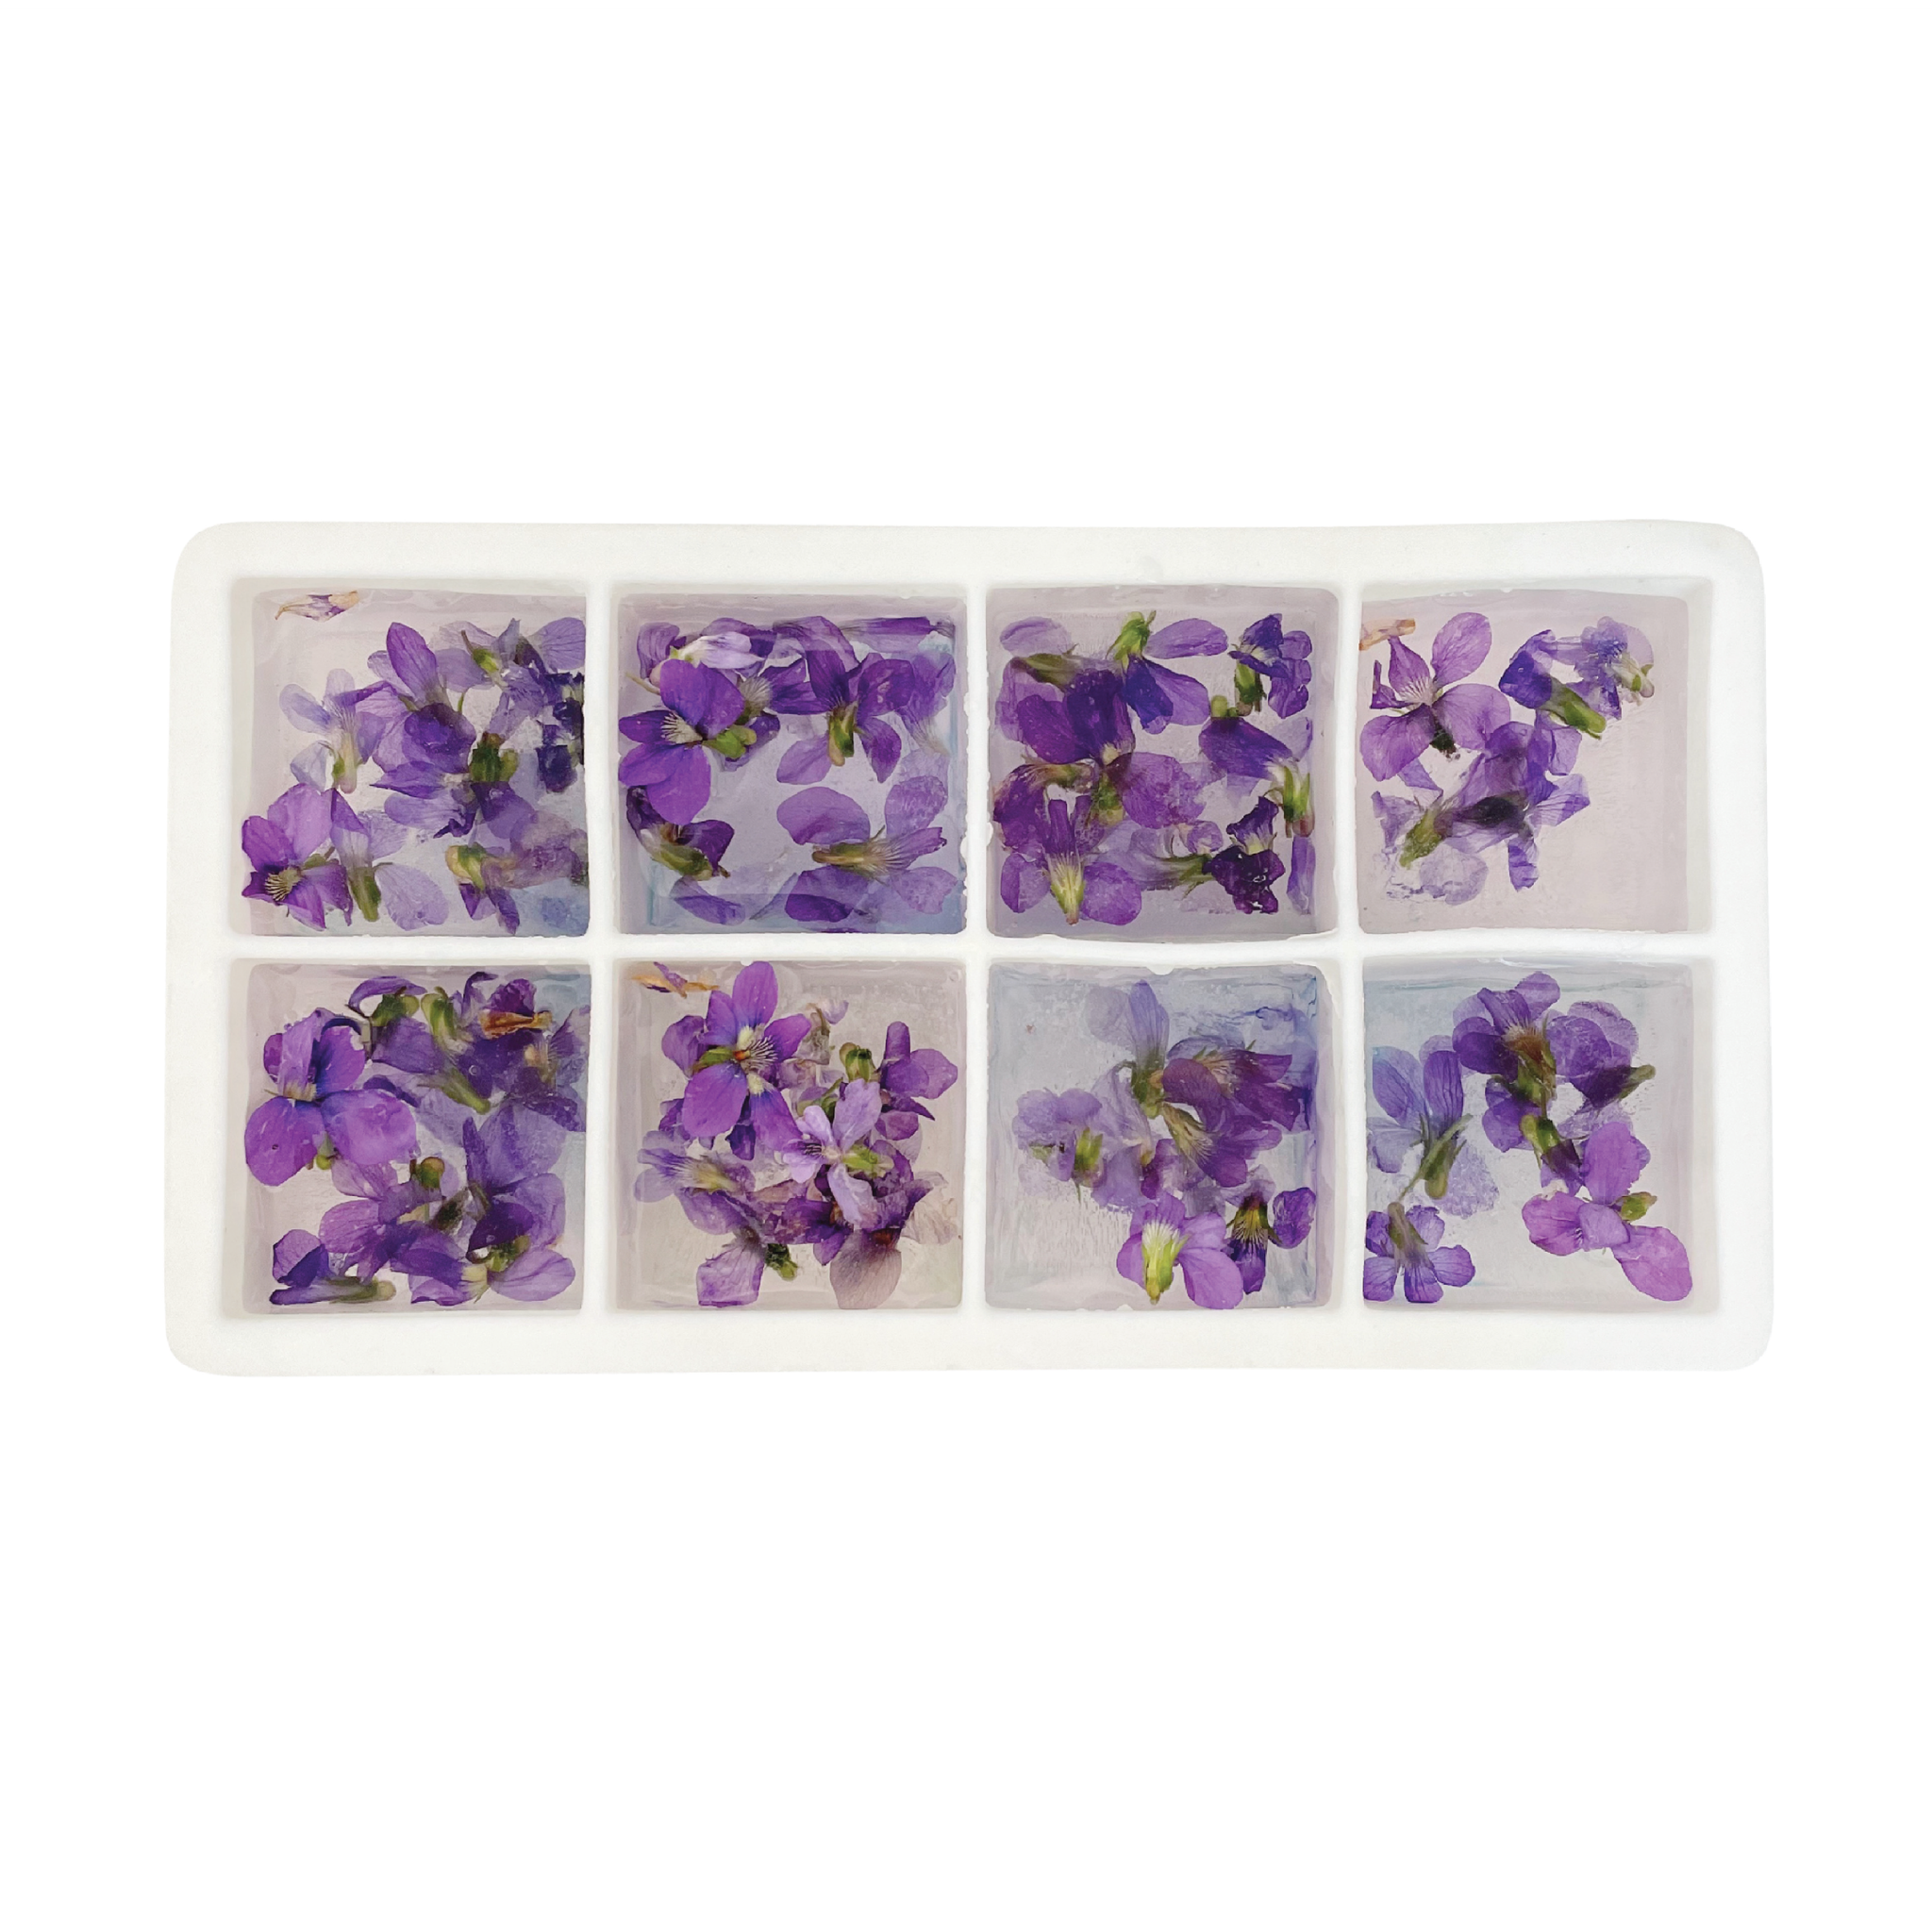
4. Add 1-5 flowers to each cube - pending on your FLOWER size. The Violas we are using are fairly small, so we are adding several flowers to each cube. You can add flower petals or full flower blooms to each cube.

NOTE: We recommend freezing in at least 2 layers so that all your flowers do not float to the top. Layering ensures some of the flowers will freeze in the center. If you are using smaller trays such as 1" cubes - you could do these in 2 layers.
5. Place 1/3 filled ICE CUBE TRAY in freezer for at least 6 hours or overnight.

6. For Layer 2 - fill your ICE CUBE TRAY another 1/3 full with DISTILLED WATER. Add FLOWERS as previous step and quickly place in the freezer.
TIP: Work quickly as things will move around if they melt.

7. For the final layer - repeat filling the rest of the cubes to the top (not too full) with DISTILLED WATER, add your FLOWERS, and freeze the ICE CUBE TRAY for another 6 -12 hours
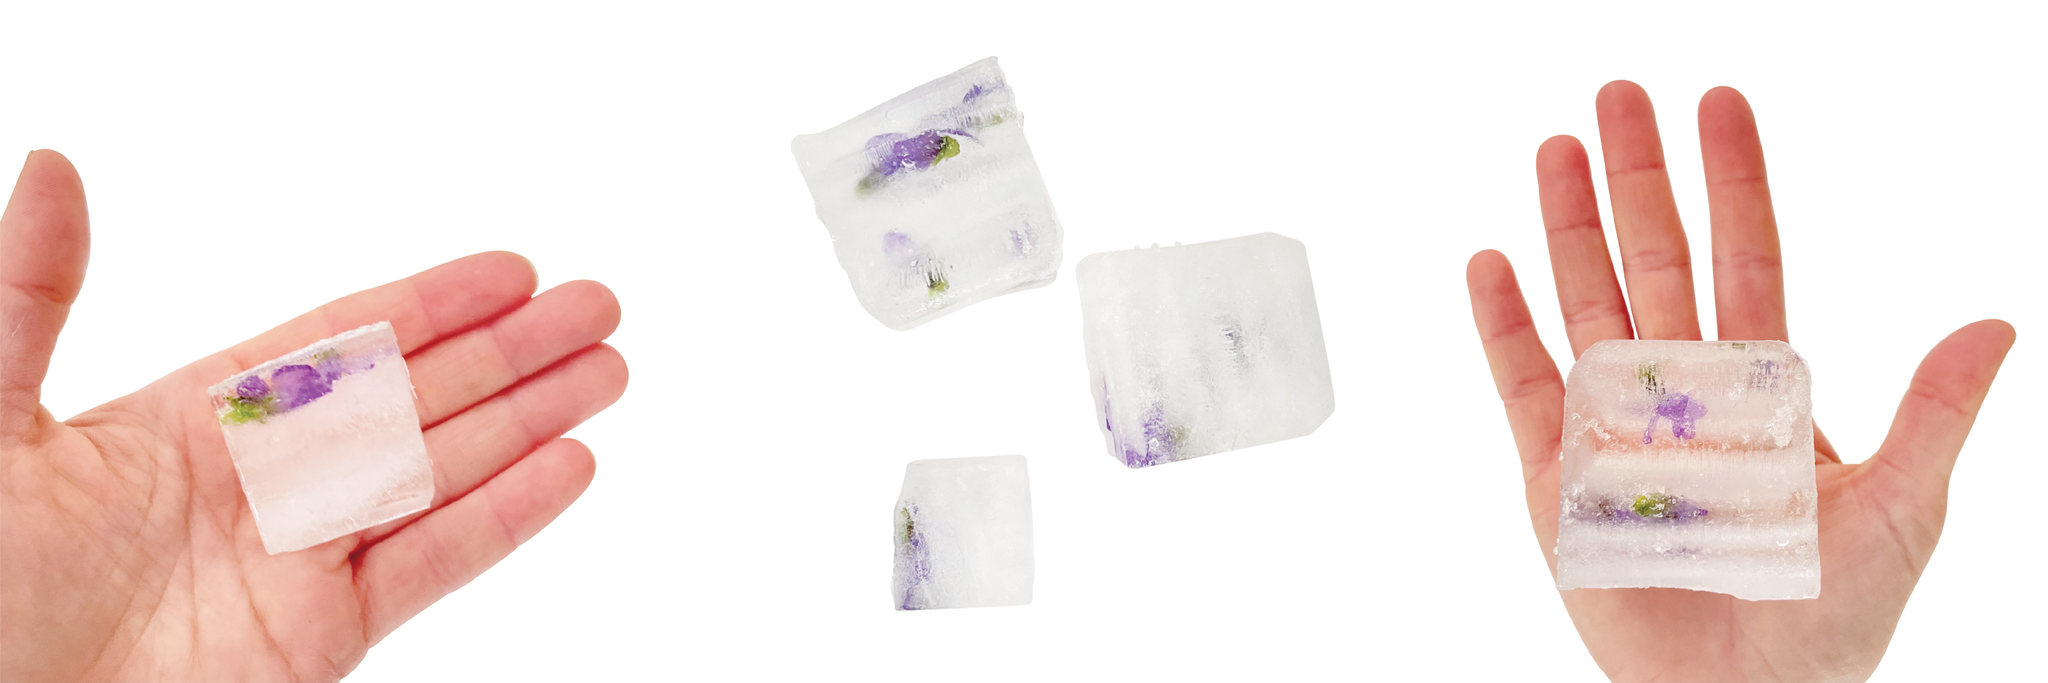
8. Now your cubes should be ready to use! Add floral ice cubes to your favorite beverage of choice and enjoy. It's always a surprise how these turn out :)

NEXT STEPS:
Floral ice cubes are best if used within 2 -3 weeks.

LEARN FROM MY FAILS:
TIP 1: Freeze in layers. If you don't freeze in layers for Large ice cubes and small flowers - your flower will just float to the top!
TIP 2: Use Distilled water. If you don't use distilled water aka Tap Water - your ice cubes will likely look cloudy once frozen.
TIP 3: Fill with flowers. If you don't add enough flowers to fill the cube, your ice cubes will look a bit sad and underwhelming!
Step by step video guide is also available on our YouTube
- Tags: DIY
0 comments


