Instructions
NOTE: Otsukai Tsutsumi folding method is one of the most basic and simple Furoshiki wrapping methods. It is easiest to wrap objects that are square shaped with this method.
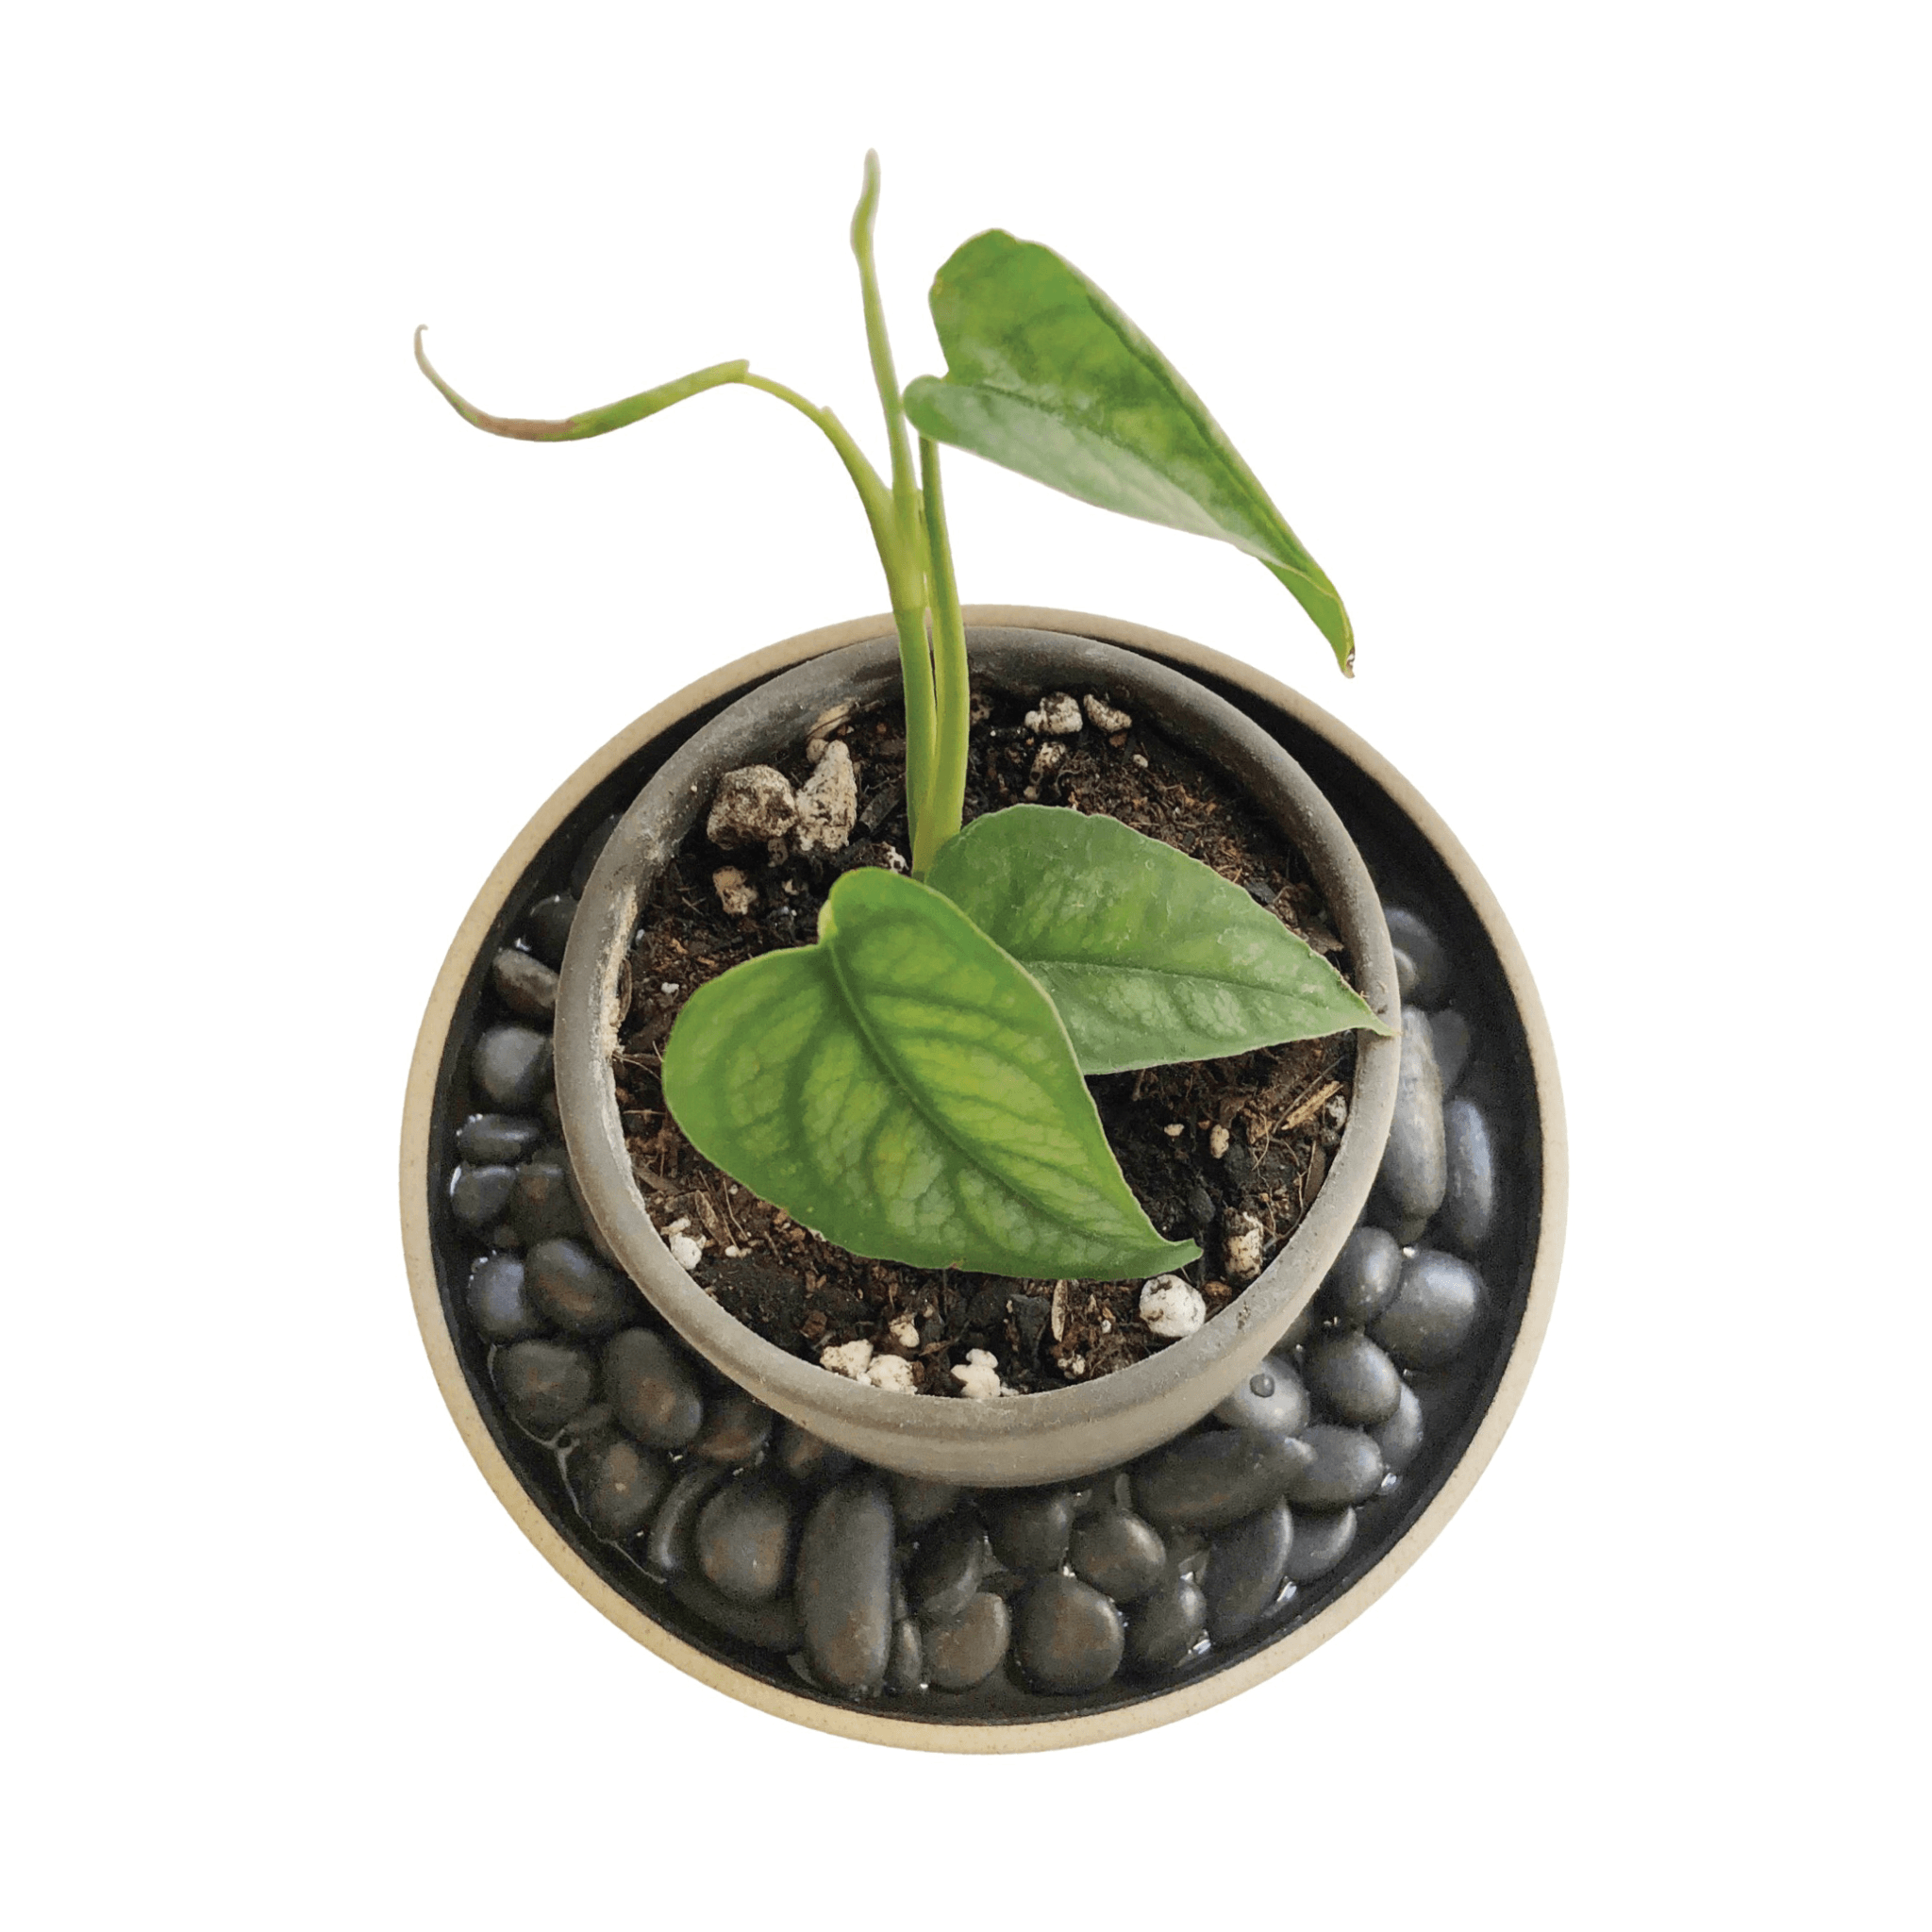
1. Select the object you are planning to wrap.
We are wrapping our SQUARE 6" BOX with our Porcelain Tray inside.

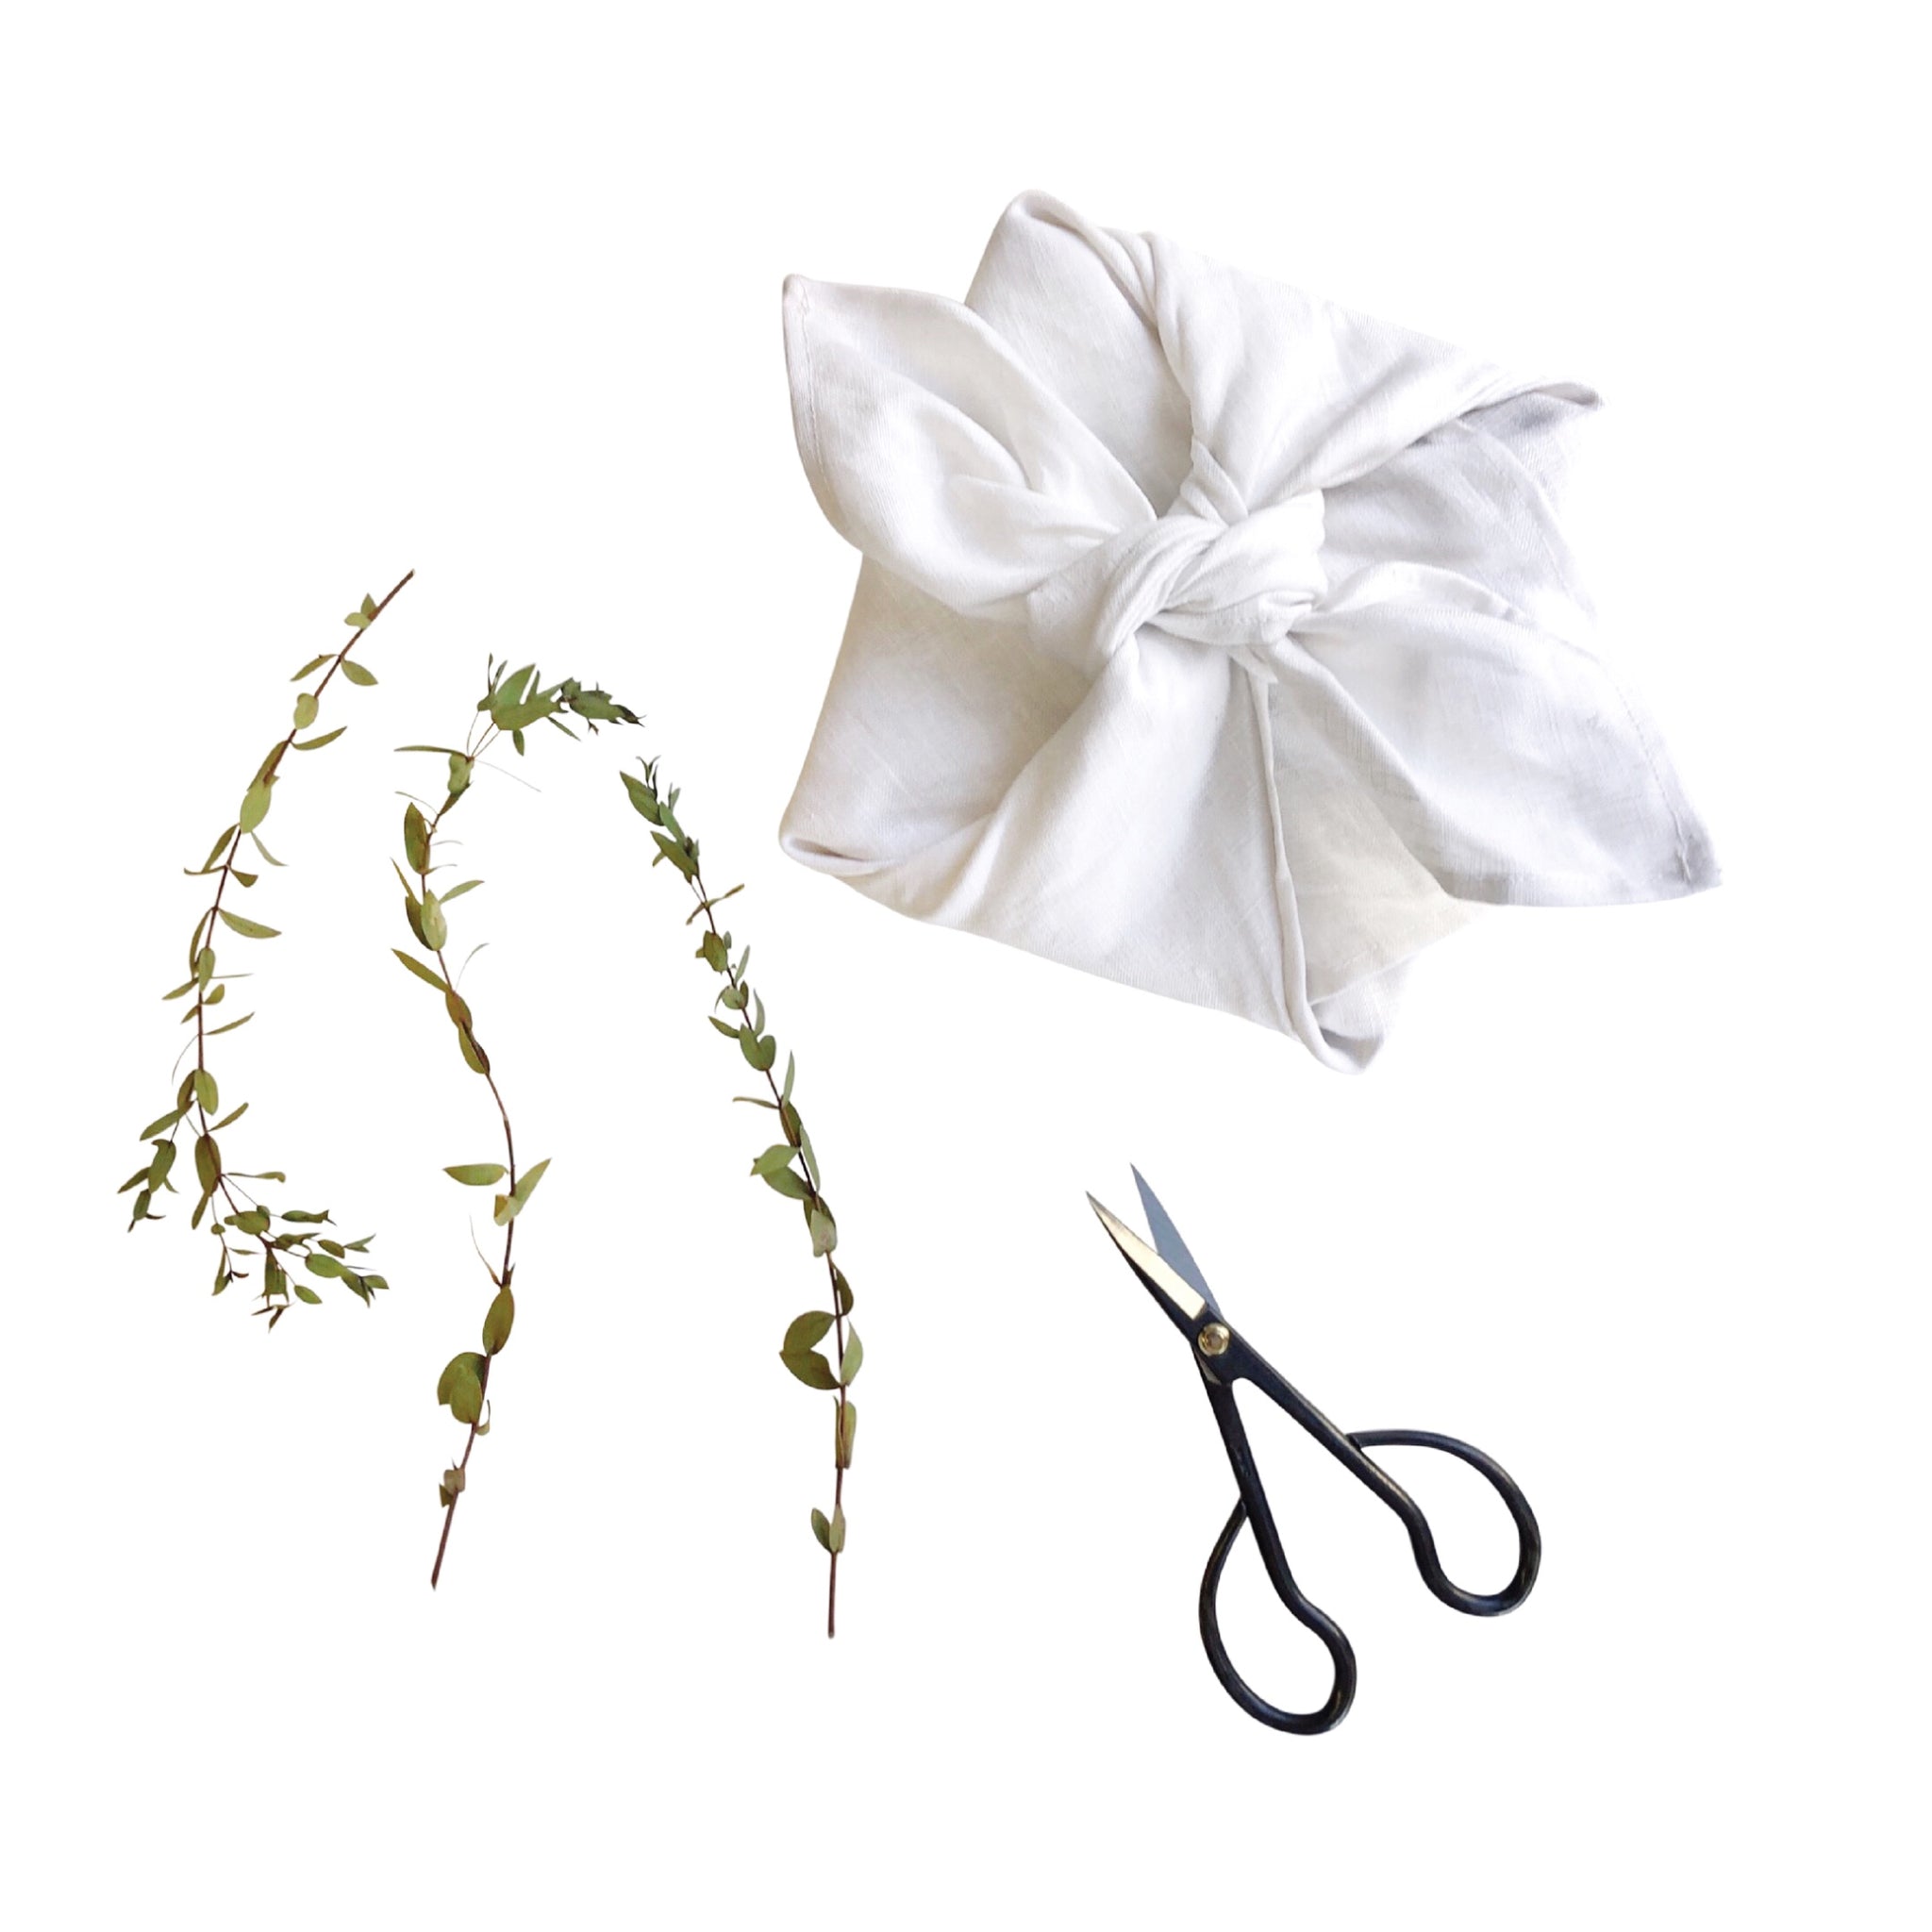
2. Select your FUROSHIKI CLOTH OF CHOICE.
(2A) FUROSHIKI SIZE: The size of your Furoshiki should be about 3-4 times the size of the object you are wrapping. This is an approximate guideline!
Traditional furoshiki cloth are not a perfect square, but if you are making your own you can cut a square and just keep in mind it does not need to be exact.
Size formula example:
OBJECT: 6" (multiple by 3 or 4). Furoshiki size can be approximately 18"-24"
We are using our 25"x 25" (63.5cm) LINEN FUROSHIKI

(2B) FUROSHIKI FABRIC: Traditional Japanese Furoshiki are made using an all over printed cotton cloth. But if you are making your own cloth, you can use any material you have available on hand, preferably not too thick or it will be too bulky to wrap and tie.
We do recommend also adding a finished hem to your fabric of choice. If you leave the fabric raw edge (unfinished) - it will fray.

3. SET UP: Before wrapping, place your CLOTH flat on a table (iron as needed!). Then place BOX at one of the corners of the cloth, the edge of the object should be parallel to the corner.
Fold the corner of your CLOTH onto the BOX, hold securely so fabric stays flat (no tape!). See image below:

4. WRAPPING: Roll CLOTH + BOX all the way to the opposite corner. Flip over (if needed) so bottom corner as at the bottom of your wrapped CLOTH + BOX.

5. Pinch fabric on one side of the box at the corners to create a tie (keeping fabric as smooth and tight as possible).

6. REPEAT on other side of box.

7. Hold ties tightly with each hand and pull tightly towards center. Make sure your corners are tucked :)
Make 1 tie and pull tightly.

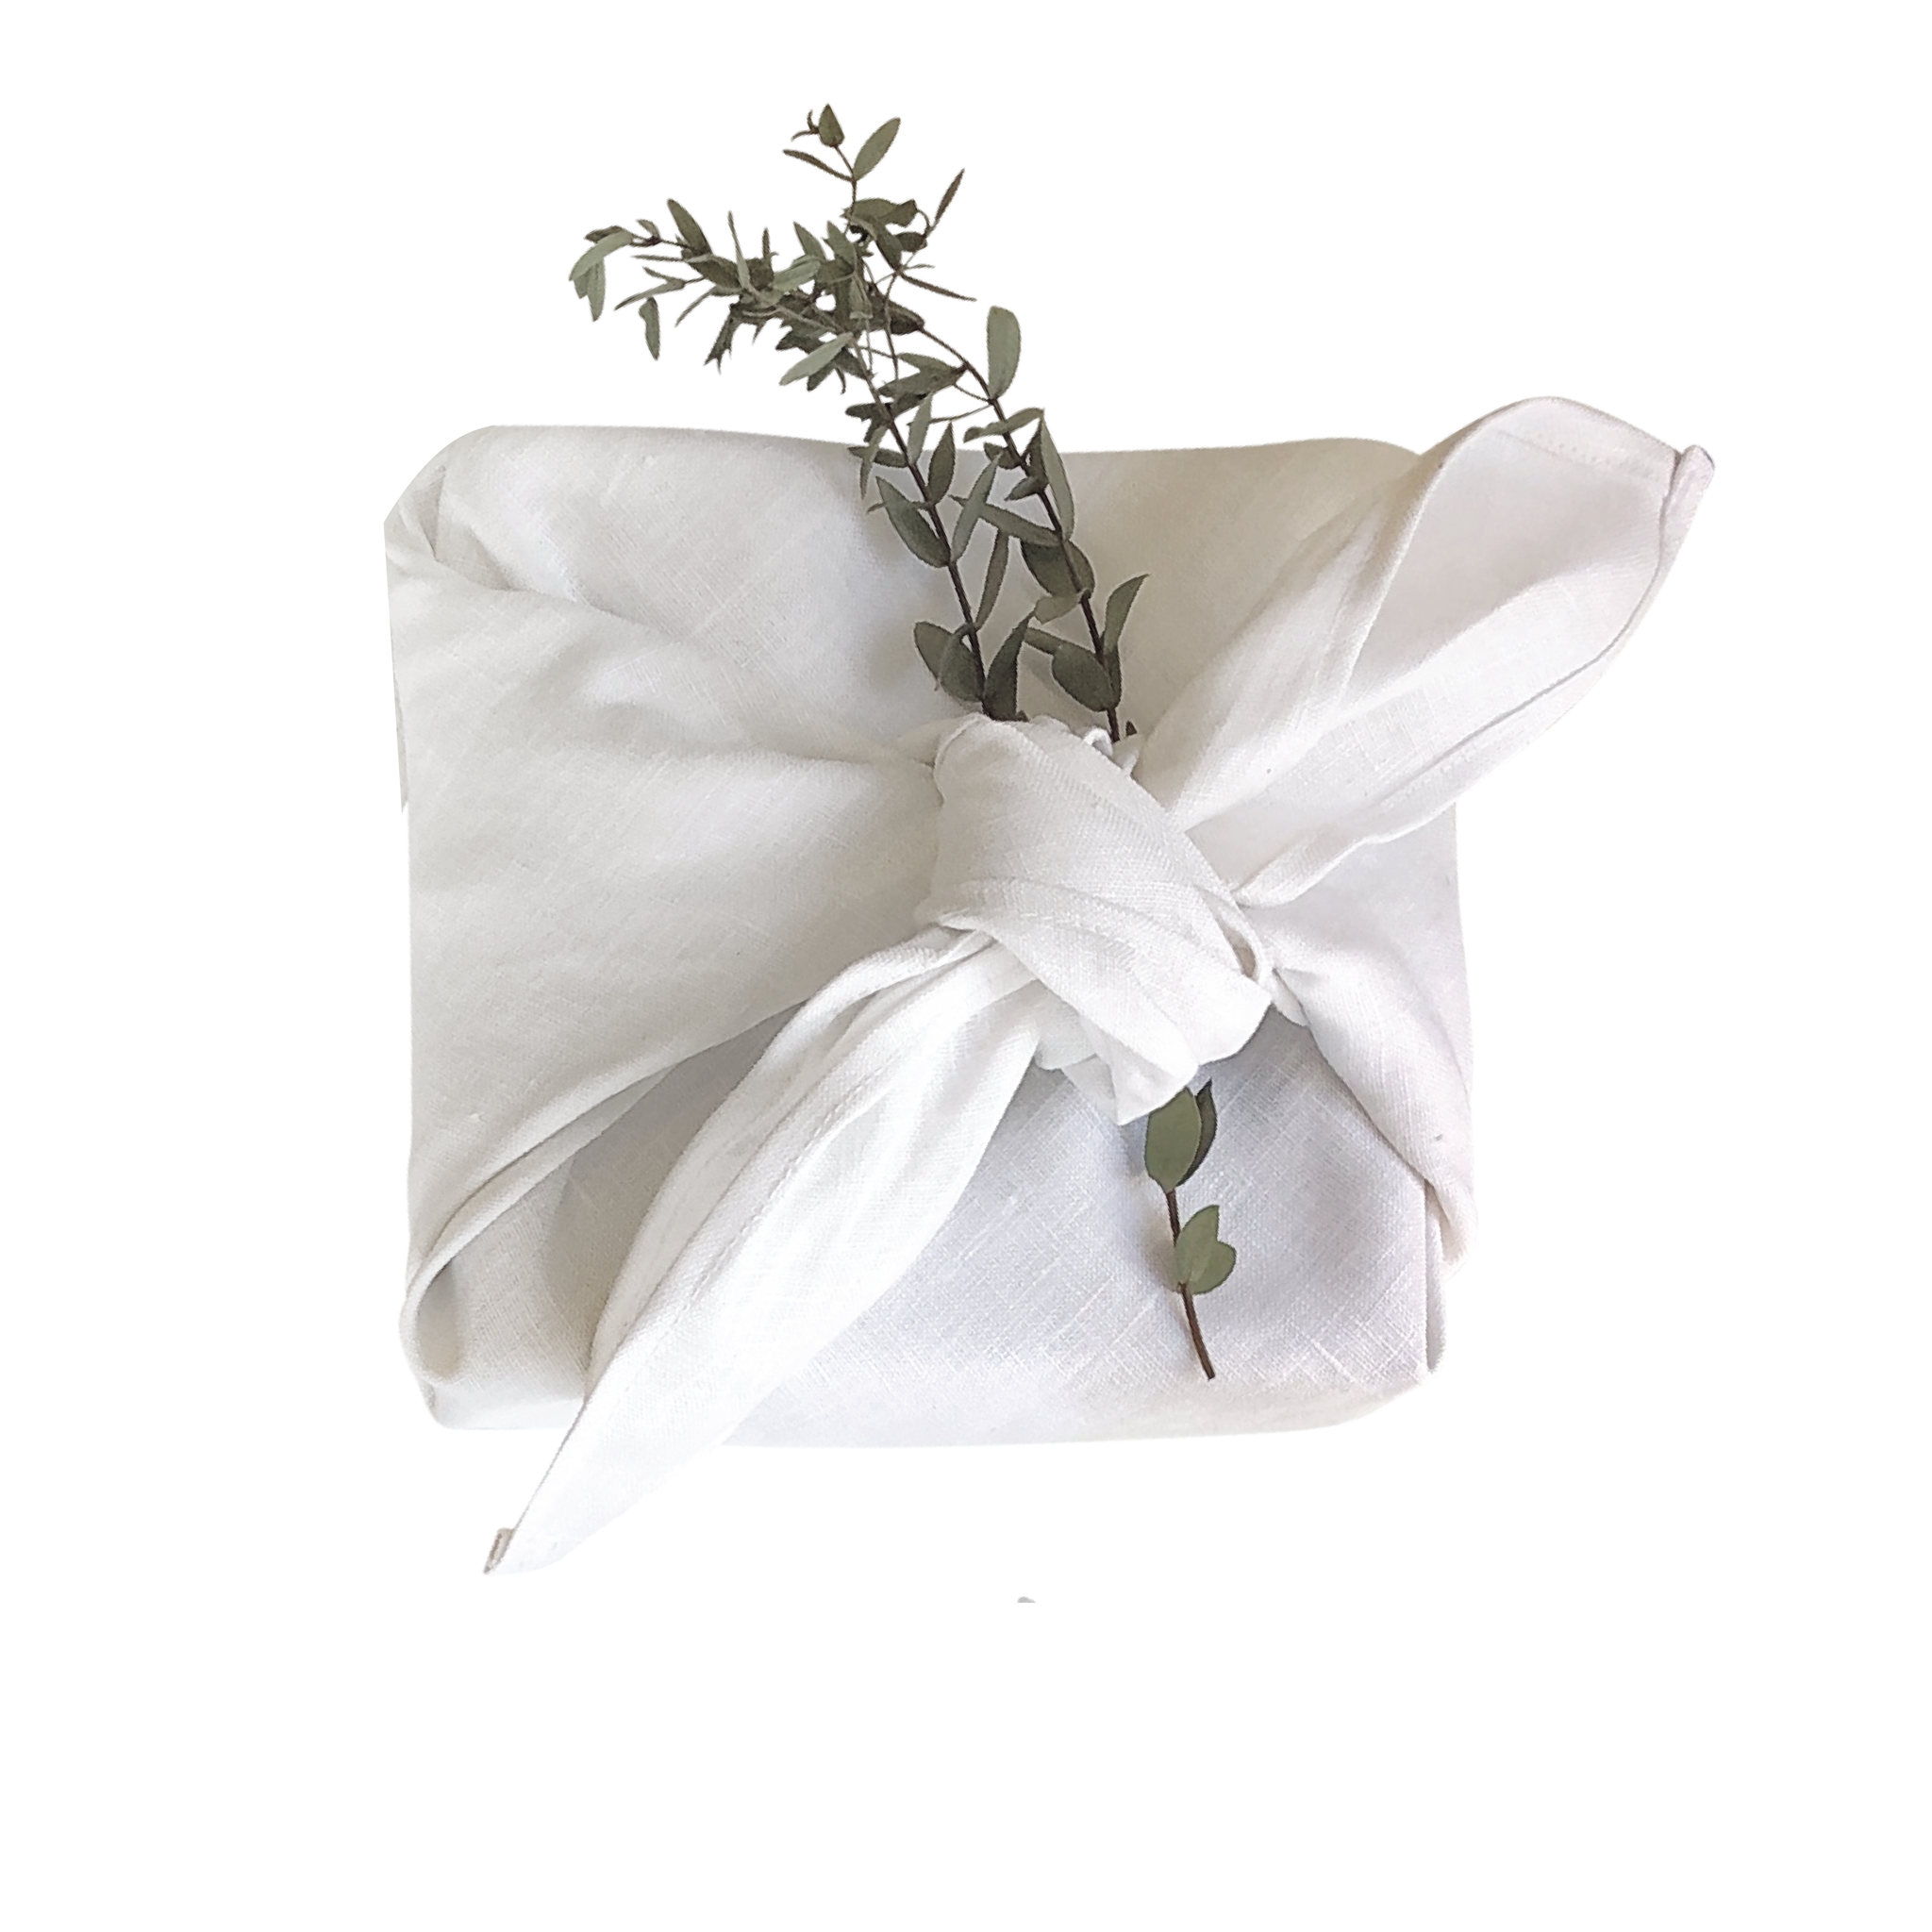
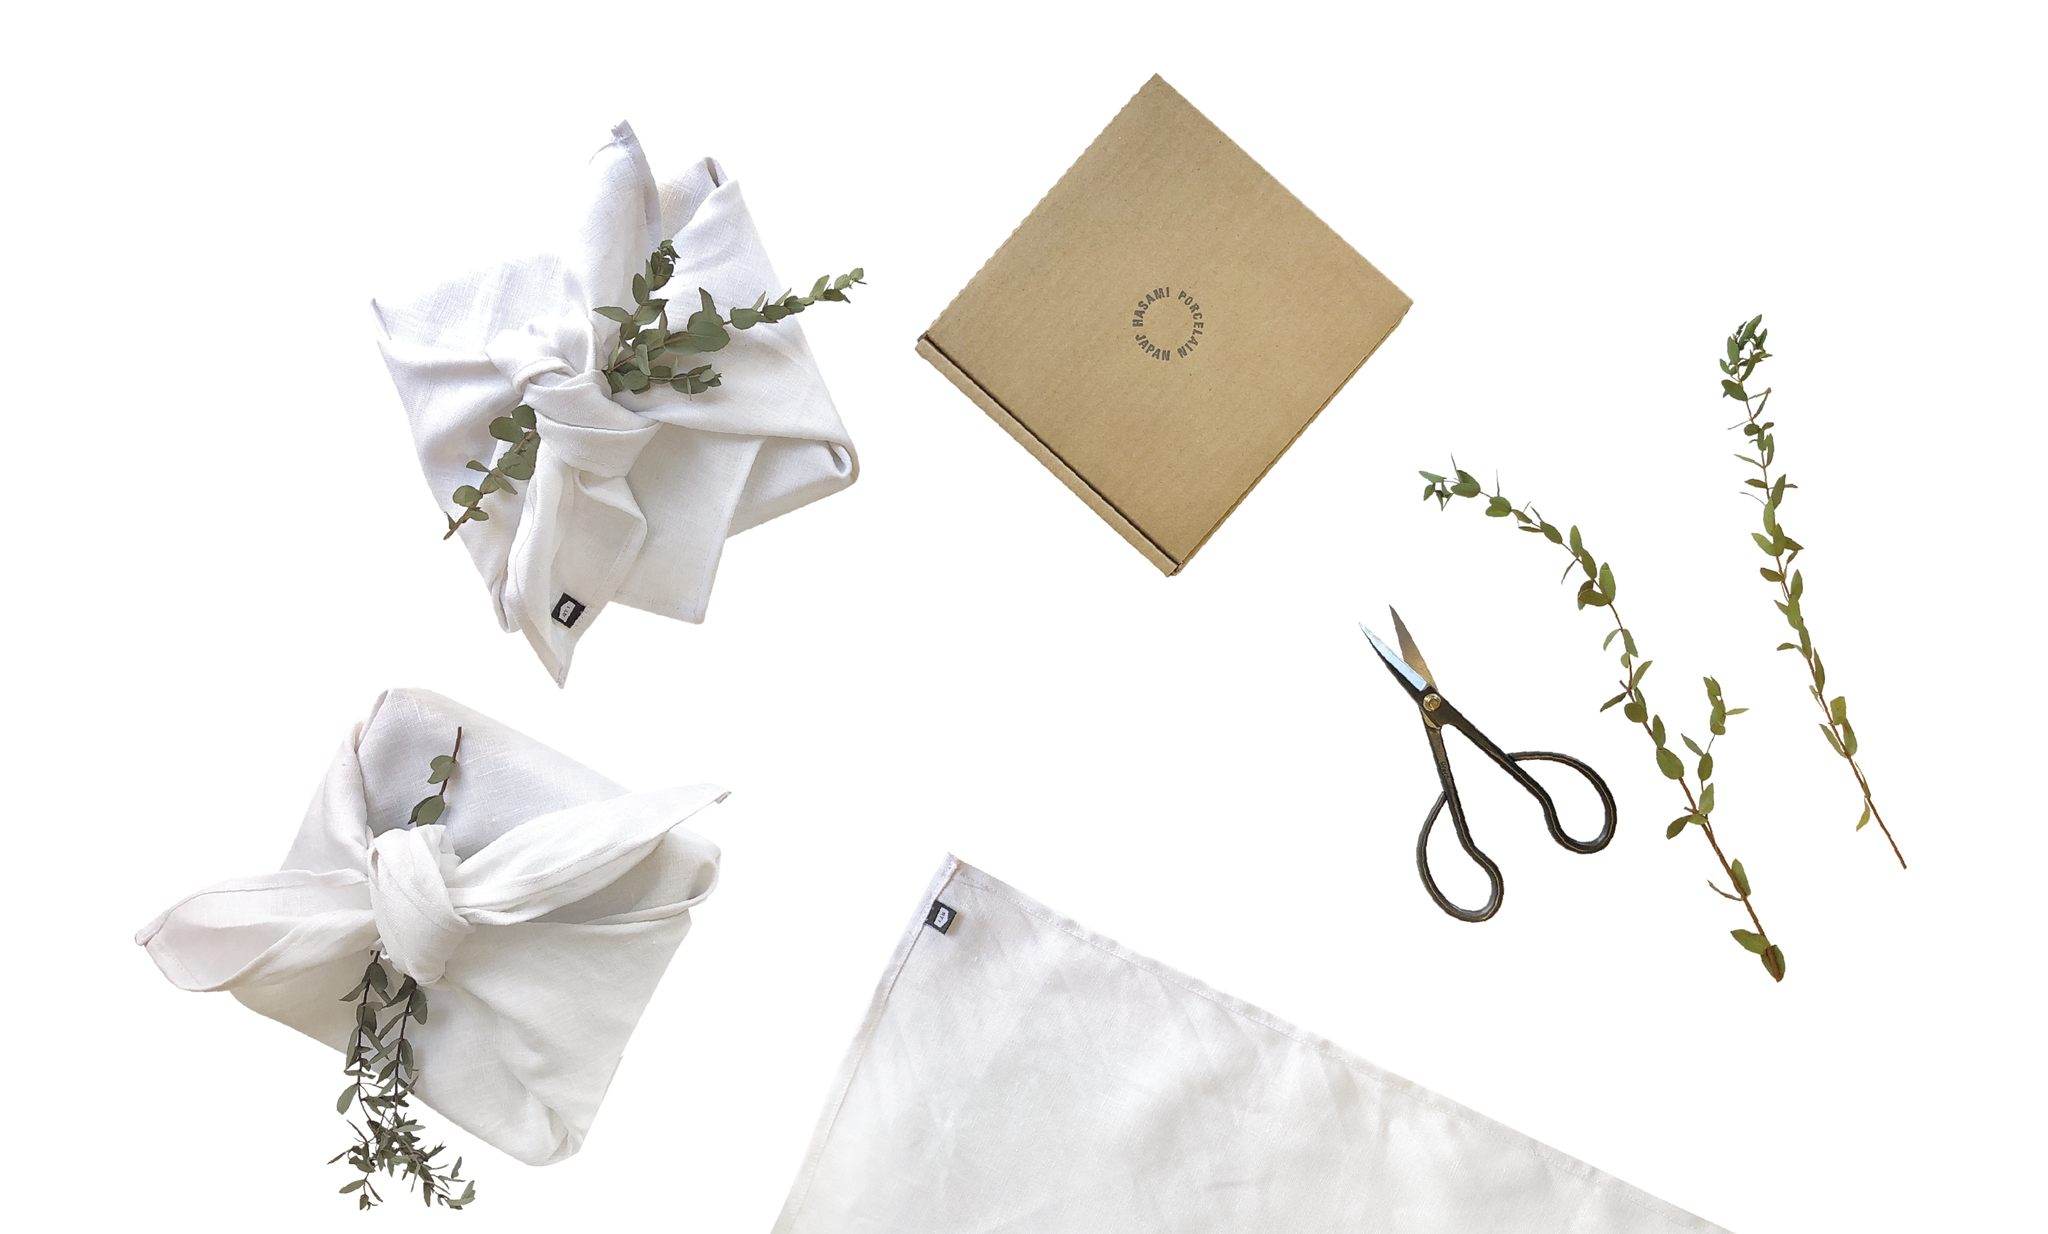
FINISHING OPTION (7A): Add your GREENERY on top of 1st tie. Finish with 2nd tie:

FINISHING OPTION (7B): NO GREENERY - Make 2nd tie and pull tightly, clean up fabric at bow and straighten corner at front overhang if needed.

FINISHING OPTION (7C): Add GREENERY after 2nd tie and tuck into your bow or under knot.

FINISHING OPTION (7D): If you don't like the flap hanging over the edge - tuck in corner flap so that the fold is lined up with the top edge of the box. With or without GREENERY.
NOTES: If you are going to add GREENERY to your Furoshiki wrapping - make sure to use something that is either already dried, hearty, and/or will dry out nicely. If you add wet, or flimsy plants/flowers they may wilt, shed, or stain your fabric.
COMING SOON...
There are many different Furoshiki wrapping techniques - we would like to create a library of how to wrap for each method in the future. Below are some examples of other wrapping styles:

Step by step video guide is also available on our
YouTube