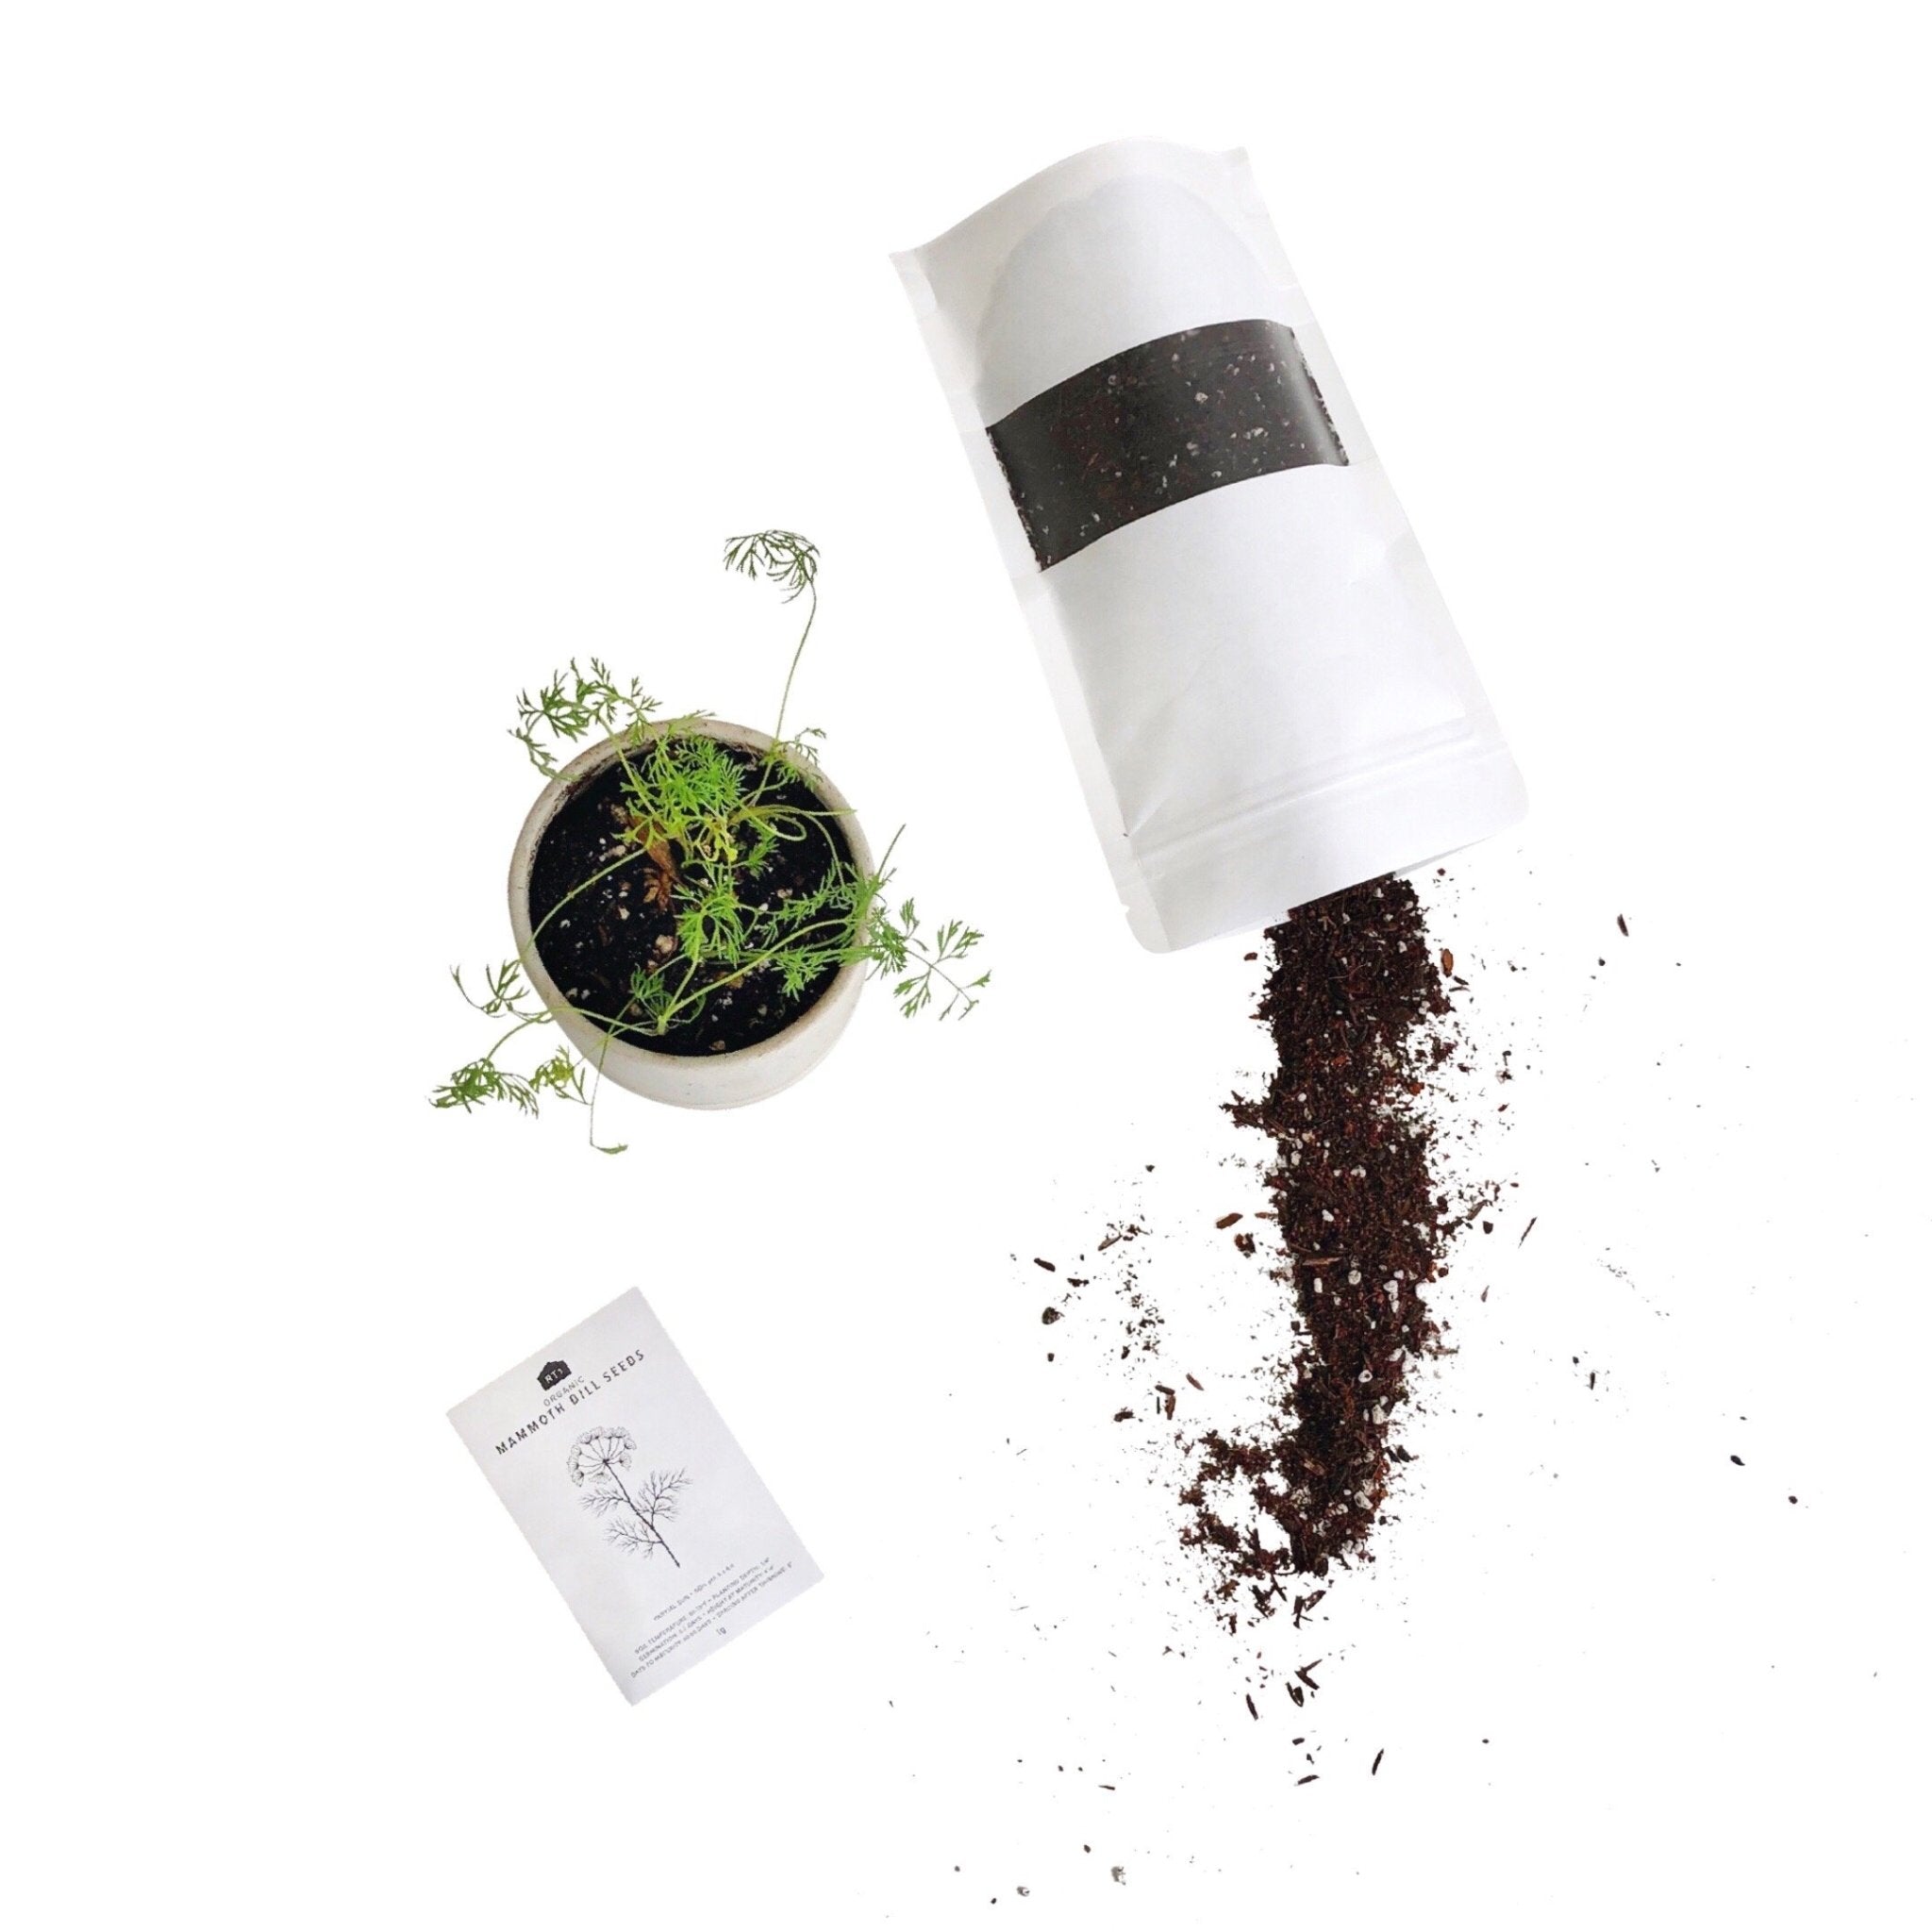
PROPAGATE PLANT CUTTINGS IN WATER

PROPAGATE PLANT CUTTINGS IN WATER - RT1home

HOW TO PROPAGATE PLANT CUTTINGS IN WATER

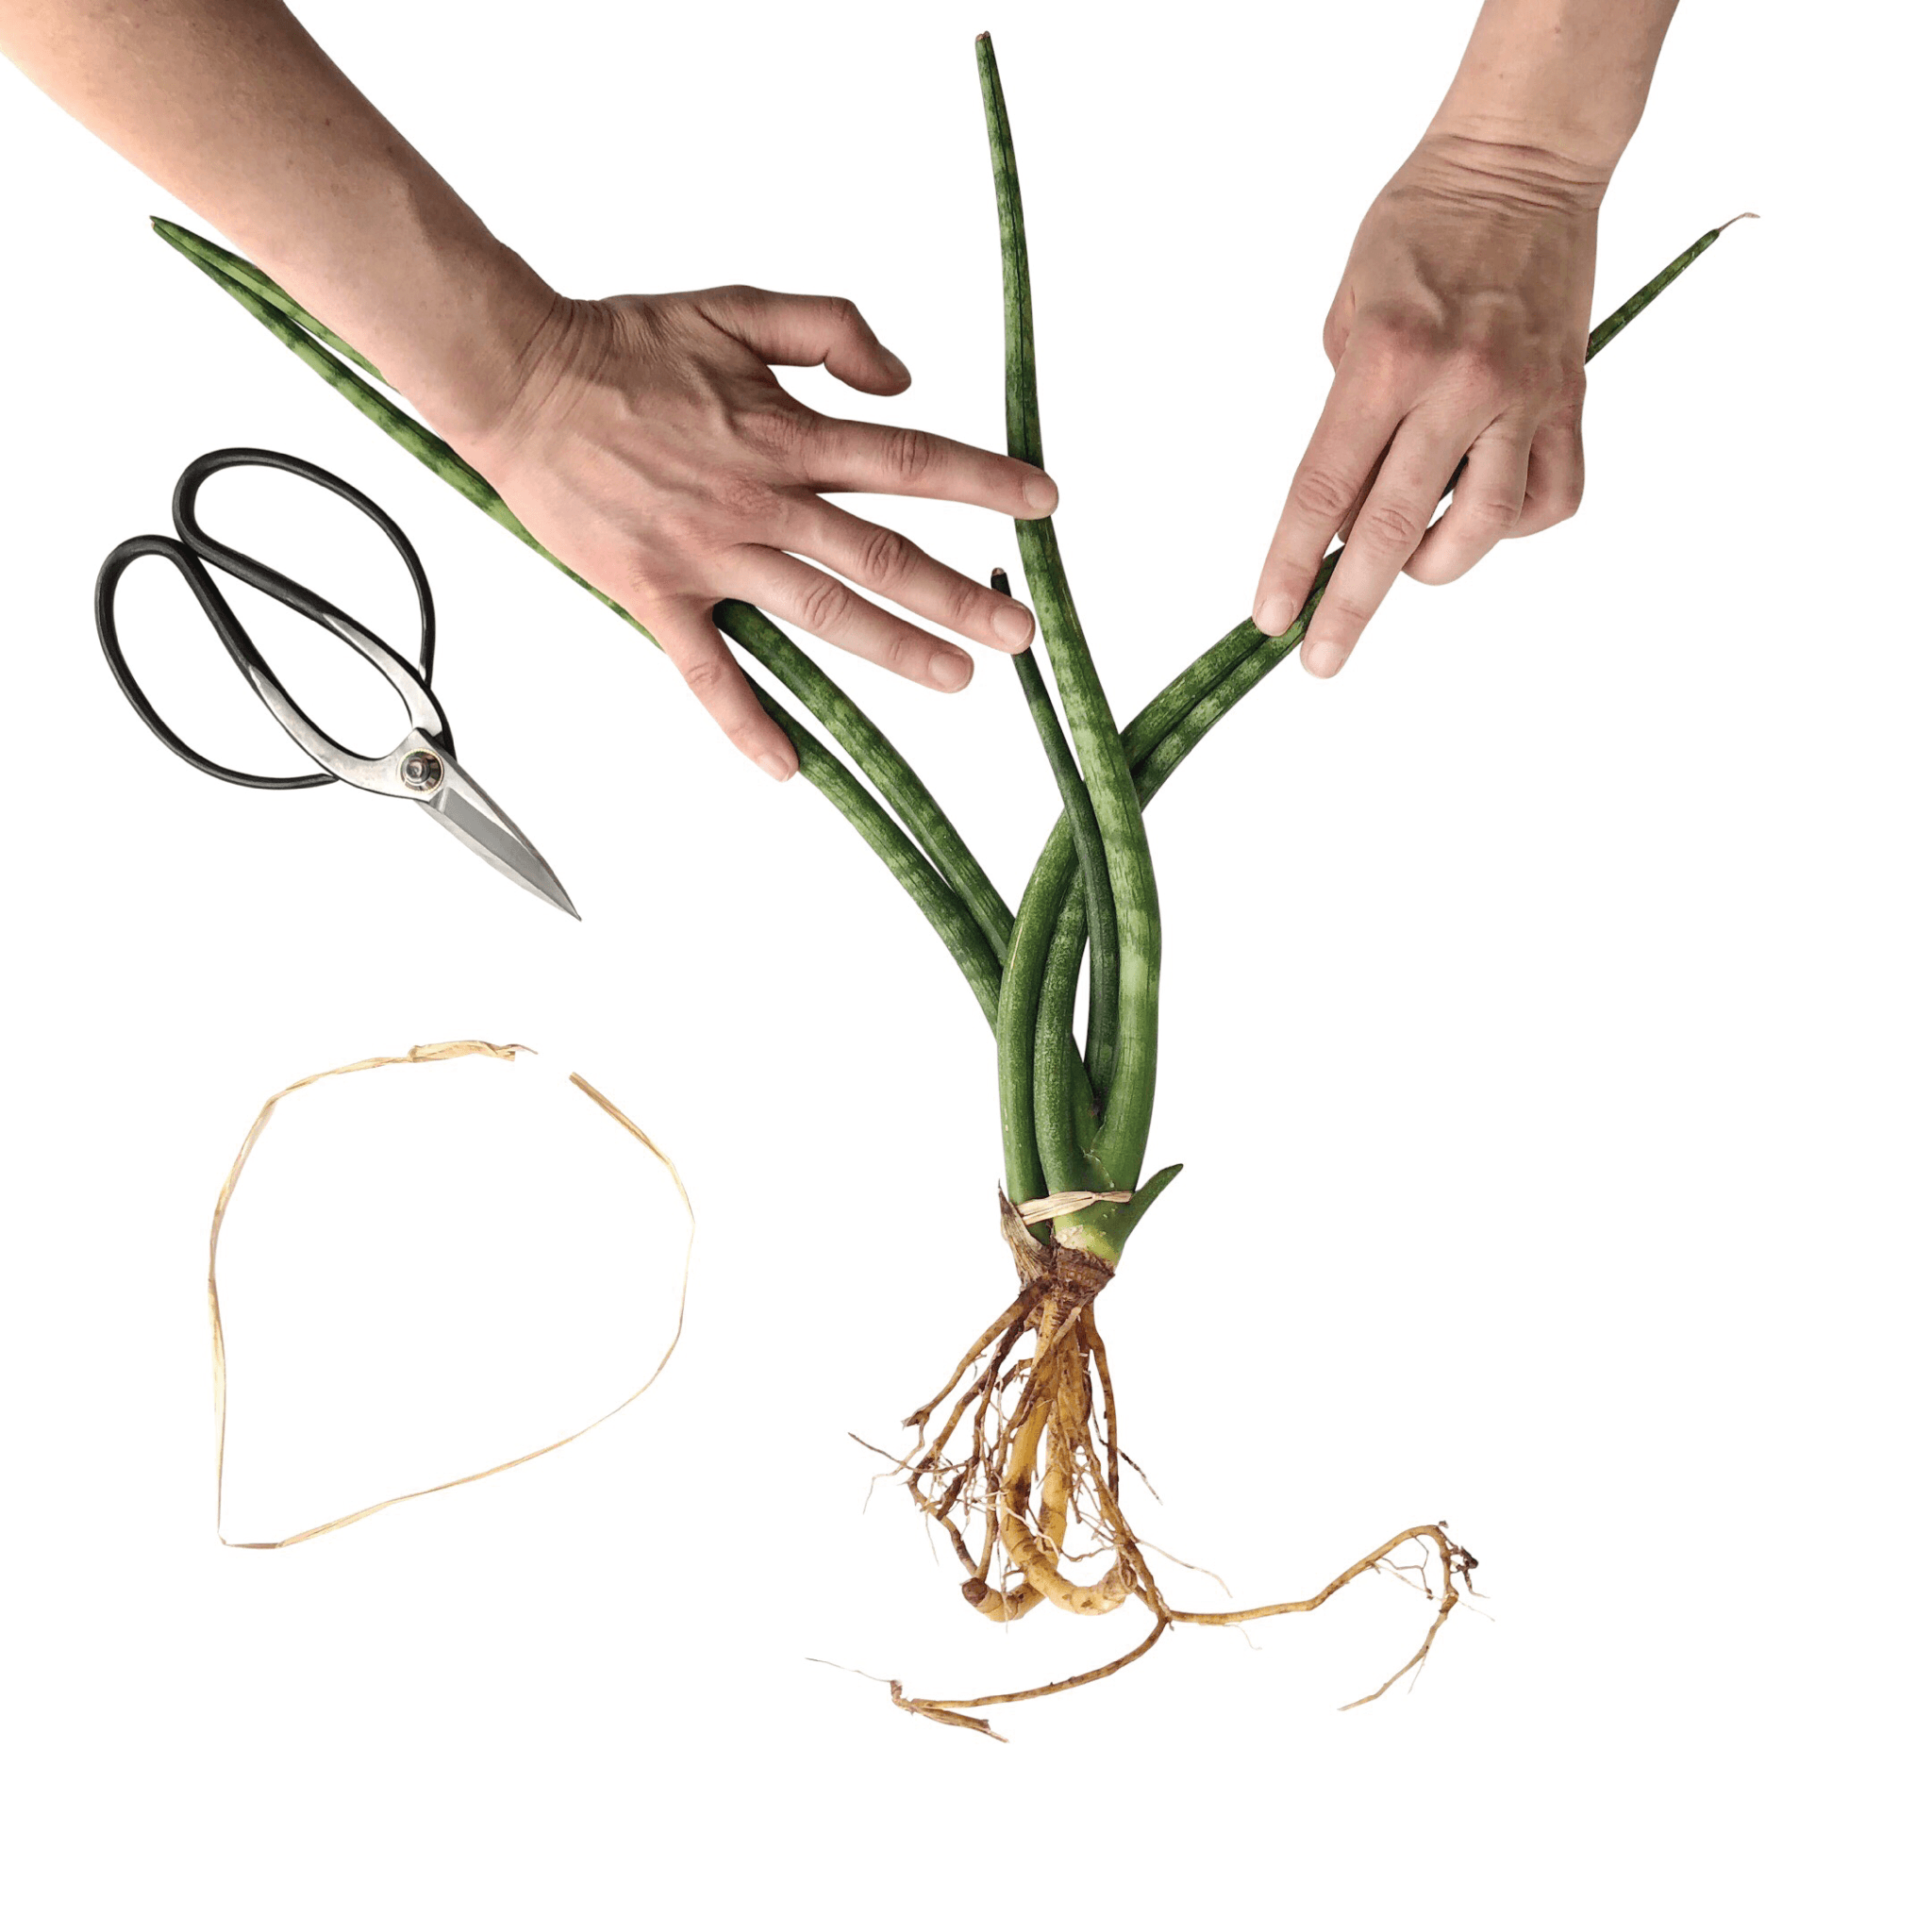
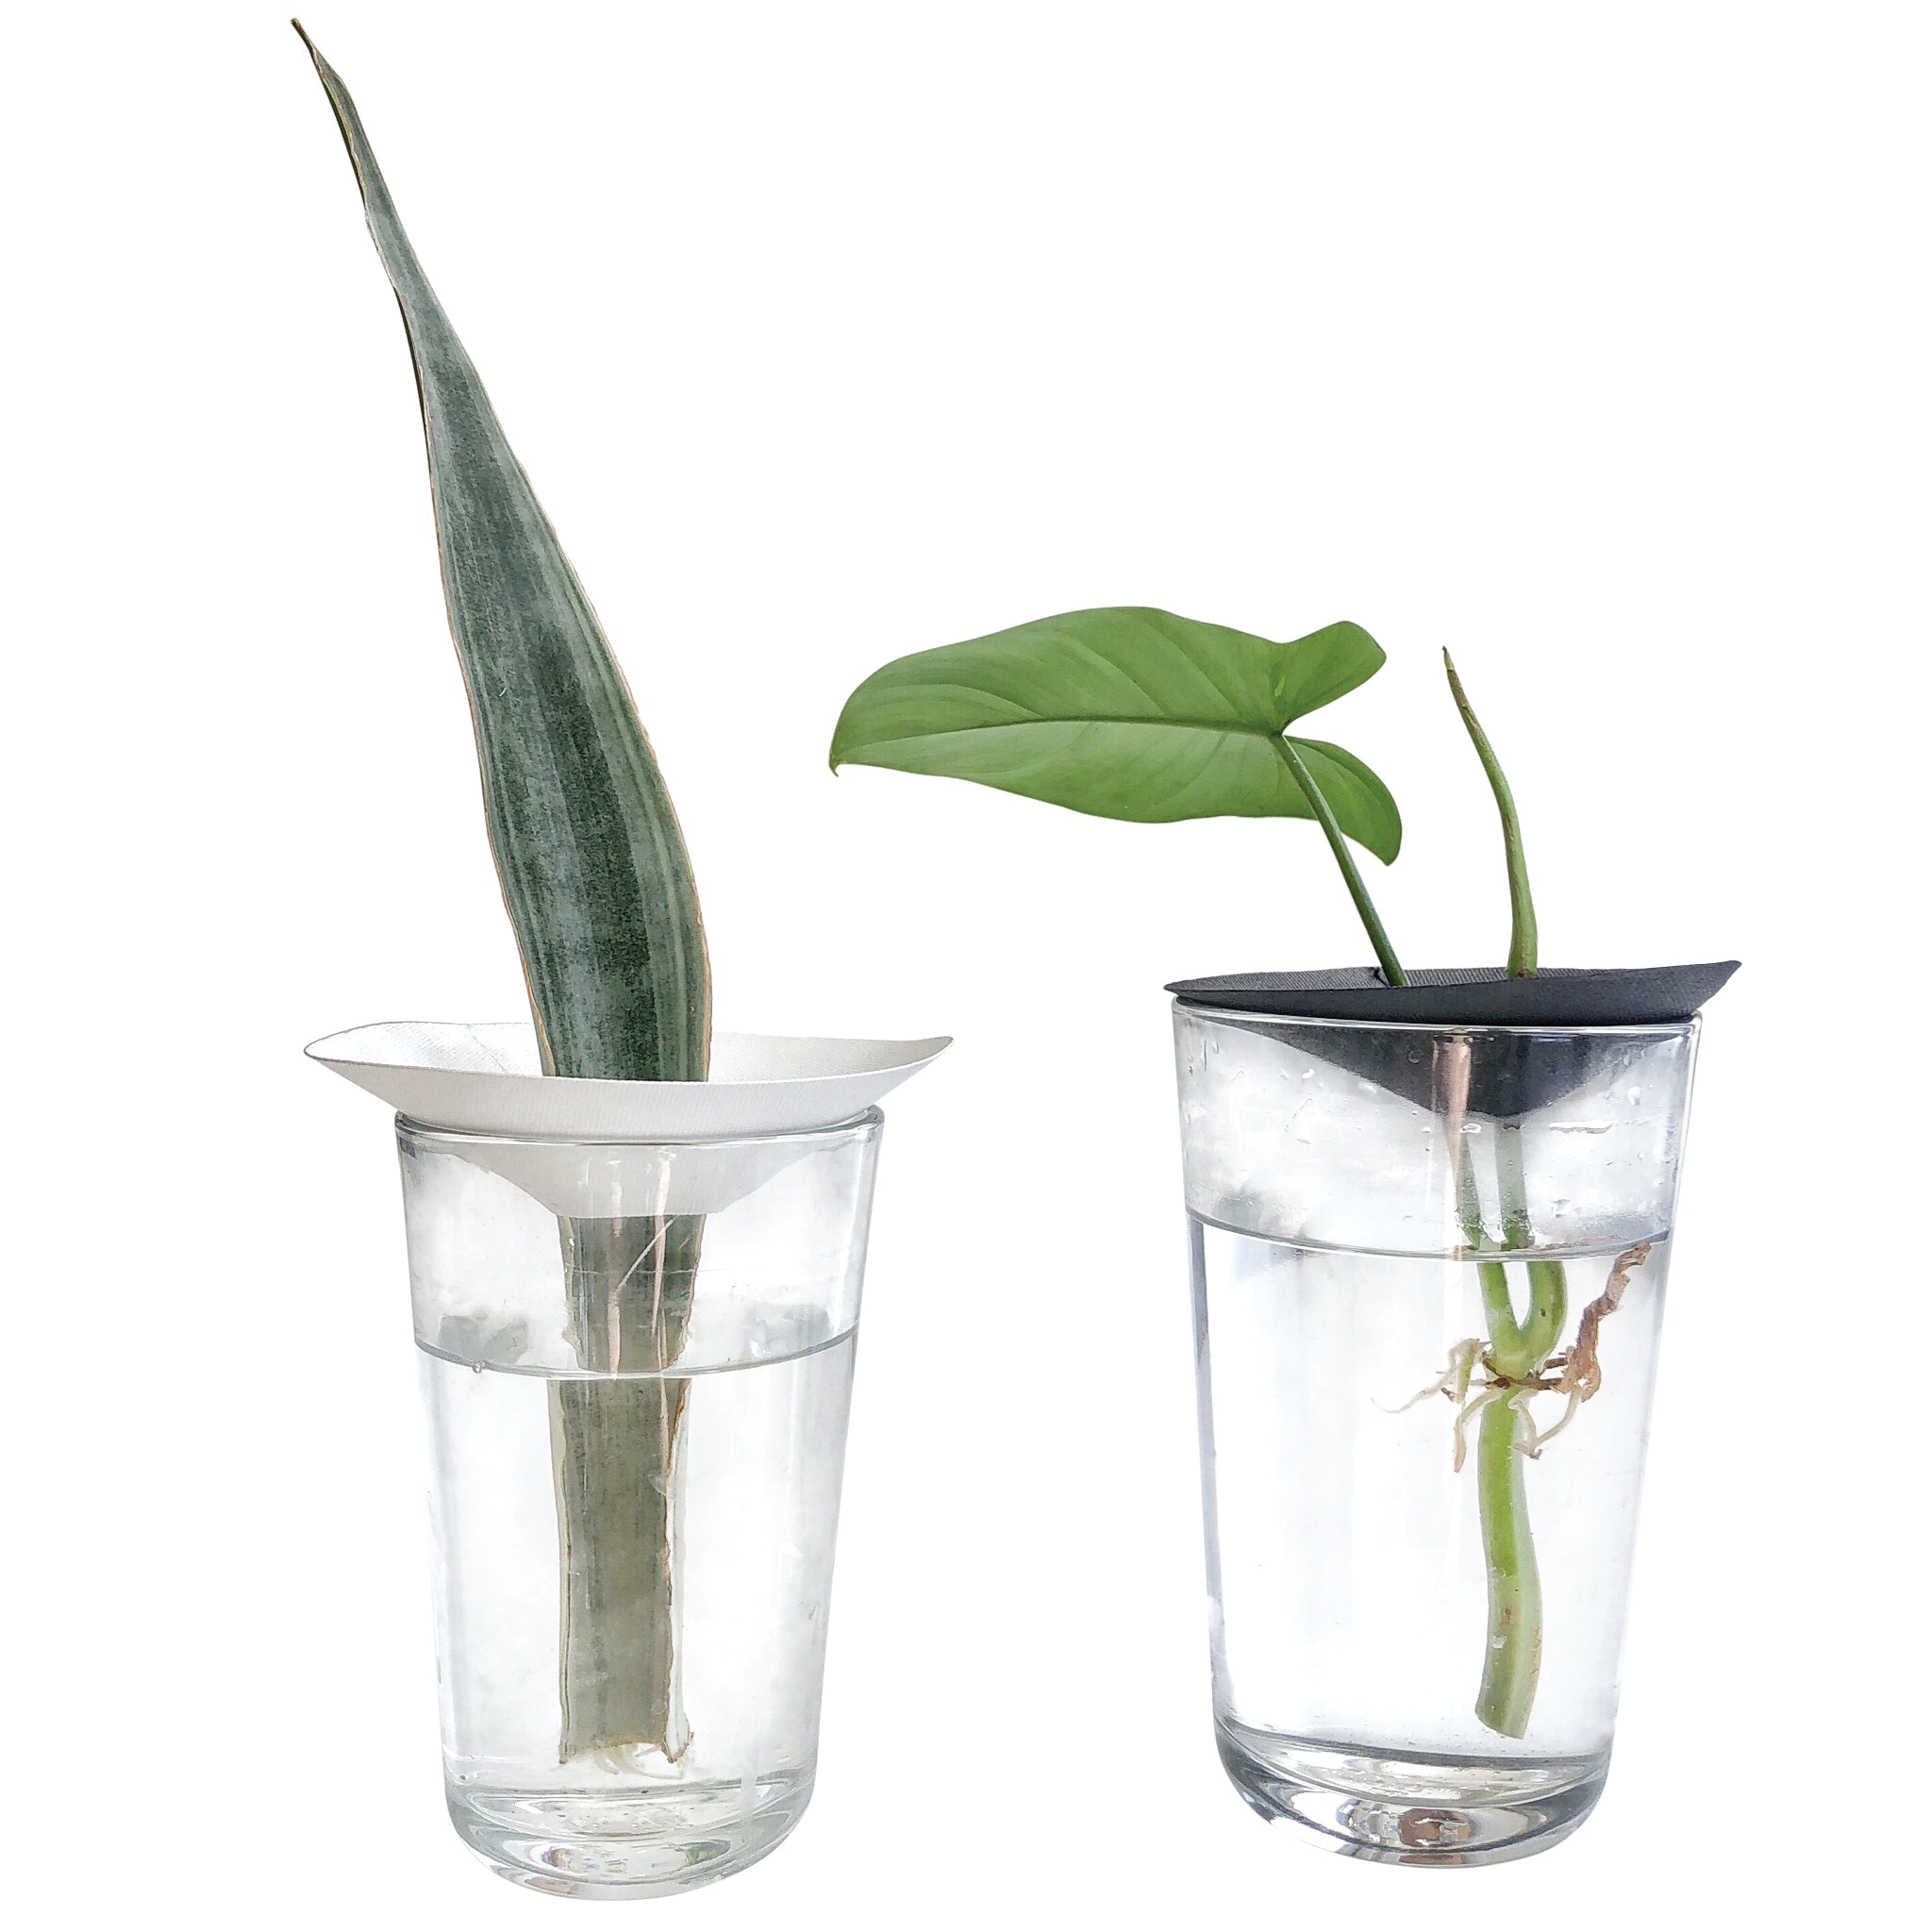
A step by step guide on water propagation using our RT1home Propagation cones.

PROPAGATION CONES

FEATURING RT1home Propagation Cones:


Time

Prep Time: 10 mins per cutting
 

Materials 

  • PLANTS of your choice - we are using:
    • PHILODENDRON HORSEHEAD (small stem example)
    • SANSEVIERIA SAYURI METALLICA (large stem example)
  • SCISSORS - we are using our RT1home GARDEN SCISSORS
  • PROP CONE (if you don't have one - try DIY!) we are using:
  • CONTAINER(S) - we are using 2 standard size clear drinking glasses.
  • CLOTH - to wipe scissors and for water spills. We are using our FUROSHIKI wrapping cloth.
  • WATER - please use fresh clean water 

Instructions

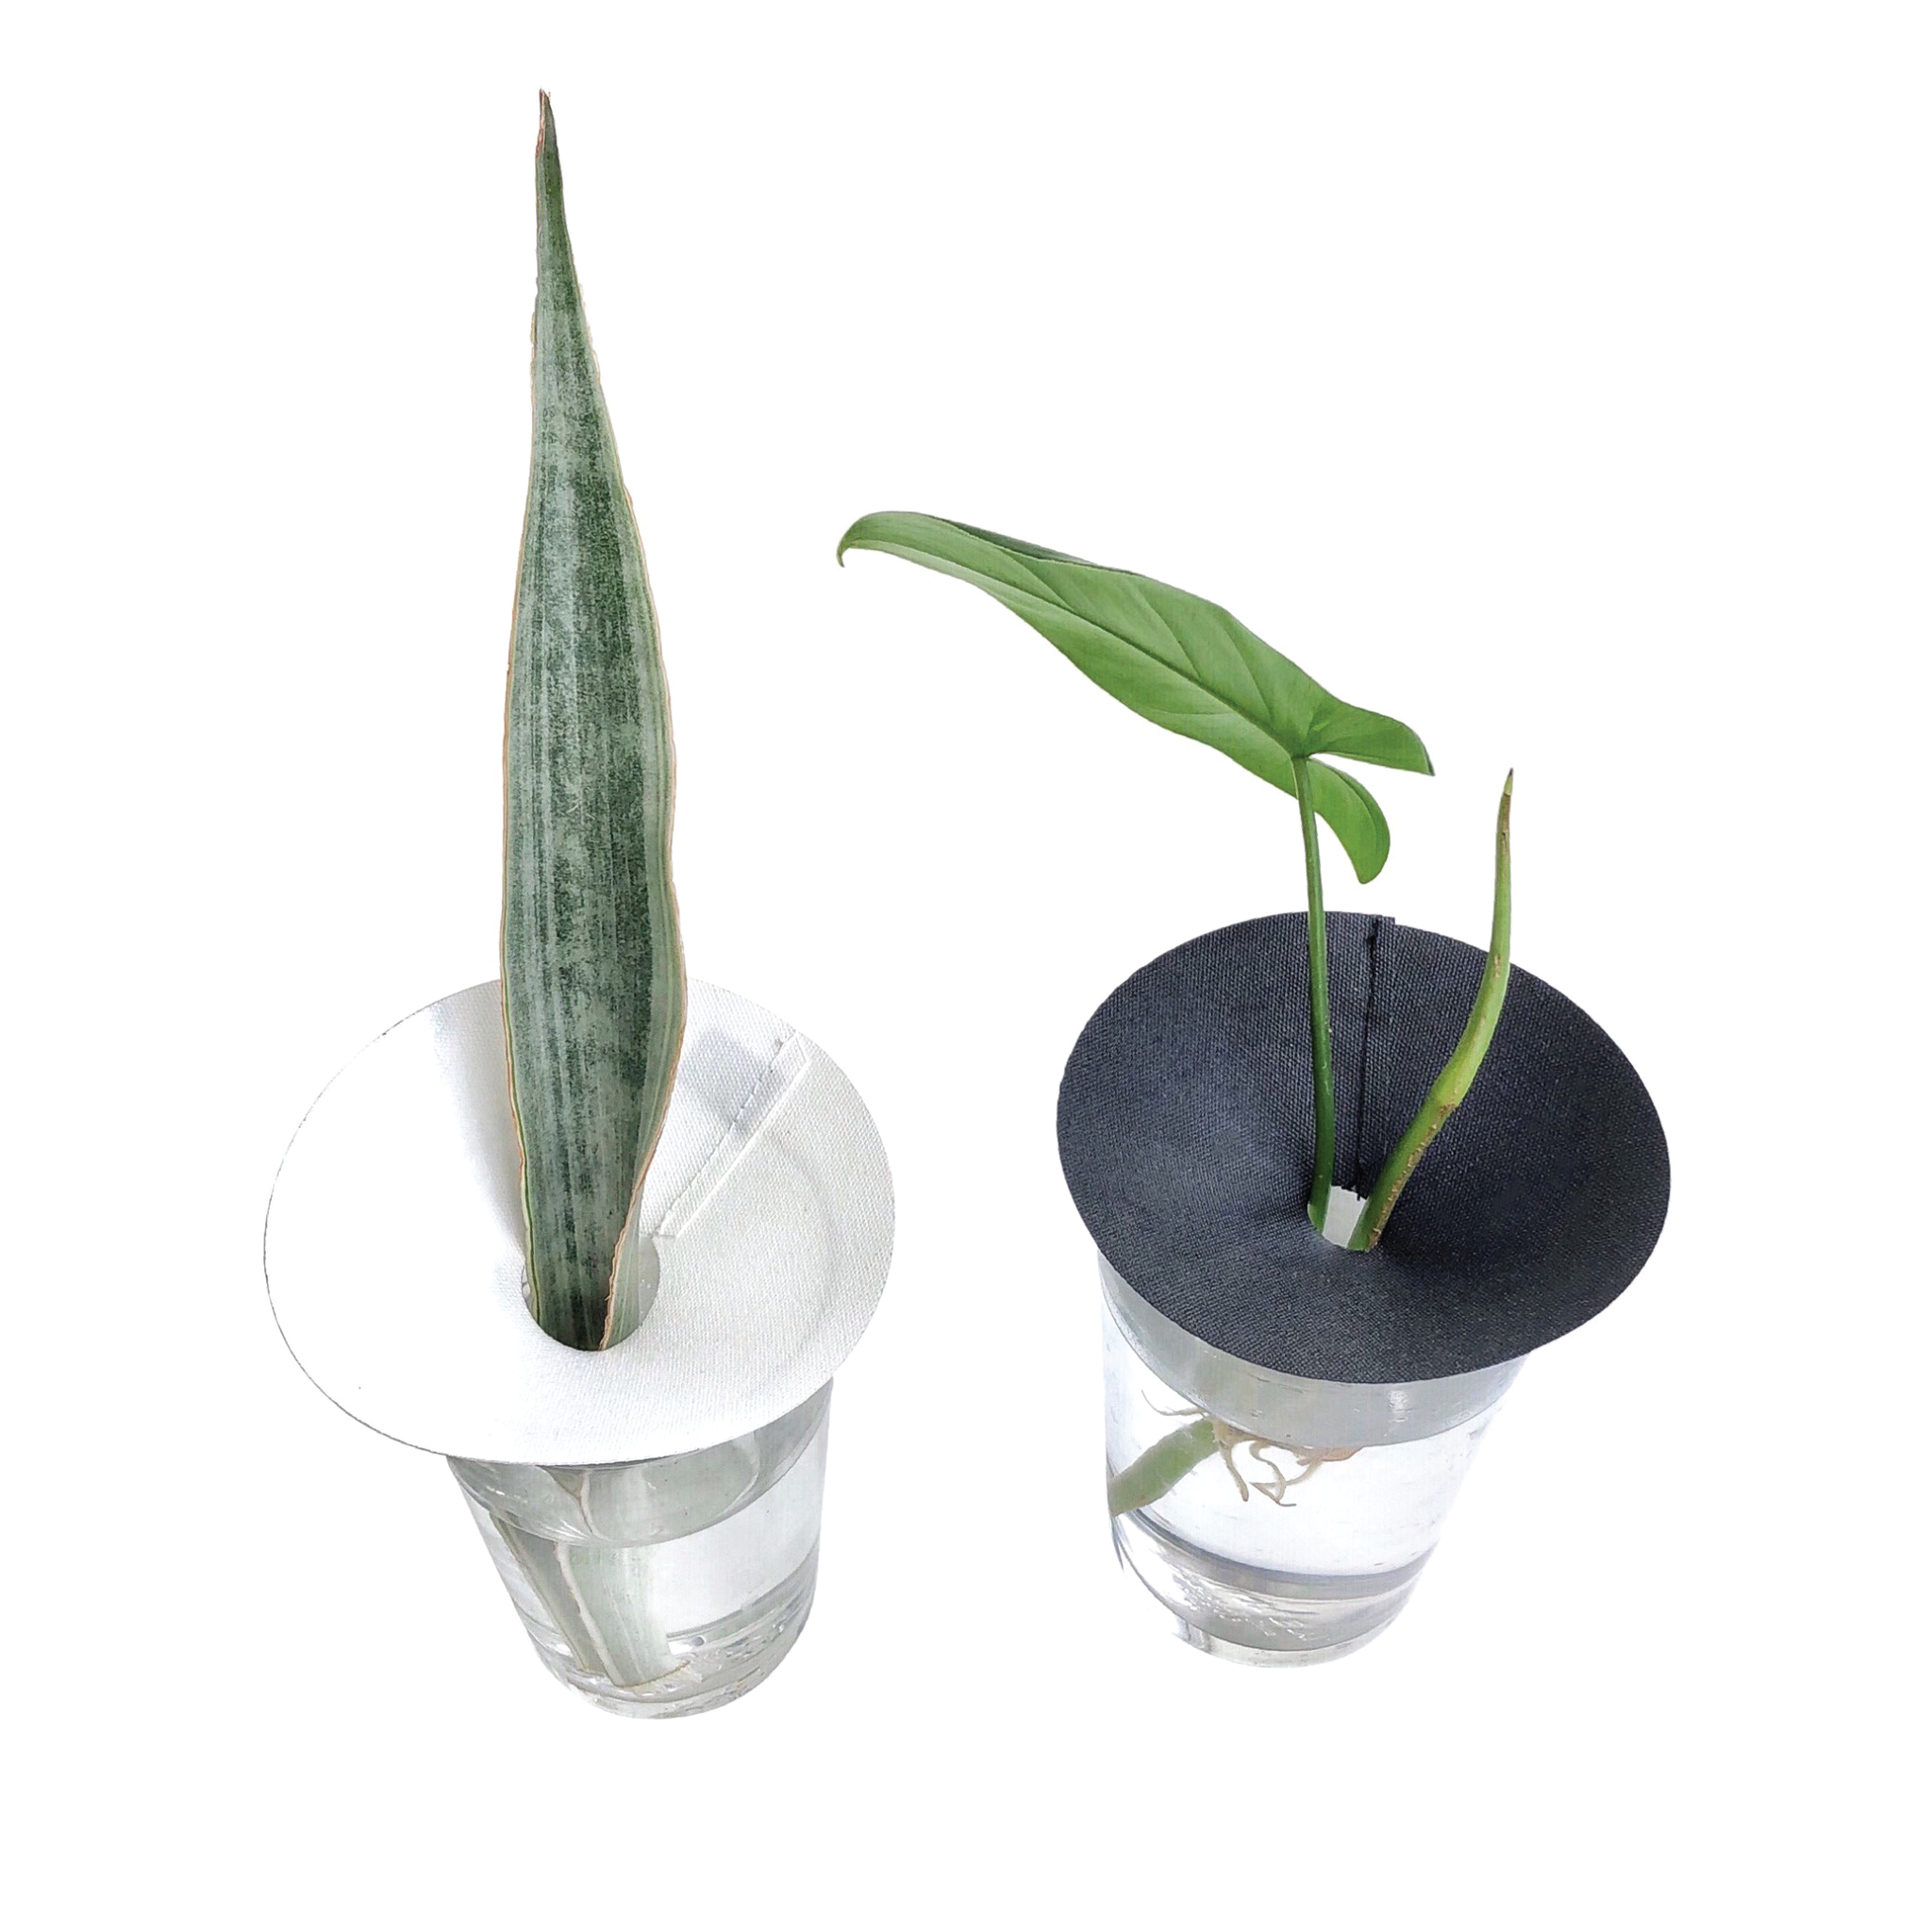
SMALL STEM - PHILODENDRON HORSEHEAD

  1. Choose the stem on your plant that you would like to propagate (reproduce) 
  2. Using SCISSORS, cut the stem below the NODE (bump on the stem typically below the leaves), we recommend leaving several extra inches below the node so the stem can stand up and balance in the container.
  3. Remove any leaves (with scissors) that would be in contact with water.
  4. Place SMALL HOLE PROP CONE over container with your fresh, clean & room temperature water
  5. Gently insert bottom plant stem through the cone hole and into water.
  6. Please ensure the plant stem is fully submerged in the water and that the PROP CONE is not sitting in the water. *Prop cones can get wet but will get moldy or damaged if left in standing water*
  7. Place container with stem and prop cone in a location that gets indirect light.


LARGE STEM - SANSEVIERIA SAYURI METALLICA

  1. Choose the stem on your Snake plant that you would like to propagate (reproduce) 
  2. Using SCISSORS, cut the stem as close to the bottom as possible.  Hint: you can remove some of the soil to cut further down the stem.
  3. Rinse any excess soil from the cutting and wipe dry with CLOTH.
  4. Place LARGE HOLE PROP CONE over container with your fresh, clean & room temperature water
  5. Gently insert bottom of cutting through the cone hole and into water.
  6. Please ensure the bottom cutting is fully submerged in the water and that the PROP CONE is not sitting in the water. *Prop cones can get wet but will get moldy or damaged if left in standing water*
  7. Place container with cutting and prop cone in a location that gets indirect light.

Step by step video guide is also available on our YouTube

Further Steps

  • Check the water and cutting at least every other day.
  • Change water every few days or at least once a week.  If the water looks dirty, it is best to change the water.
  • AFTER your cutting grows ROOTS (typically takes 2-4 weeks): let roots grow a few inches before removing from the water.
  • Gently remove roots from the PROP CONE hole - the cone is fabric so it is flexible, you should be able to pull all roots out without damaging them.
  • Use an indoor POTTING SOIL when potting up your cutting in a PLANT POT
  • Follow care instructions as needed for the plant, fertilize during growing season.
  • You are welcome to leave the rooted cutting in water longer, but the cutting will not grow as fast as it will in Soil, as there are no nutrients when growing in water.
  • Rooted Cuttings are great to gift to friends, share at Plant Swaps, or just to reproduce one of your favorite plants for yourself!

 PROP CONES

0 comments

Leave a comment

Please note, comments must be approved before they are published