BRAID SNAKE PLANTS

HOW TO BRAID SNAKE PLANTS
A step by step guide on braiding your Sansevieria Cylindrica at home.

Time
Prep Time: 20 mins per plant
Materials
- SANSEVIERIA CYLINDRICA (Also called Cylindrical Snake Plant or African Spear)
- SCISSORS - we are using our RT1home GARDEN SCISSORS
- TIE - we are using RAFIA and rubber bands
- BOWLS - (1) for water + (1) for soil - we are using 2 glass bowls
- CLOTH - to wipe scissors, dry roots, and for water spills. We are using a FUROSHIKI wrapping cloth.
- POTTING SOIL - to repot your braided snake plant
- SOIL SCOOP - to scoop soil for repotting
- PLANT POT - to pot your braided snake plant in
- PUMICE STONES - to add to potting soil to help with drainage
- WATER - to rinse roots
- OPTIONAL: POTTING TARP - we are using our RT1home Potting Tarp (Standard size) to help contain the mess!

Instructions
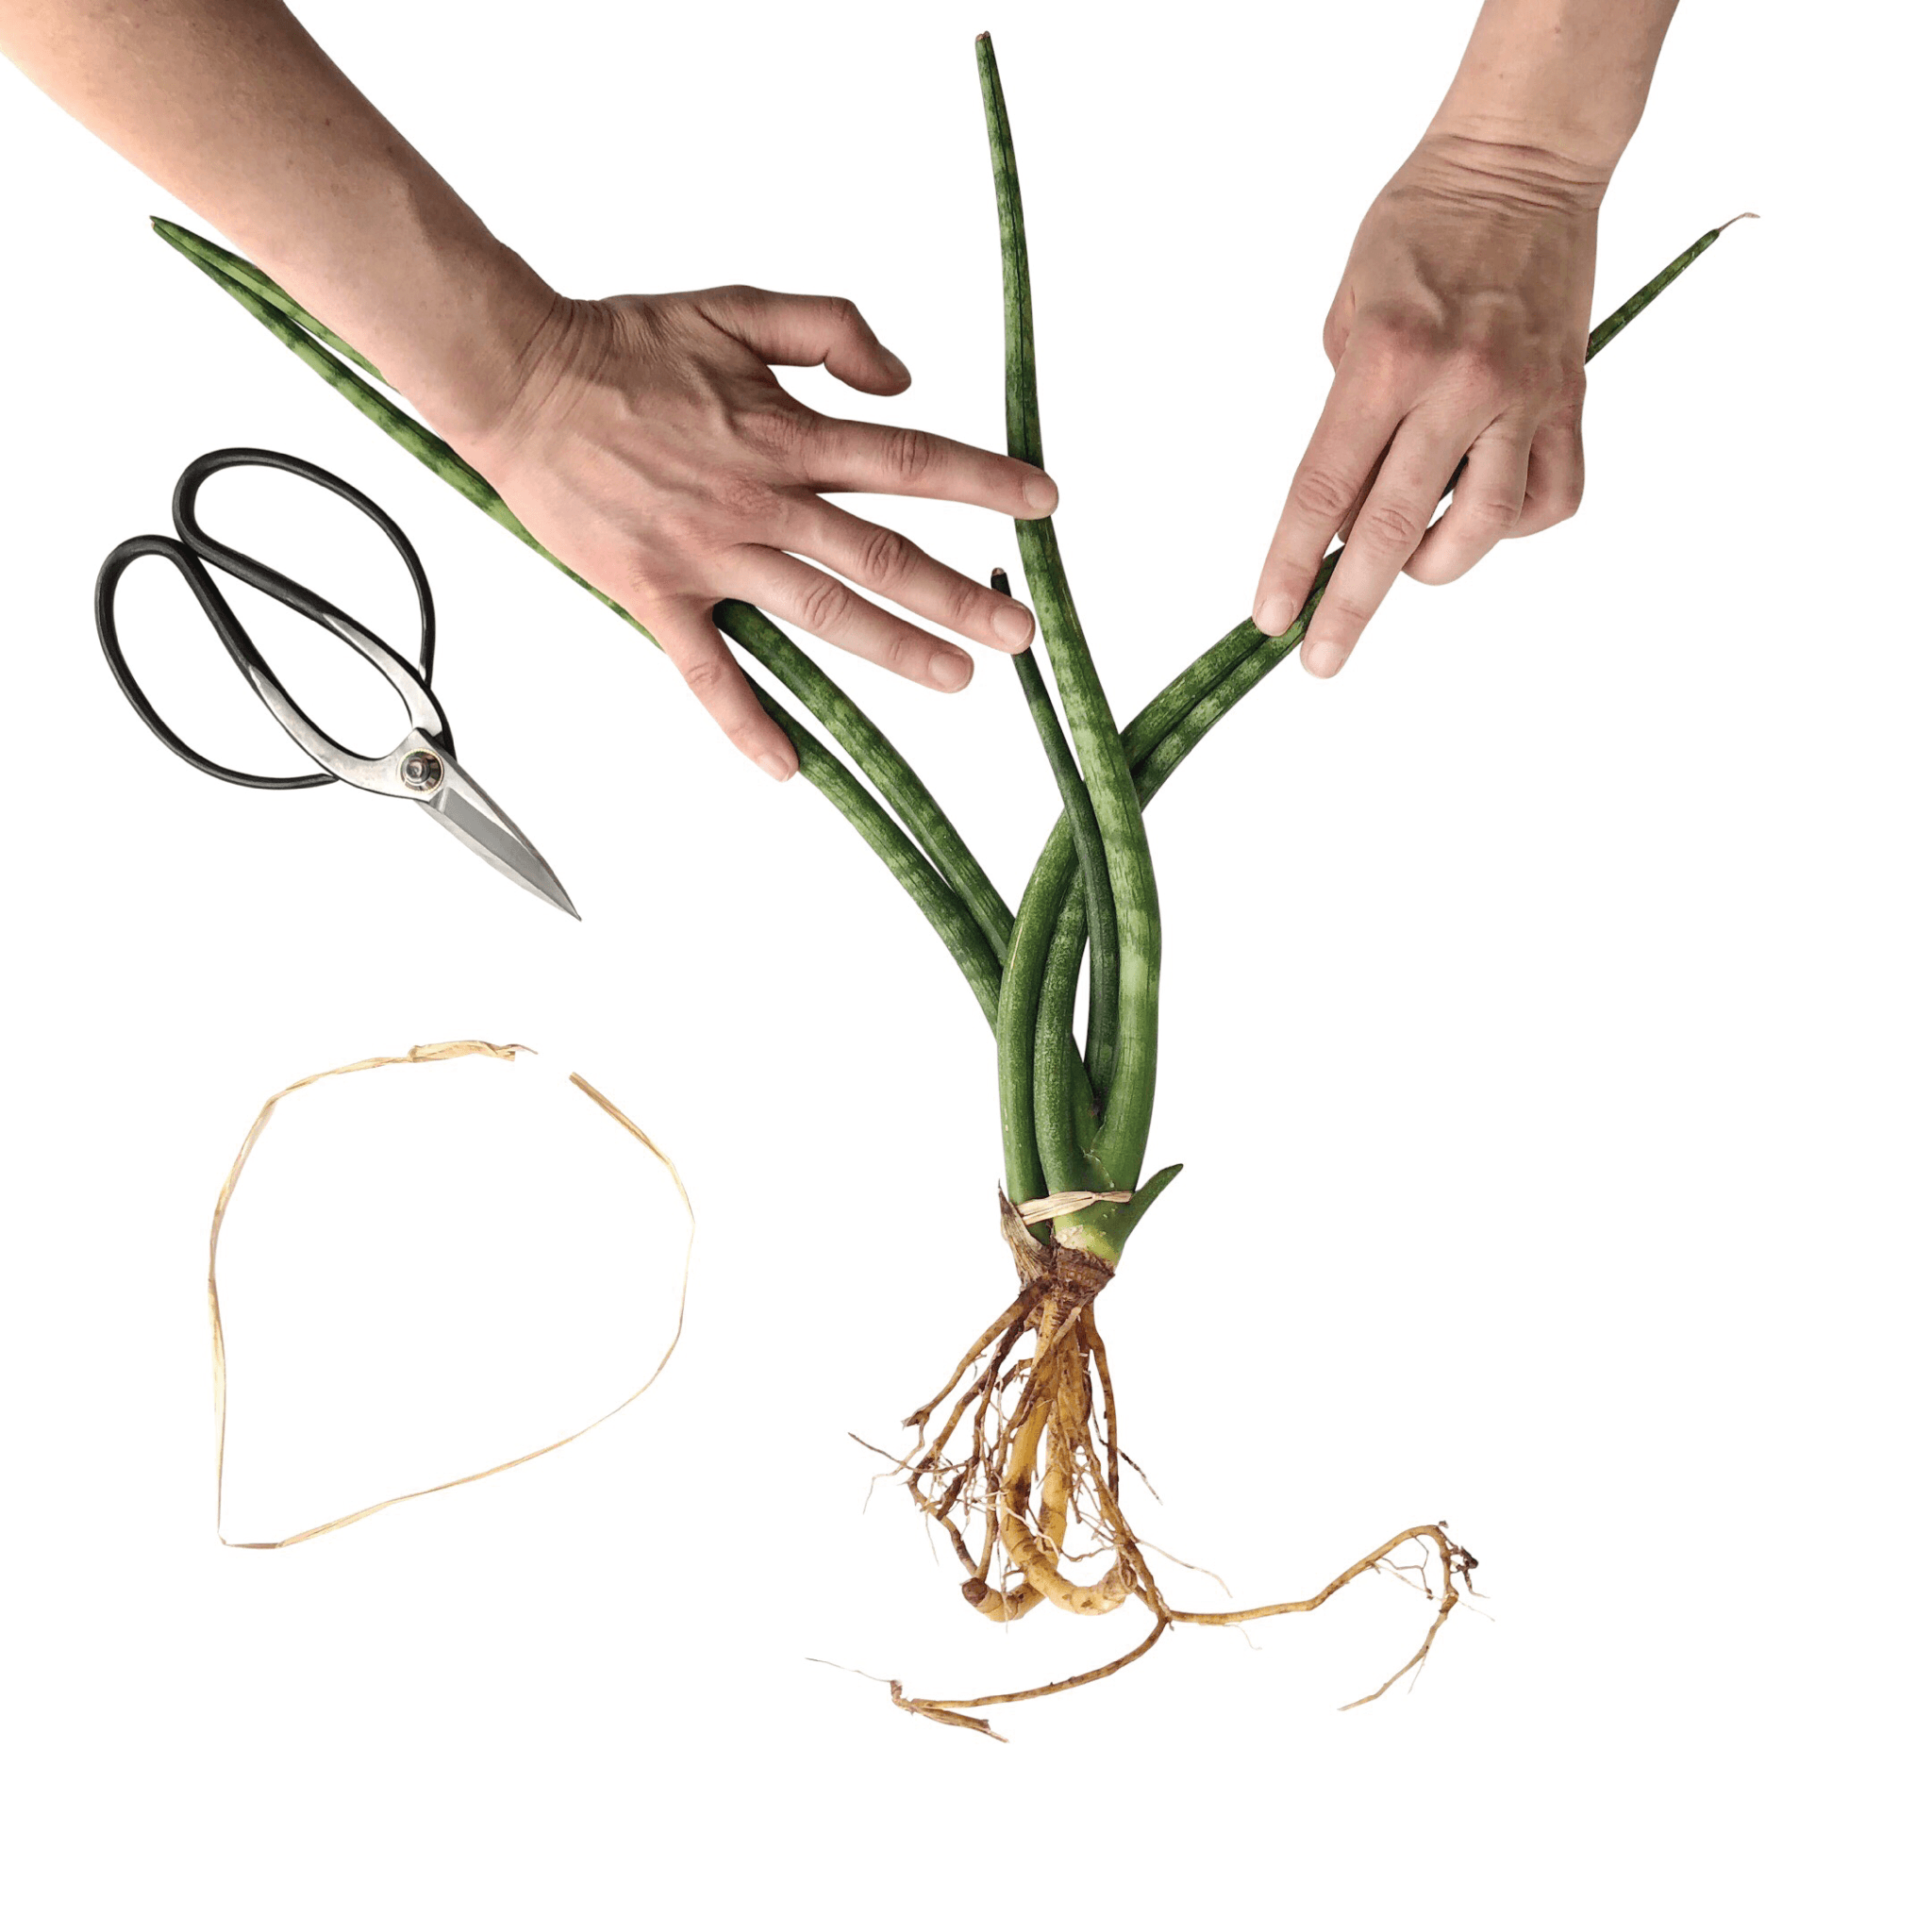
- Select (2) CYLINDRICA Snake plants that have at least 3 stems that are longer than 12”-14” to be able to braid
- Remove plants and roots from the pot and rinse the roots in water to remove all dirt.

3. Dry plant and roots with your CLOTH.
4. Stack plants on top of each other - stems should be facing you, roots facing away from you.
5. Grab your TIE material, and cut approximately 18" with your SCISSORS to secure your stacked plants just above the roots (knot fairly tight).

6. Starting from your right, grab 2 stems together and wrap over center 2 stems. Hold securely with both hands.
7. Next, take the 2 stems on the left and wrap over the center 2 stems. Hold securely, not too tight to damage the plant.

8. REPEAT these steps for as long as the length of the stems.
9. If you have any short stems - let these stick out for now, secure the long stems with a rubber band after you cannot braid any more.

10. Next, secure tightly with your TIE and replace the rubber band (we don't recommend leaving only the rubberband as they tend to slide off)
11. For any shorter stems, you can now go back and gently tuck them into the braid.

12. Grab your PLANT POT, POTTING SOIL, and PUMICE STONES.
13. Pot your newly braided Snake Plant in your pot using your SOIL SCOOP.

Step by step video guide is also available on our YouTube
Further Steps
- This drought-tolerant plant does not need a lot of water.
- Water thoroughly while Cylindrica is growing and allow the potting mix to almost dry out before watering again.
- When your Cylindrica stems continue to grow longer, you can add to your existing braid. At any point, you can remove the braid completely and let it grow fanned out again.

- Tags: DIY
8 comments
-
MT on
Hello, i purchased a braided African Spear Plant and it grew new spears but the original braided spears have not grew an inch…wondering why ?
———
RT1home replied:
MT – Braiding your snake plants should not stunt the growth. Stunted growth would likely be due to lack of light or water. If you are providing adequate light and water, snake plant growth is still very slow. Your braided snake plant should continue to grow over time and you can continue the braid or remove the braid entirely. -
Linda Acevedo on
I’ve just received a snake plant that needs to be repotted. Glad to know how to repot and the mix for the soil.
———
RT1home replied:
Linda – Best of luck with your Snake plant and please reach out if you have any questions


I just received a twisted snake plant. I cut the bottom holding band but left the top tied. Should I re-tie
the bottom?
———
RT1home replied:
Hi Carla – If the Snake plant is already braided, you probably don’t
need to re-tie the bottom unless it seems like the braid is getting
loose or undone. We usually just tie the bottom to initially hold the
stems together when braiding. Let me know if you have any further
questions!