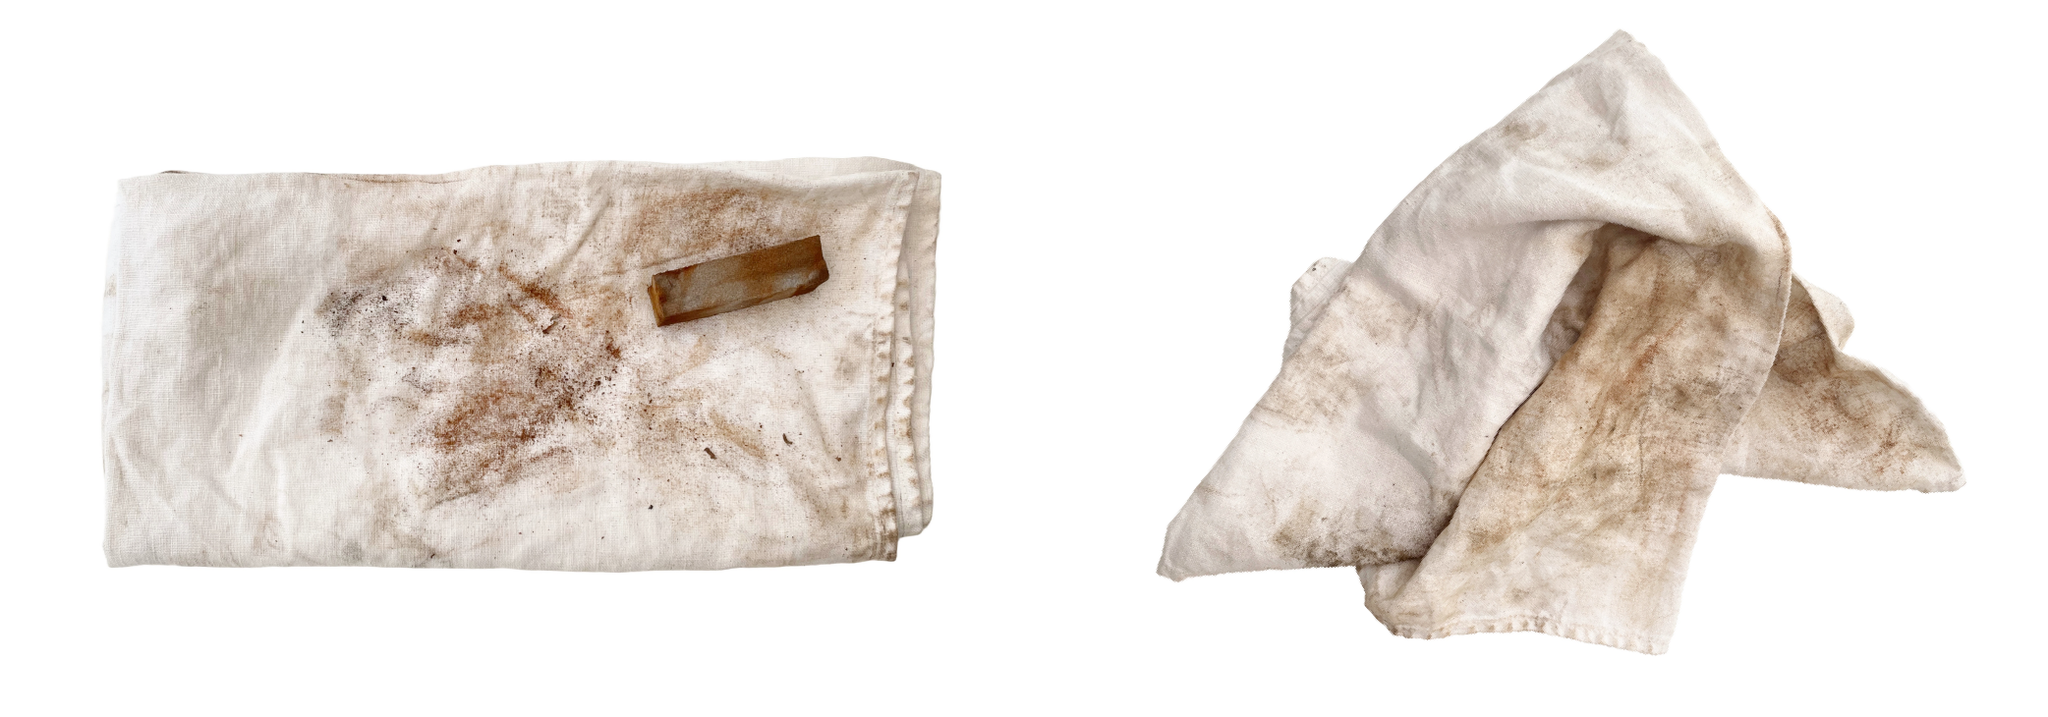
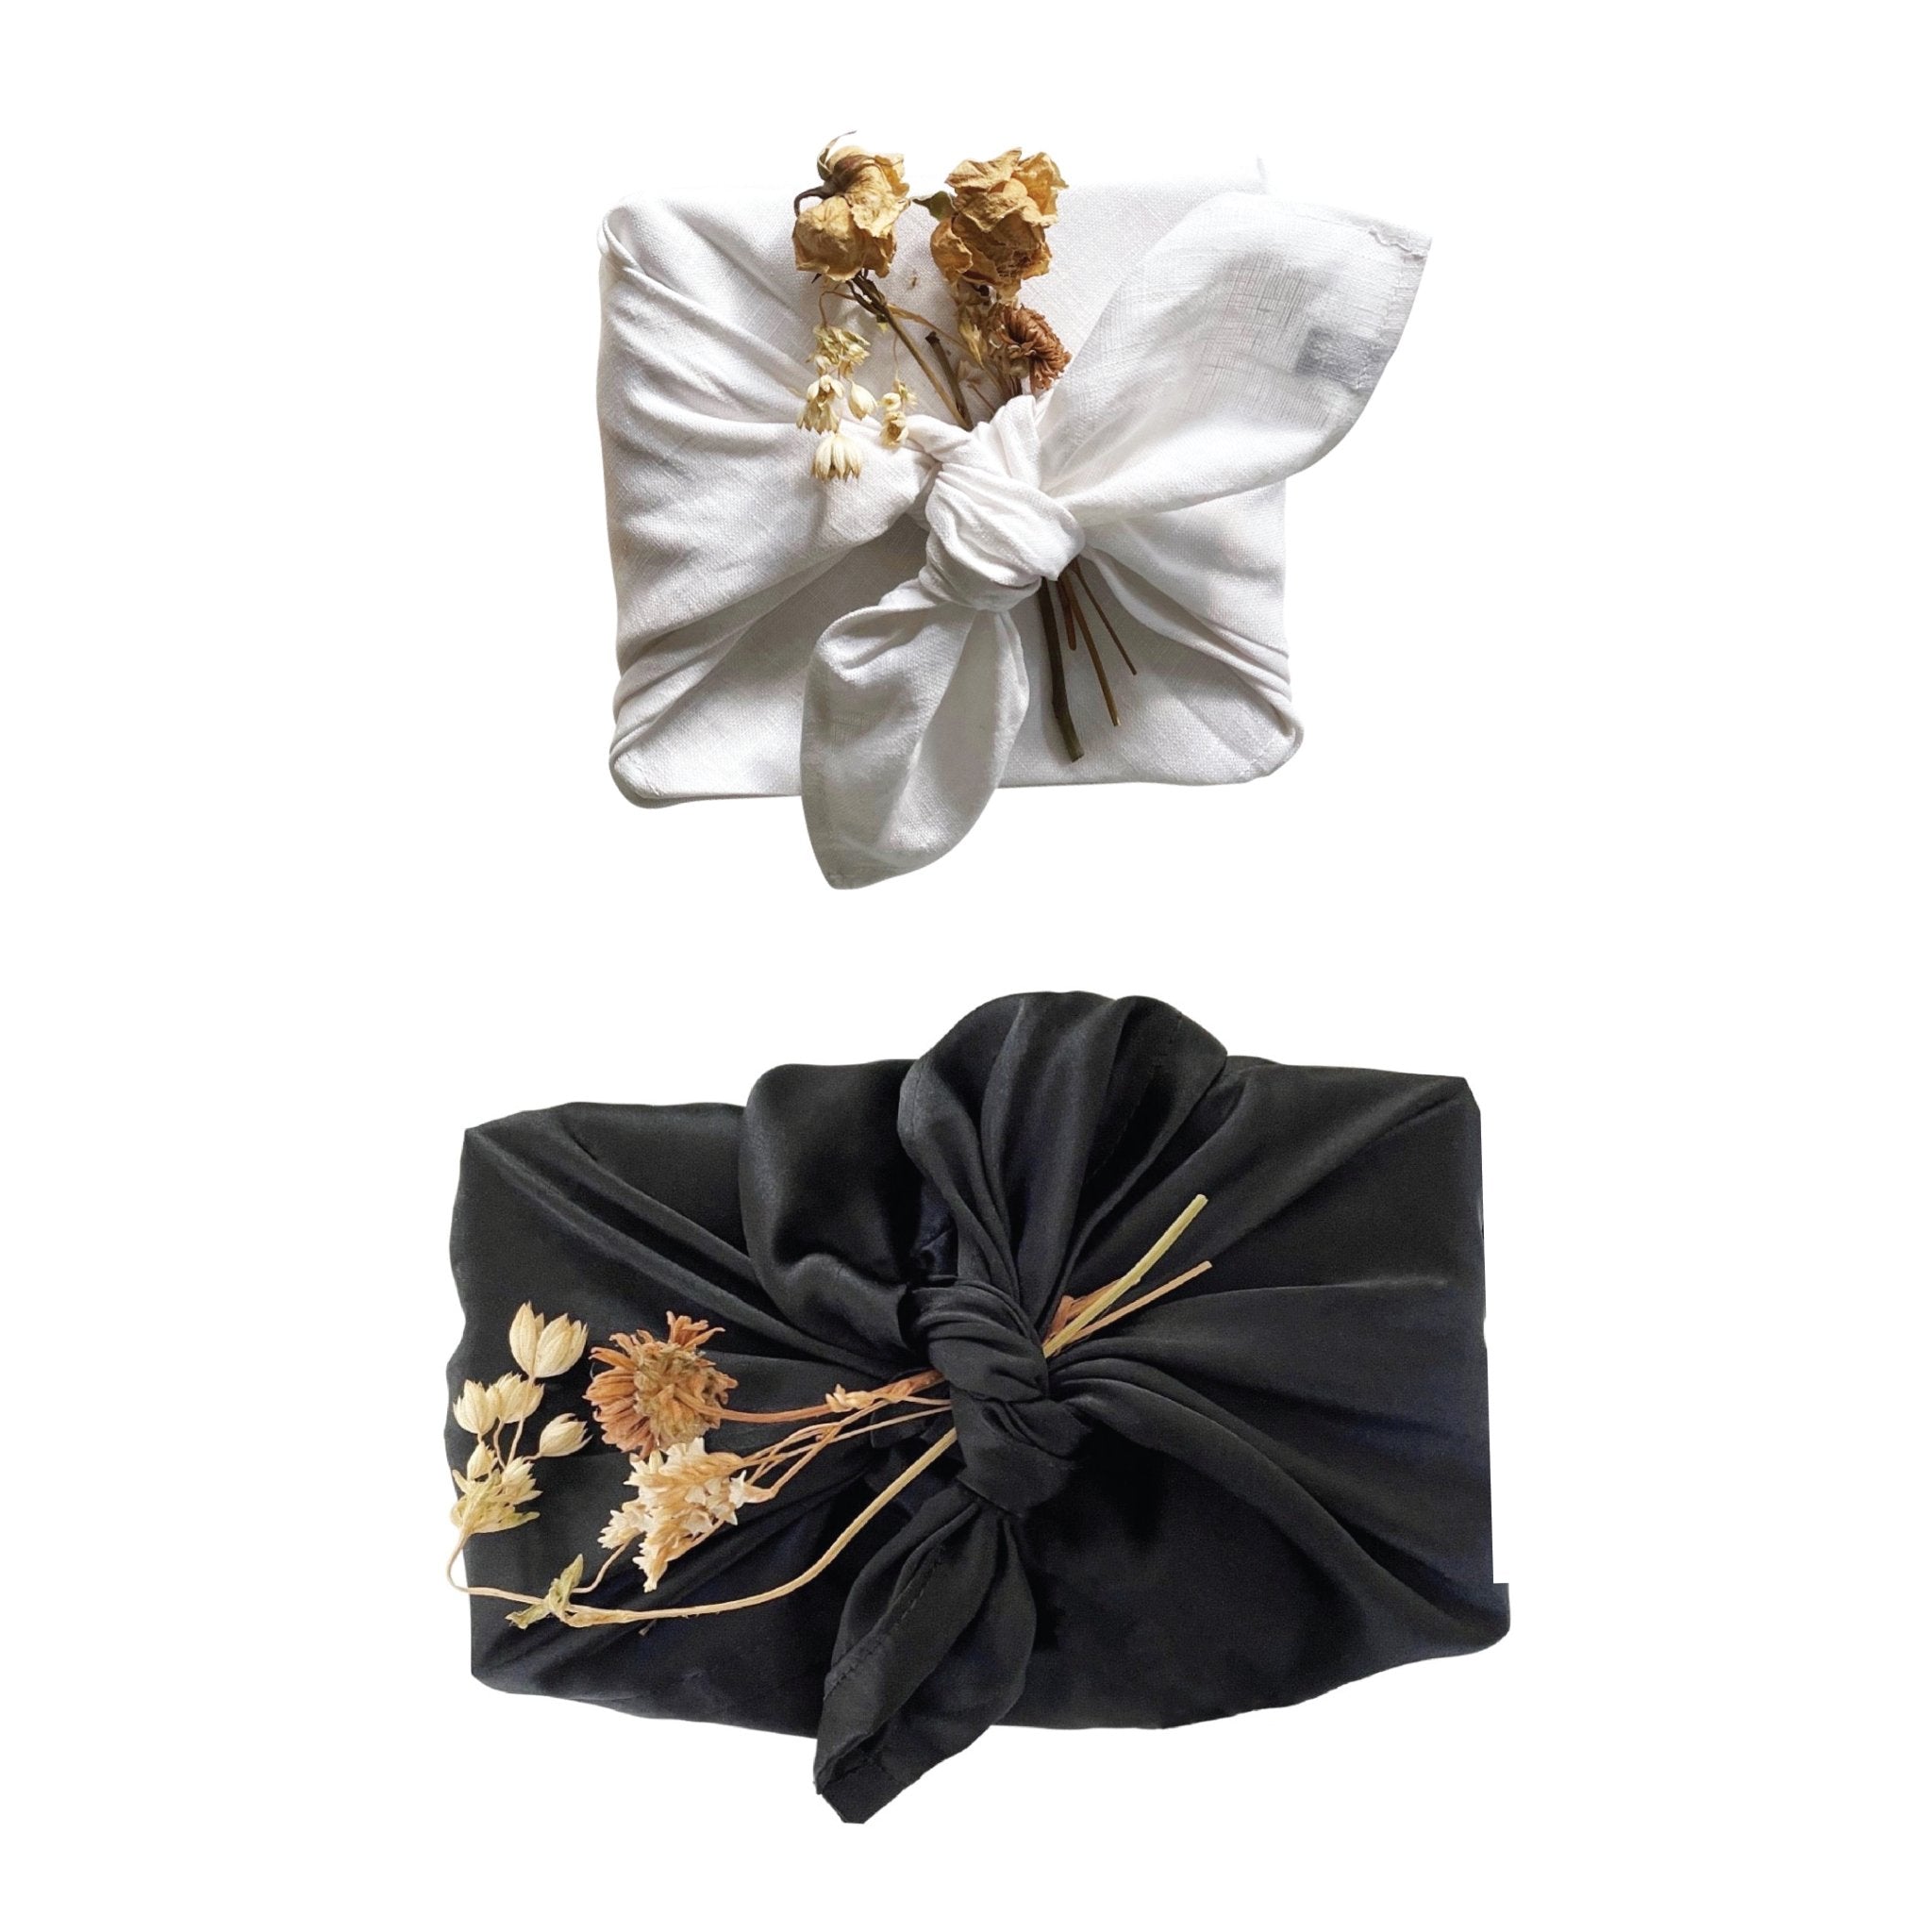
RAG / CLOTH (something you don't care about!) - we are using an oldFUROSHIKIto wipe rust and add oil.
WHITE VINEGAR- to soak heavily rusted scissors. We are using a generic multipurpose vinegar used for cleaning.
GLASS BOWL / TRAY - to hold vinegar + rusted tool for soaking.
BAKING SODA - to help loosen and remove rust. We are using Arm & Hammer Baking Soda.
RUST ERASER- for fine tuning and removing more stubborn rust spots. We are using our MINI RUST ERASER
OIL - to prevent future rust from forming. We are using our CAMELLIA OIL
OLD TOOTHBRUSH - we are using our old Package Free BAMBOO TOOTHBRUSH(use code RT1HOME at checkout for 10% OFF your order at PACKAGE FREE)
NOTE: This is a more eco-friendly guide to removing rust as we have intentionally avoided the use of chemical rust removers.
_____________
Instructions
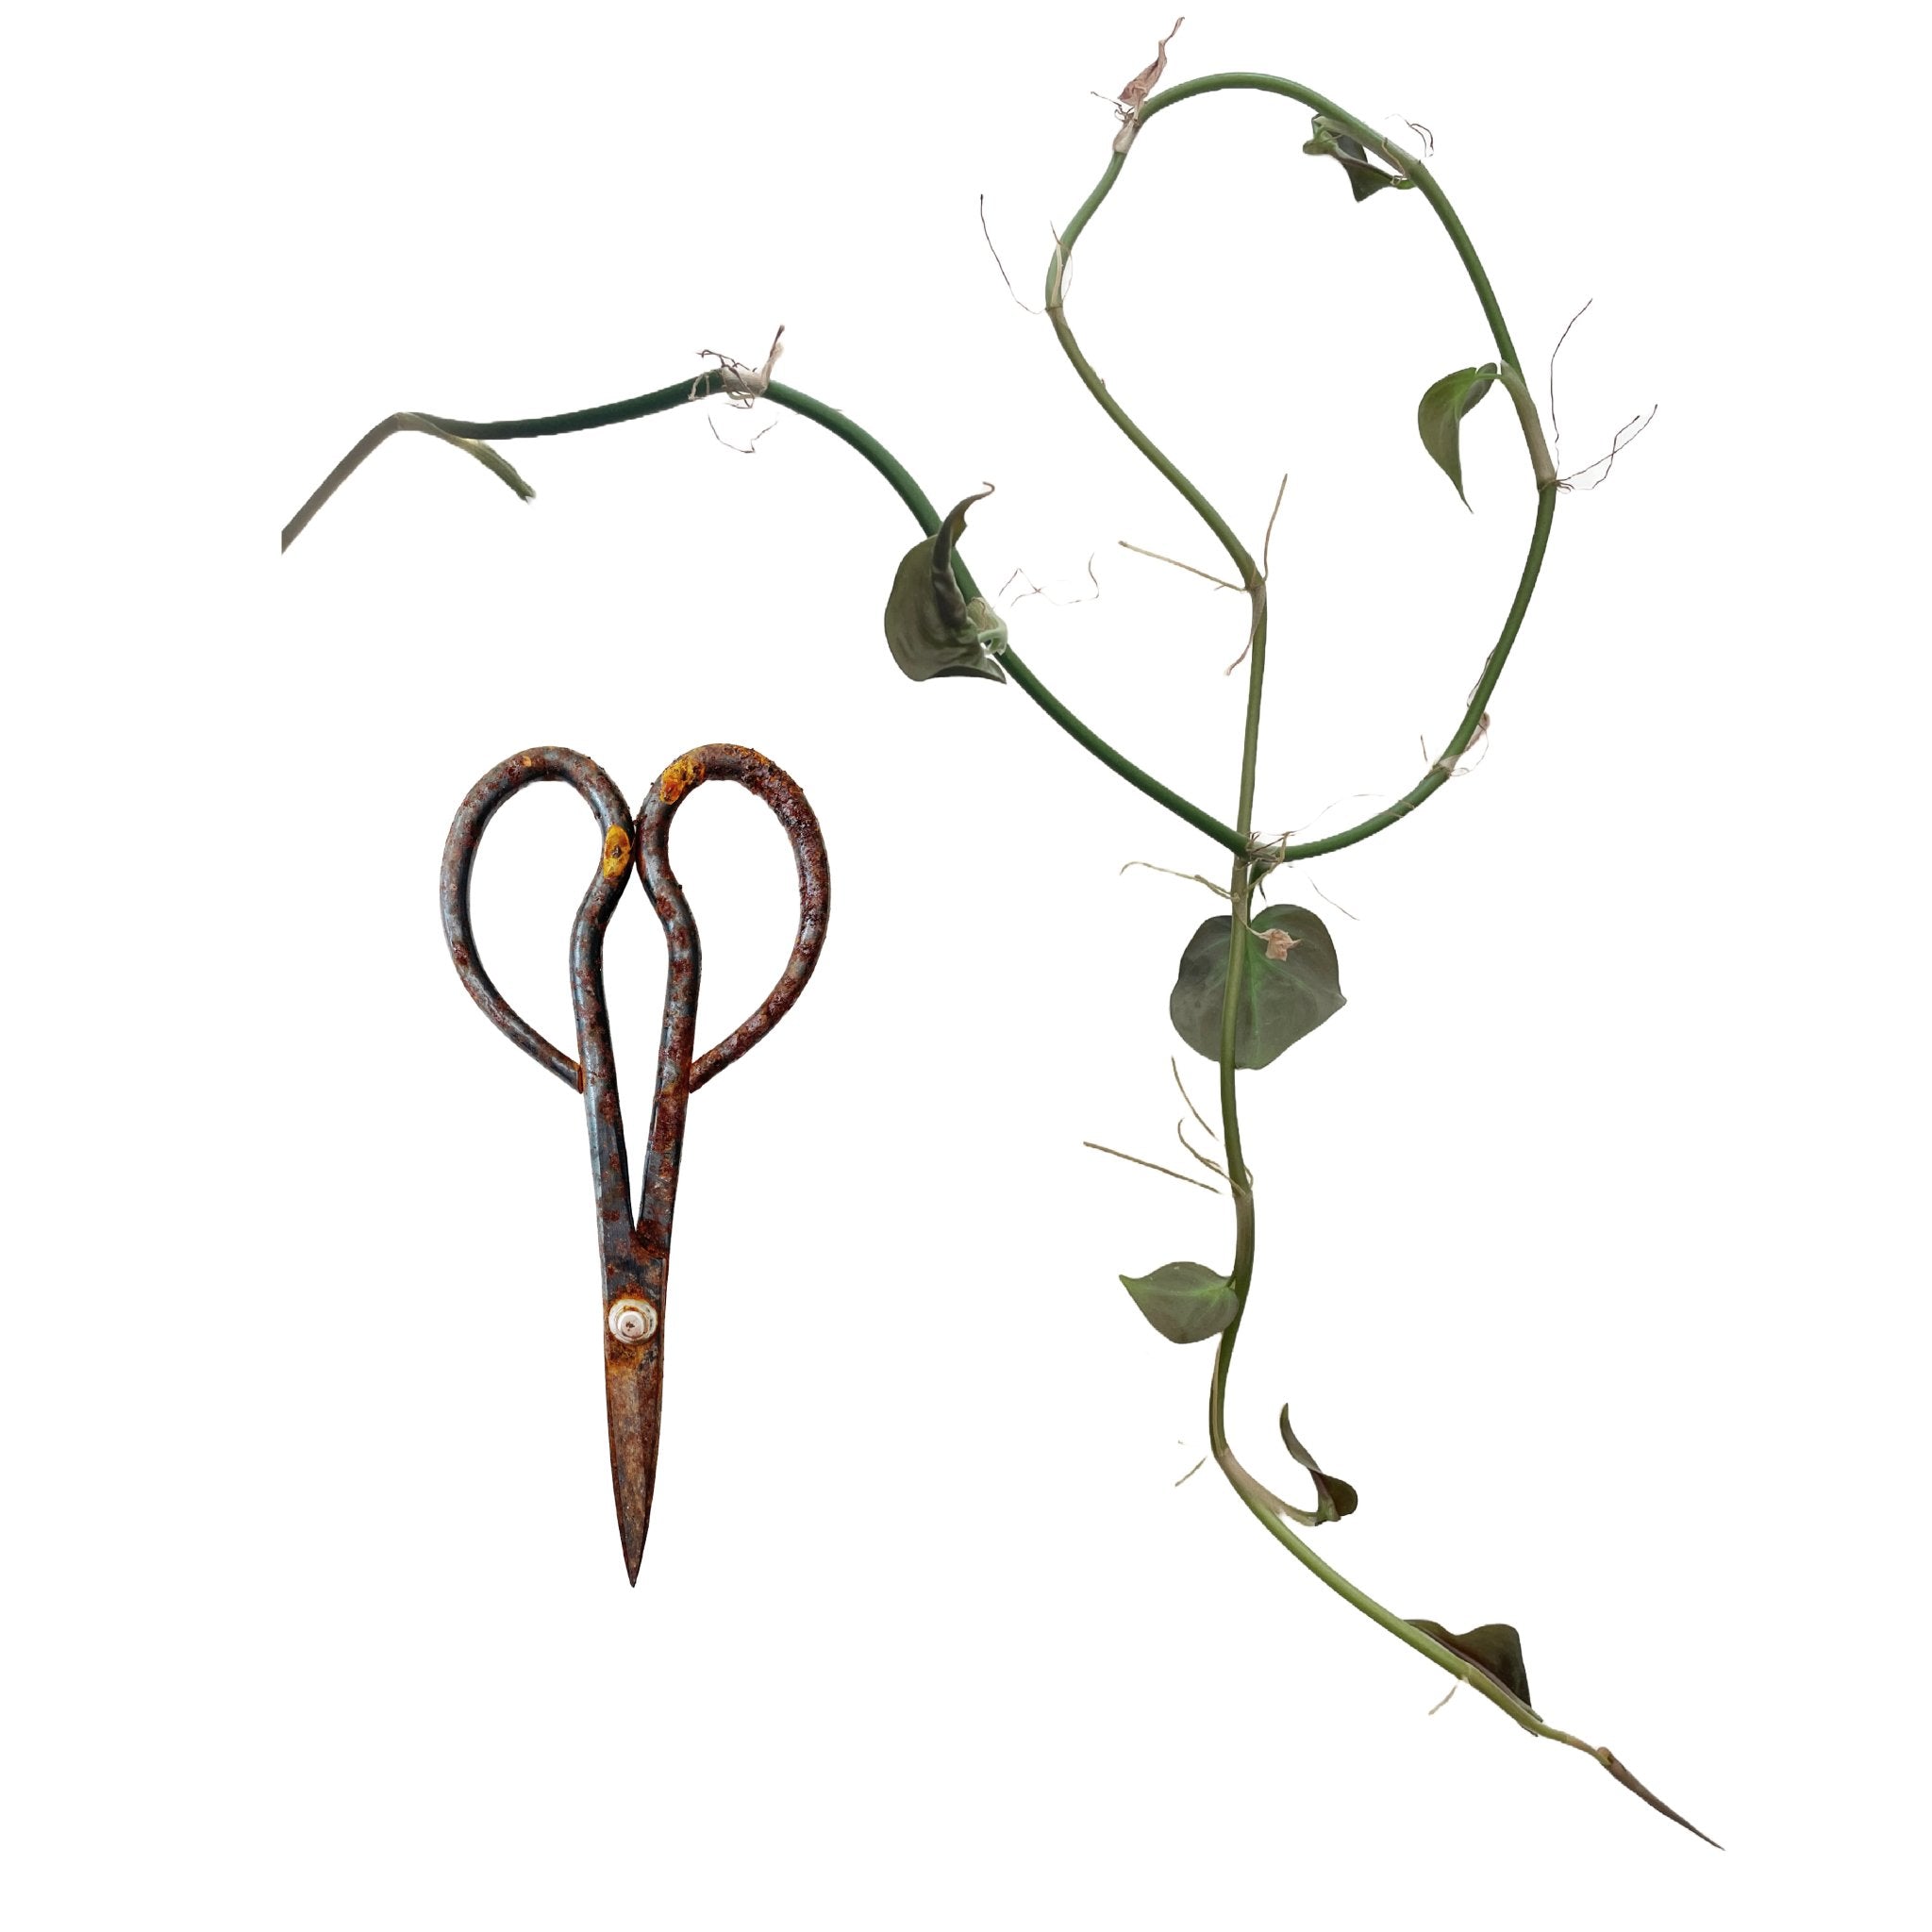
1. Examine your RUSTED TOOL to assess how bad the rust is and which areas need more attention than others. Also check if your tool is still able to function (open and close scissors) or is it rusted shut.
2. We applied a thin layer of CAMELLIA OIL using our CLOTH to loosen up the initial layer of rust.
3. Next we poured WHITE VINEGAR into our GLASS TRAY. Make sure to add enough so that your RUSTED TOOL is completely submerged.
4. Lay your RUSTED TOOL on your CLOTH. Coat the tool with BAKING SODA and use your OLD TOOTHBRUSH to coat evenly. Apply to both sides.
NOTE: This toothbrush is 100% compostable, but before composting - we like to use for cleaning small crevices!
5. Add your RUSTED TOOL + BAKING SODA to the GLASS TRAY w/ VINEGAR. Soak time really varies on how rusted your tool is. You might only need to soak for an hour or 2, we let this soak overnight for about 24 hrs.
NOTE: the vinegar will fizz and foam up once you add the baking soda, so add slowly and carefully to avoid making the mixture over flow.
6. Remove your RUSTED TOOL from the VINEGAR solution and place on your CLOTH. Wipe dry.
7. Use your RUST ERASER to remove any rust spots or blemishes still on the RUSTED TOOL. This step is essentially like sanding the tool, except we are NOT using sand paper.
NOTE: It is easier for this step if your tool is disassembled. I did not disassemble for this demonstration and it is difficult to work around the screw and join area on the scissors.
8. Apply a thin layer of CAMELLIA OIL all over the TOOL w/ your CLOTH to help prevent future rust. Also, keep your steel tools a cool and DRY location and not sitting outside in the rain :)
9. Our TRIMMING SCISSORS might not looking perfectly new, they are free of rust!
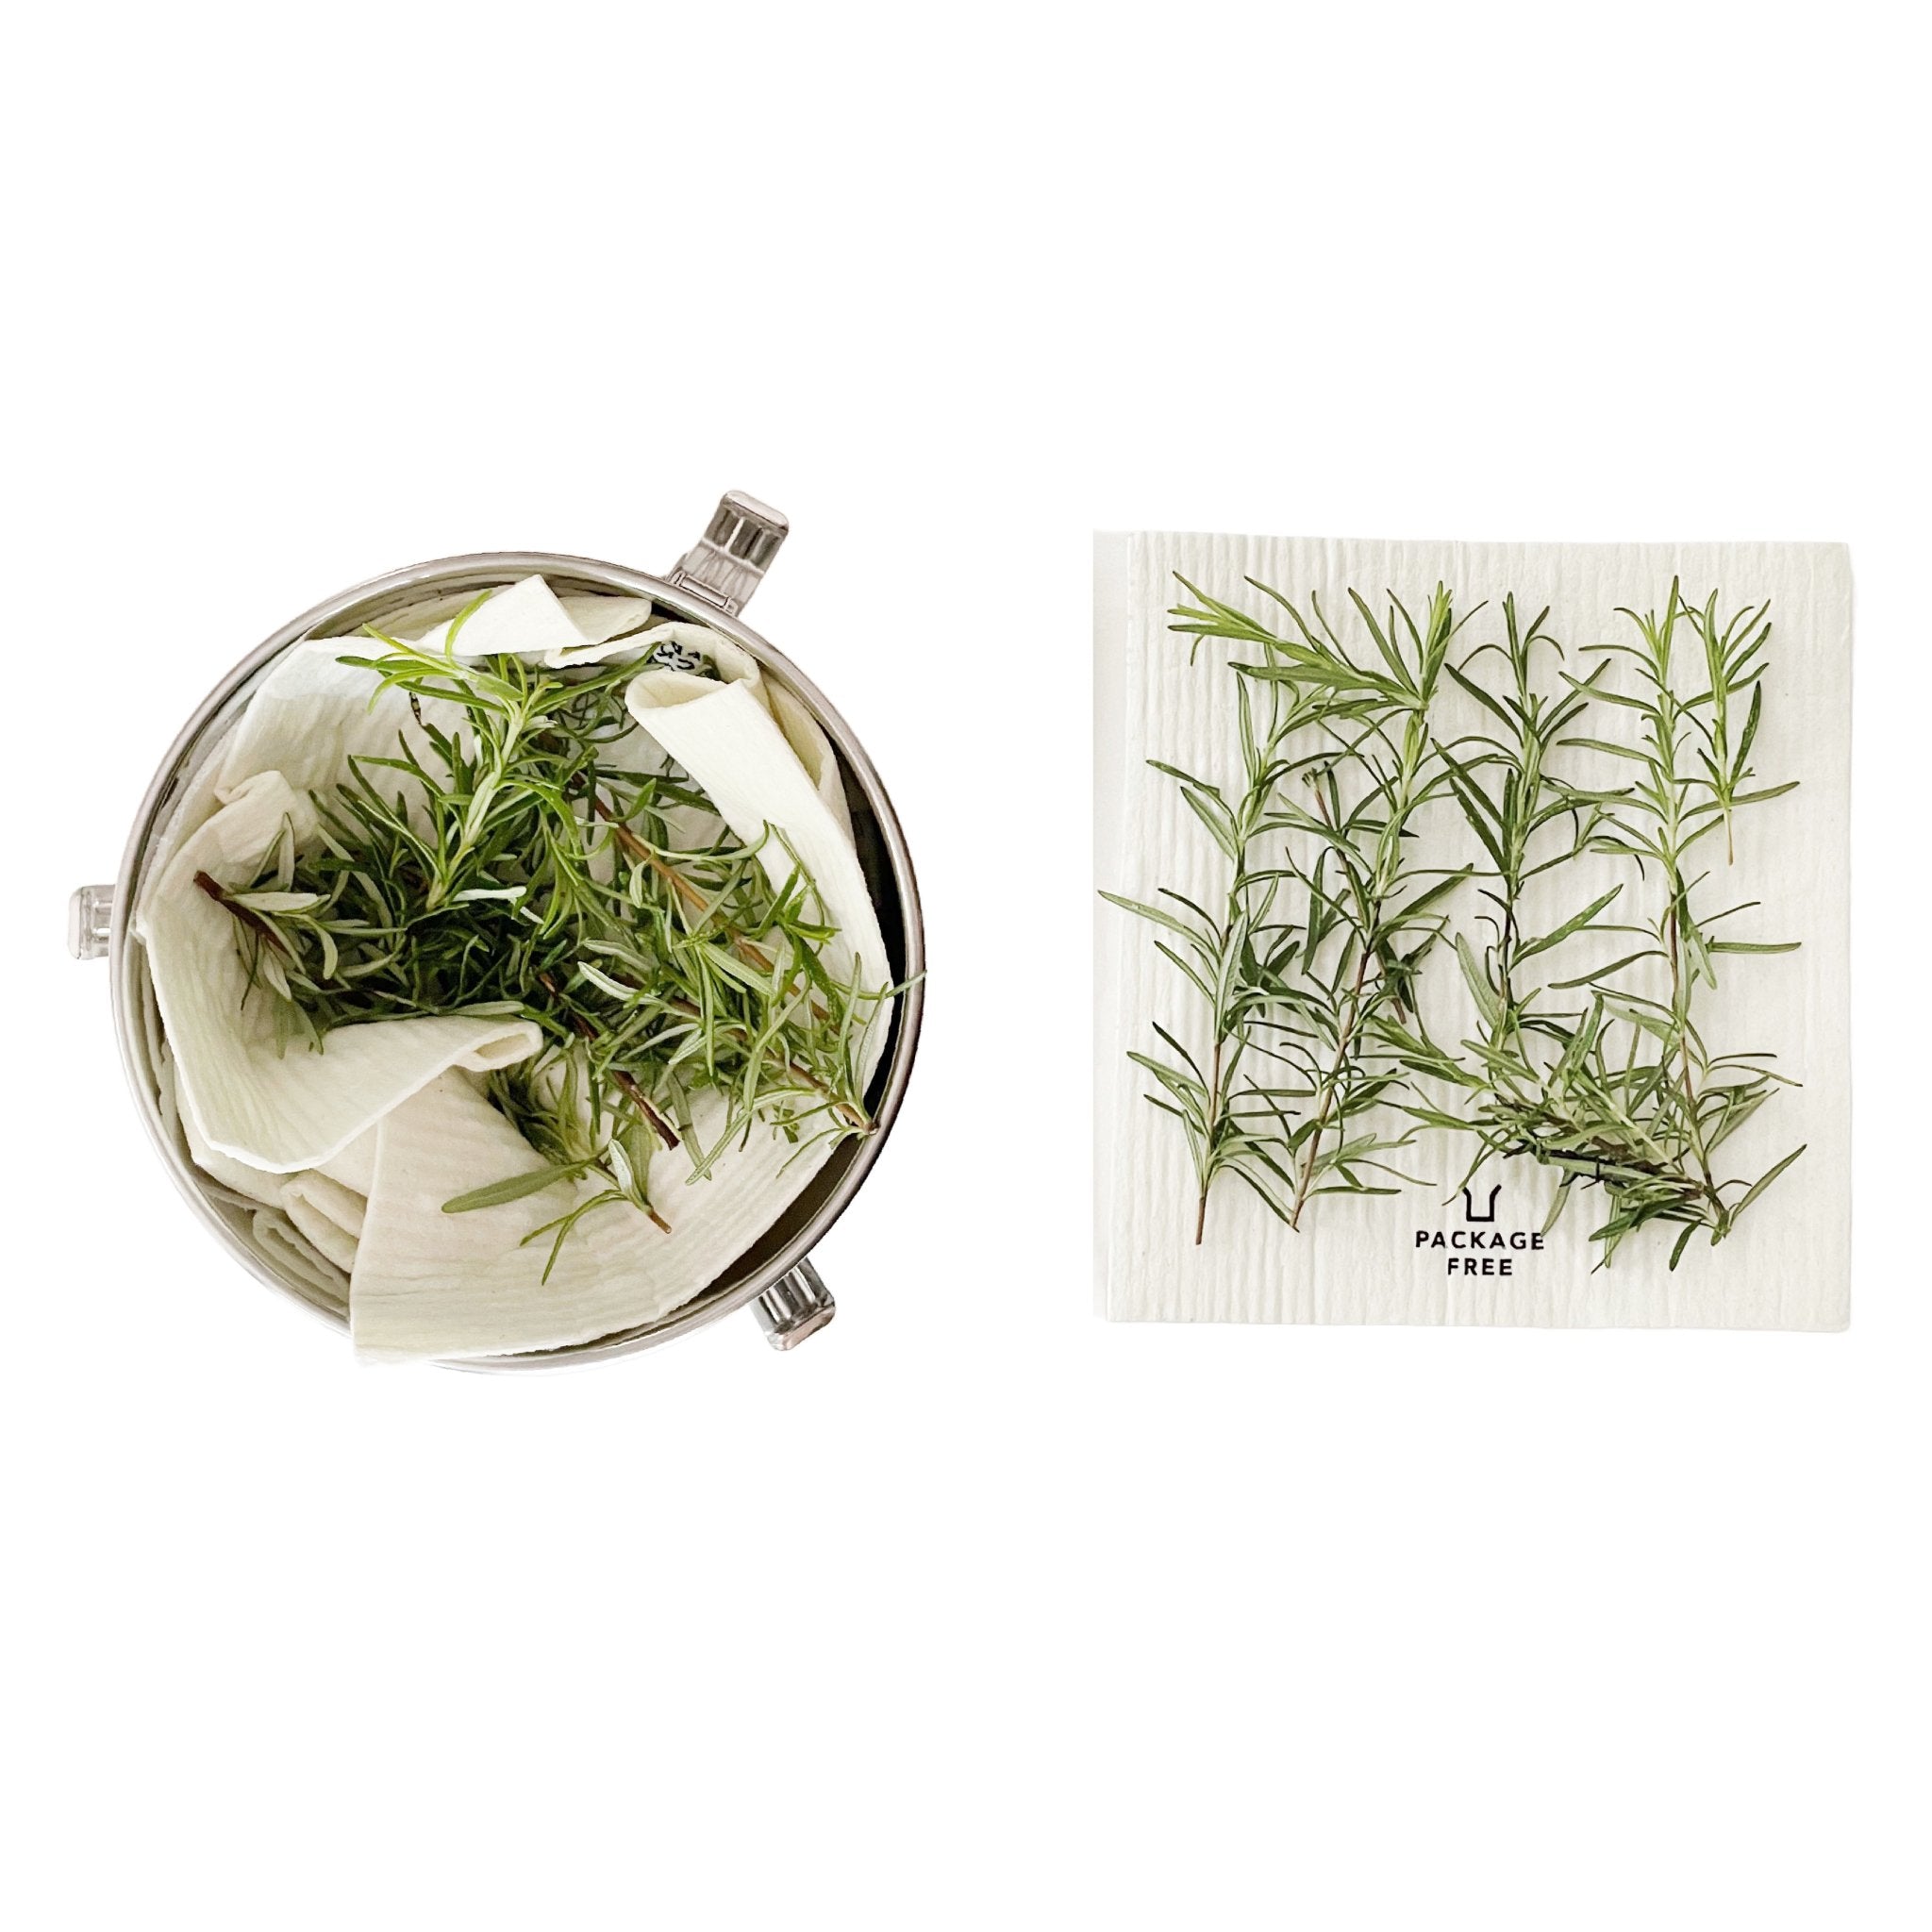
10. To ensure your tool is still functioning properly, try using the tool before putting away. We cut a few plant stems to make sure the scissor blades still cut well.
11. As a reminder, make sure you are using a RAG / CLOTH that you do not care about - as you can our cloth is completely filthy and covered in rust stains.
TIPS TO AVOIDING RUST
Keep steel tools stored in a dry location
Wipe Steel tools dry after use
Apply oil after each use (after wiping dry) to help prevent rust
Step by step video guide is also available on ourYouTube